
As a woman of *ahem* a certain age, it was simply time for me to make the iconic brown silk 1760s gown. After studying a number of portraits--almost all of them by John Singleton Copley--I narrowed down the inspiration images to the following four:
Mrs. Ezekiel (Elizabeth) Goldthwaite 1771

Mrs. Nathaniel (Ann) Ellery 1765

Mrs. Thomas (Sarah) Boylston 1766

Mrs. James (Katherine) Russell 1770

I also like the idea of folded robings in lieu of robing strips for this gown as well as lacing strips to eliminate some of the pinning which can make holes in the silk. This change required me to make a "Franken pattern." I use he L&S gown for just about everything as it fits so well. I have the Mill Farm English gown pattern which has folded robings but I do not like the back pleating on that gown. So I decided to convert the L&S gown to one with folded robings, fuller 1760s sleeves and a winged cuff.
How to begin: First I laid my L&S bodice pattern pieces on the Mill Farm pattern to compare. You can see how much smaller it is. The robings make the bodice piece significantly larger and there is a dart at the shoulder to make that lay flat.

Here are the bodice lining pieces of both patterns.

I traced the bottom edge and side seams of the L&S pattern and worked the robbing part in making new pattern pieces.

Next I had to make a muslin. I cut the new front bodice and my L&S back lining piece for that.

The darts were stitched in the front, the side seams were stitched and the robings were folded.

The shoulder straps are shorter than needed so I added length then cut the pieces out of the fashion fabric.

Darts stitched and robings folded in place--wrong side.

dart stitched, robing folded--right side.

The bodice fronts were stitched to the back as indicated in the L&S pattern.

Skirt panels were stitched on and the skirt was pleated to the bodice. Note that there are fewer, but larger pleats in the gowns of this decade. Also the pleats that go over the hip pads were made deeper to accommodate the pads.

Skirt stitched on.

The bodice lining was stitched in place: whip stitched at the side and waist seams and with the Point a Rabattre Sous la Main along the front edge. The skirt seam allowance at the waist was left to hang free.

The shoulder straps were pinned in place in back and only the lining layer was stitched.
The sleeve, which was cut about 1 1/2 inches fuller than my usual pattern, was stitched on as if there were a separate shoulder strap.

Sleeve pinned to the lining layer only here then backstitched in place.
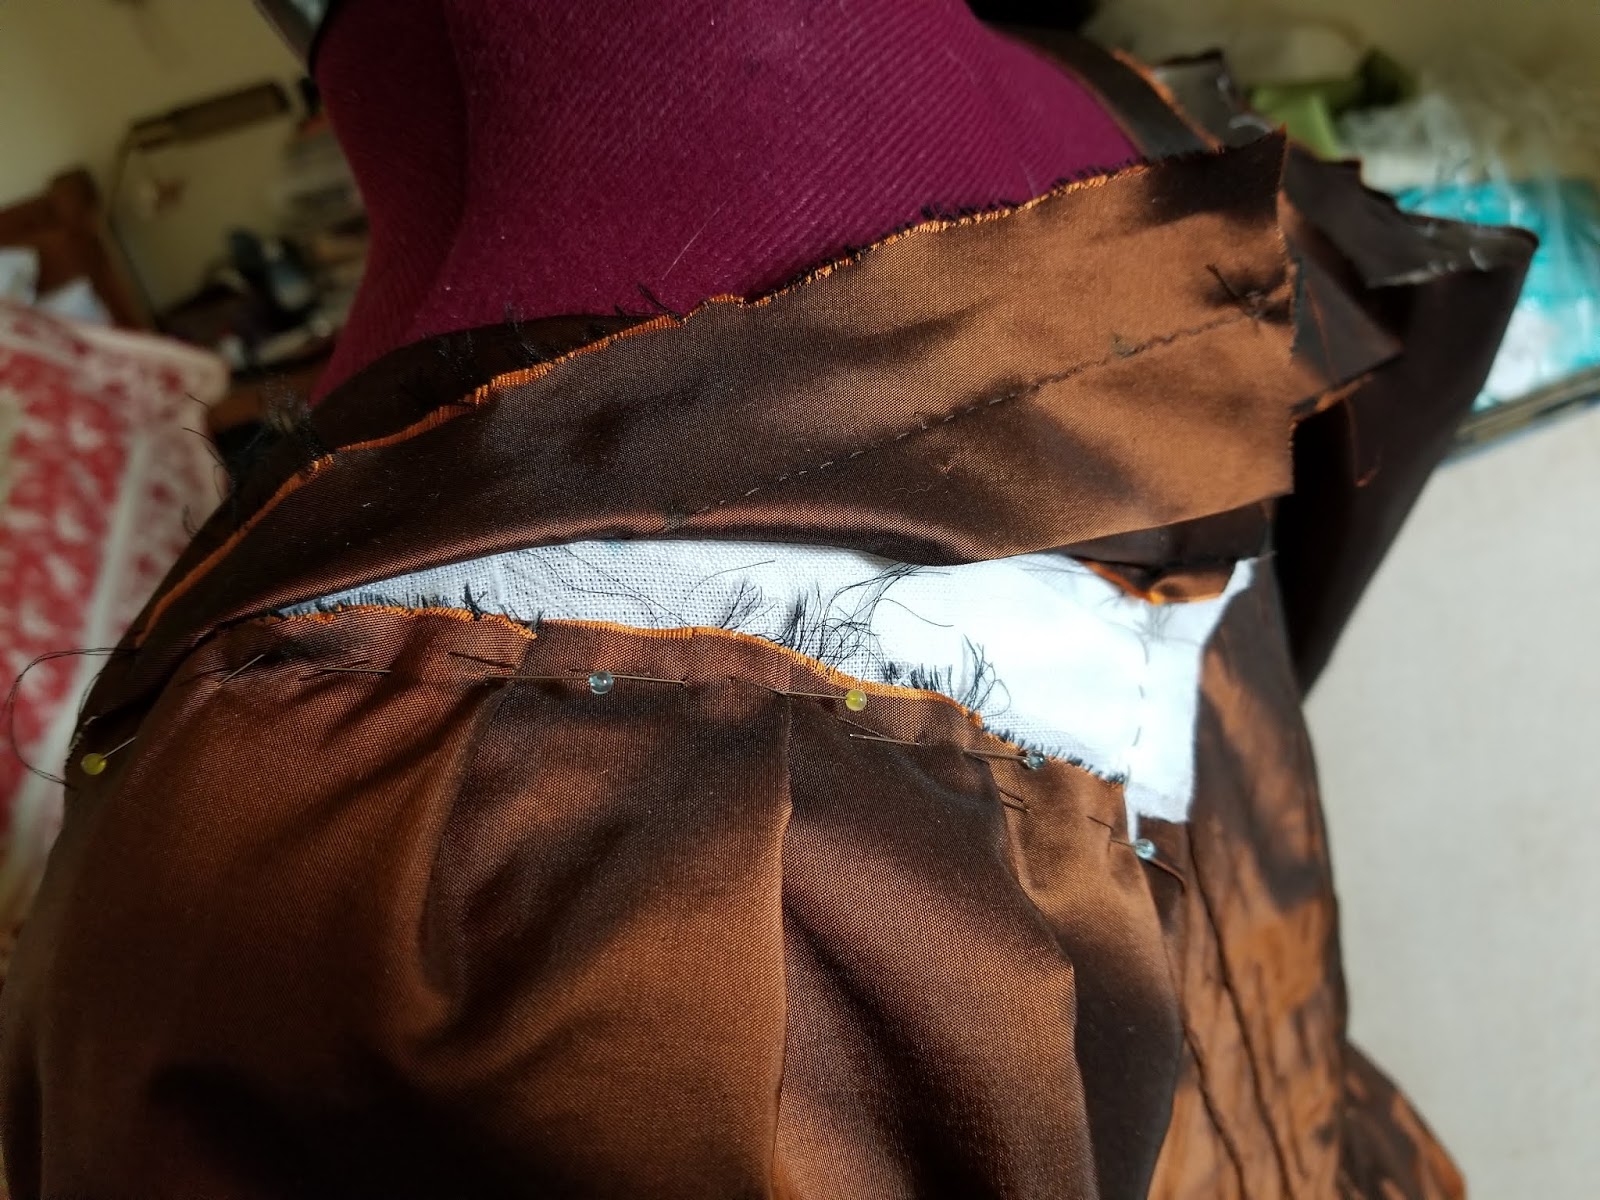
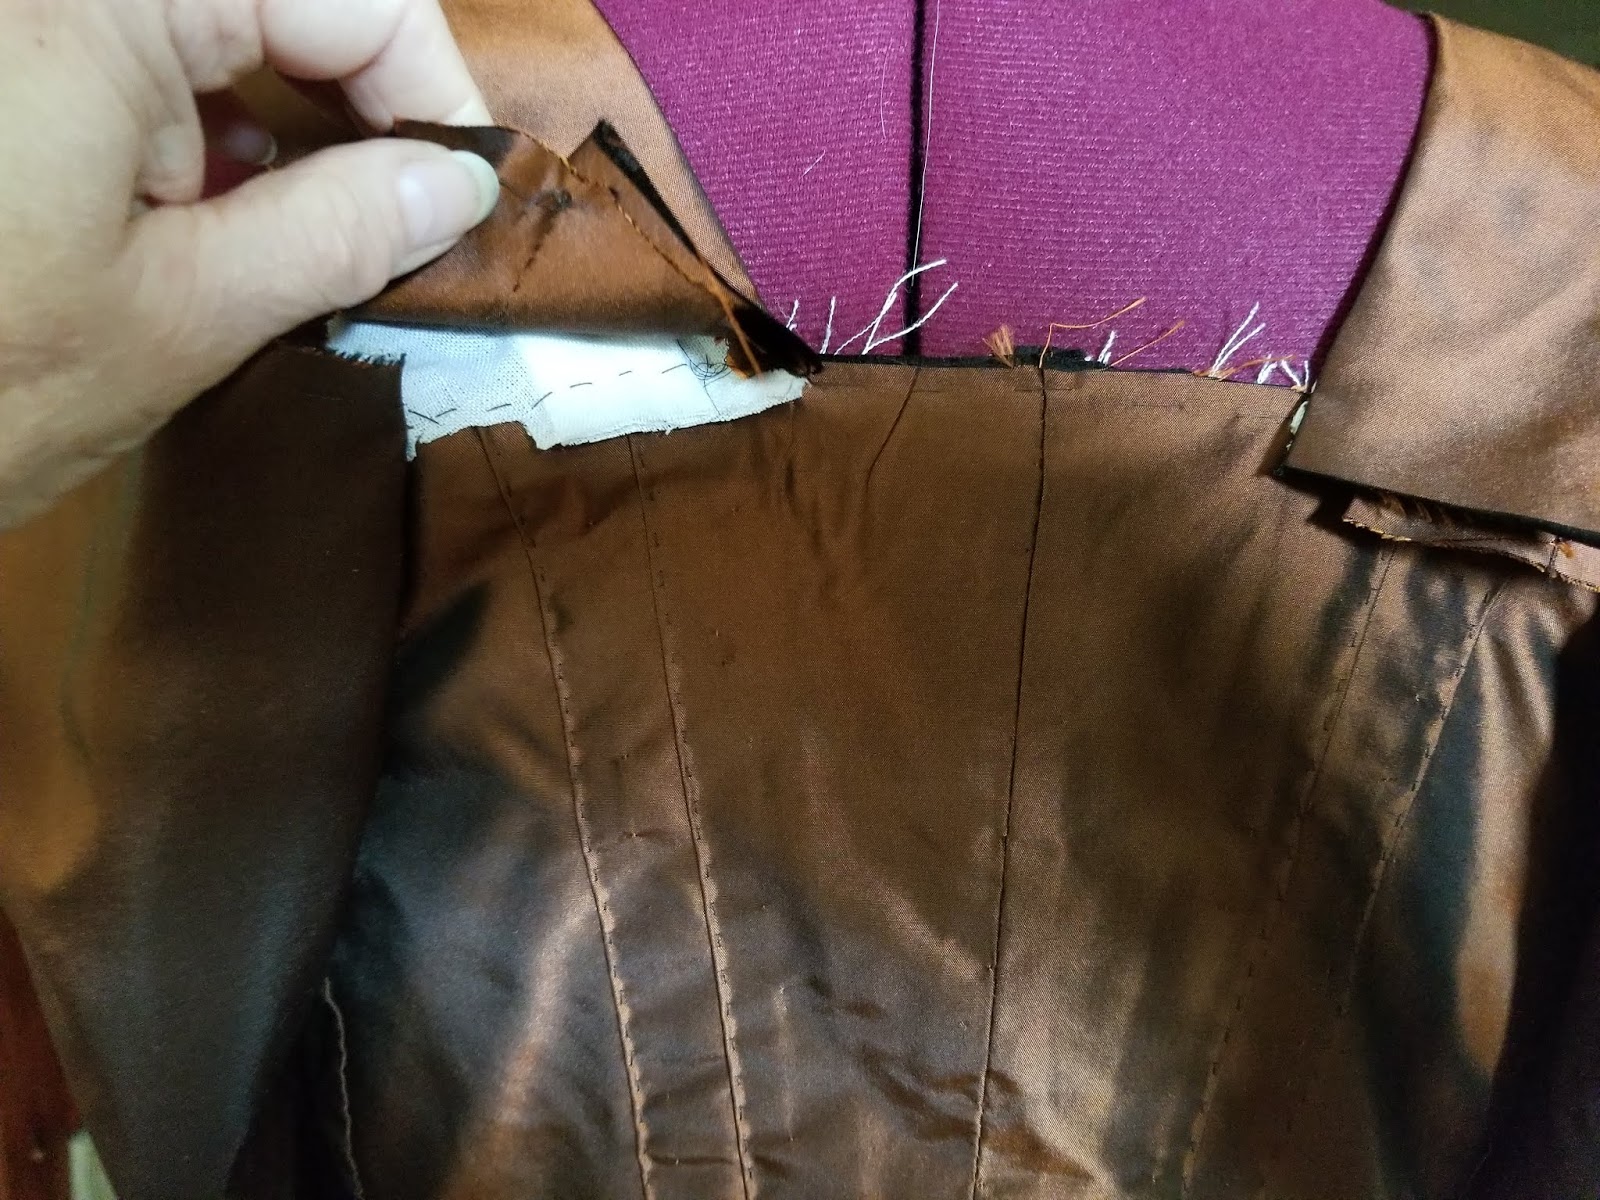
Edge of robing turned in and invisibly stitched in place. Back facing was drafted to fit the upper back.


The strips were pinned into the gown and back stitched 1/2 inch away from the raw edge --about 1 1/2 inches from the front edge of the gown. The stitching is covered by the robings.

Here is the gown laced over my stays.

I drafted a large cuff which is lined with self fabric.

Last was the stomacher. I had to measure the space that the stomacher would fit as it had to fit over the lacing in a specific amount of space.
I also needed a proper mid century shift before I could do my final gown fitting. I had the first shift I had ever made that was more of a 1790s style with a straight sleeve. I tore the sleeves off and made full sleeves from fine cambric linen with a ruffle from some antique glazed handkerchief linen that my mom brought back from Europe in WWII.

My final fitting with all of the proper underpinnings which included a shift, hip pads and matelasse petticoat.

To complete the portrait of Mrs. Russell, I needed handkerchiefs--she is wearing a white one under that I assume to be silk or fine linen and a sheer half handkerchief with lace trim--a lace trimmed lappet cap and a white apron (which I already had).
I made a Swiss organdy lappet cap in a smaller size for my smaller hair and trimmed it with 1 1/2 inch wide French Val lace with a 4 loop ribbon bow on top:


I purchased a white silk satin handkerchief with hand rolled hems from Dharma and then made a half handkerchief from my mom's antique linen. The antique linen was only 16 inches wide. I cut two 32-inch lengths and stitched the selvedges together using a butted seam then cut that 32 inch square into 2 triangles. I made a dip at the neckline, narrow hemmed all of the edges then whipped the lace on, carefully mitering the back corner and angling the lace on the front edges to follow the line of the neck edge. Last I made a white satin bow.


I finished off my outfit with my sheer voile apron and some new 1760s shoes with fancy buckles.


No comments:
Post a Comment