"Dearest Friend
The Day; perhaps the decisive Day is come on which the fate of America depends. My bursting Heart must find vent at my pen. I have just heard that our dear Friend Dr. Warren is no more but fell gloriously fighting for his Country -- saying better to die honourably in the field than ignominiously hang upon the Gallows. Great is our Loss. He has distinguished himself in every engagement, by his courage and fortitude, by animating the Soldiers and leading them on by his own example. A particuliar account of these dreadful, but I hope Glorious Days will be transmitted you, no doubt in the exactest manner.
The race is not to the swift, nor the battle to the strong, but the God of Israel is he that giveth strength and power unto his people. Trust in him at all times, ye people pour out your hearts before him. God is a refuge for us. -- Charlstown is laid in ashes. The Battle began upon our intrenchments upon Bunkers Hill, a Saturday morning about 3 o clock and has not ceased yet and tis now [illegible] 3 o'clock Sabbeth afternoon.
Tis expected they will come out over the Neck to night, and a dreadful Battle must ensue. Almighty God cover the heads of our Country men, and be a shield to our Dear Friends. How [many have] fallen we know not -- the constant roar of the cannon is so [illegible] [distressing] that we can not Eat, Drink or Sleep. May we be supported and sustaind in the dreadful conflict. I shall tarry here till tis thought unsafe by my Friends, and then I have secured myself a retreat at your Brothers who has kindly offerd me part of his house. I cannot compose myself to write any further at present. I will add more as I hear further. . ."
(from a letter by Abigail Adams to John, June 18, 1775)
The 250th anniversary of the Battle of Bunker Hill was held this past weekend at Stage Fort Park in Gloucester. I've always been interested in this event since my 4th gr grandfather fought in this battle. I think many of us were curious as to how it would go not being in the original location but there simply is no room in Charlestown for such an event. The park was perfect--on the water and with a large hill. The planning was very impressive in terms of the faithful adherence to the tactical details and the different stages of the battle. Of course there was no one left in Charlestown at the time and so many had left Boston. A representation of civilians was planned and much of our interpretation was in talking about how our lives had changed between the events of April 1775 and this event.
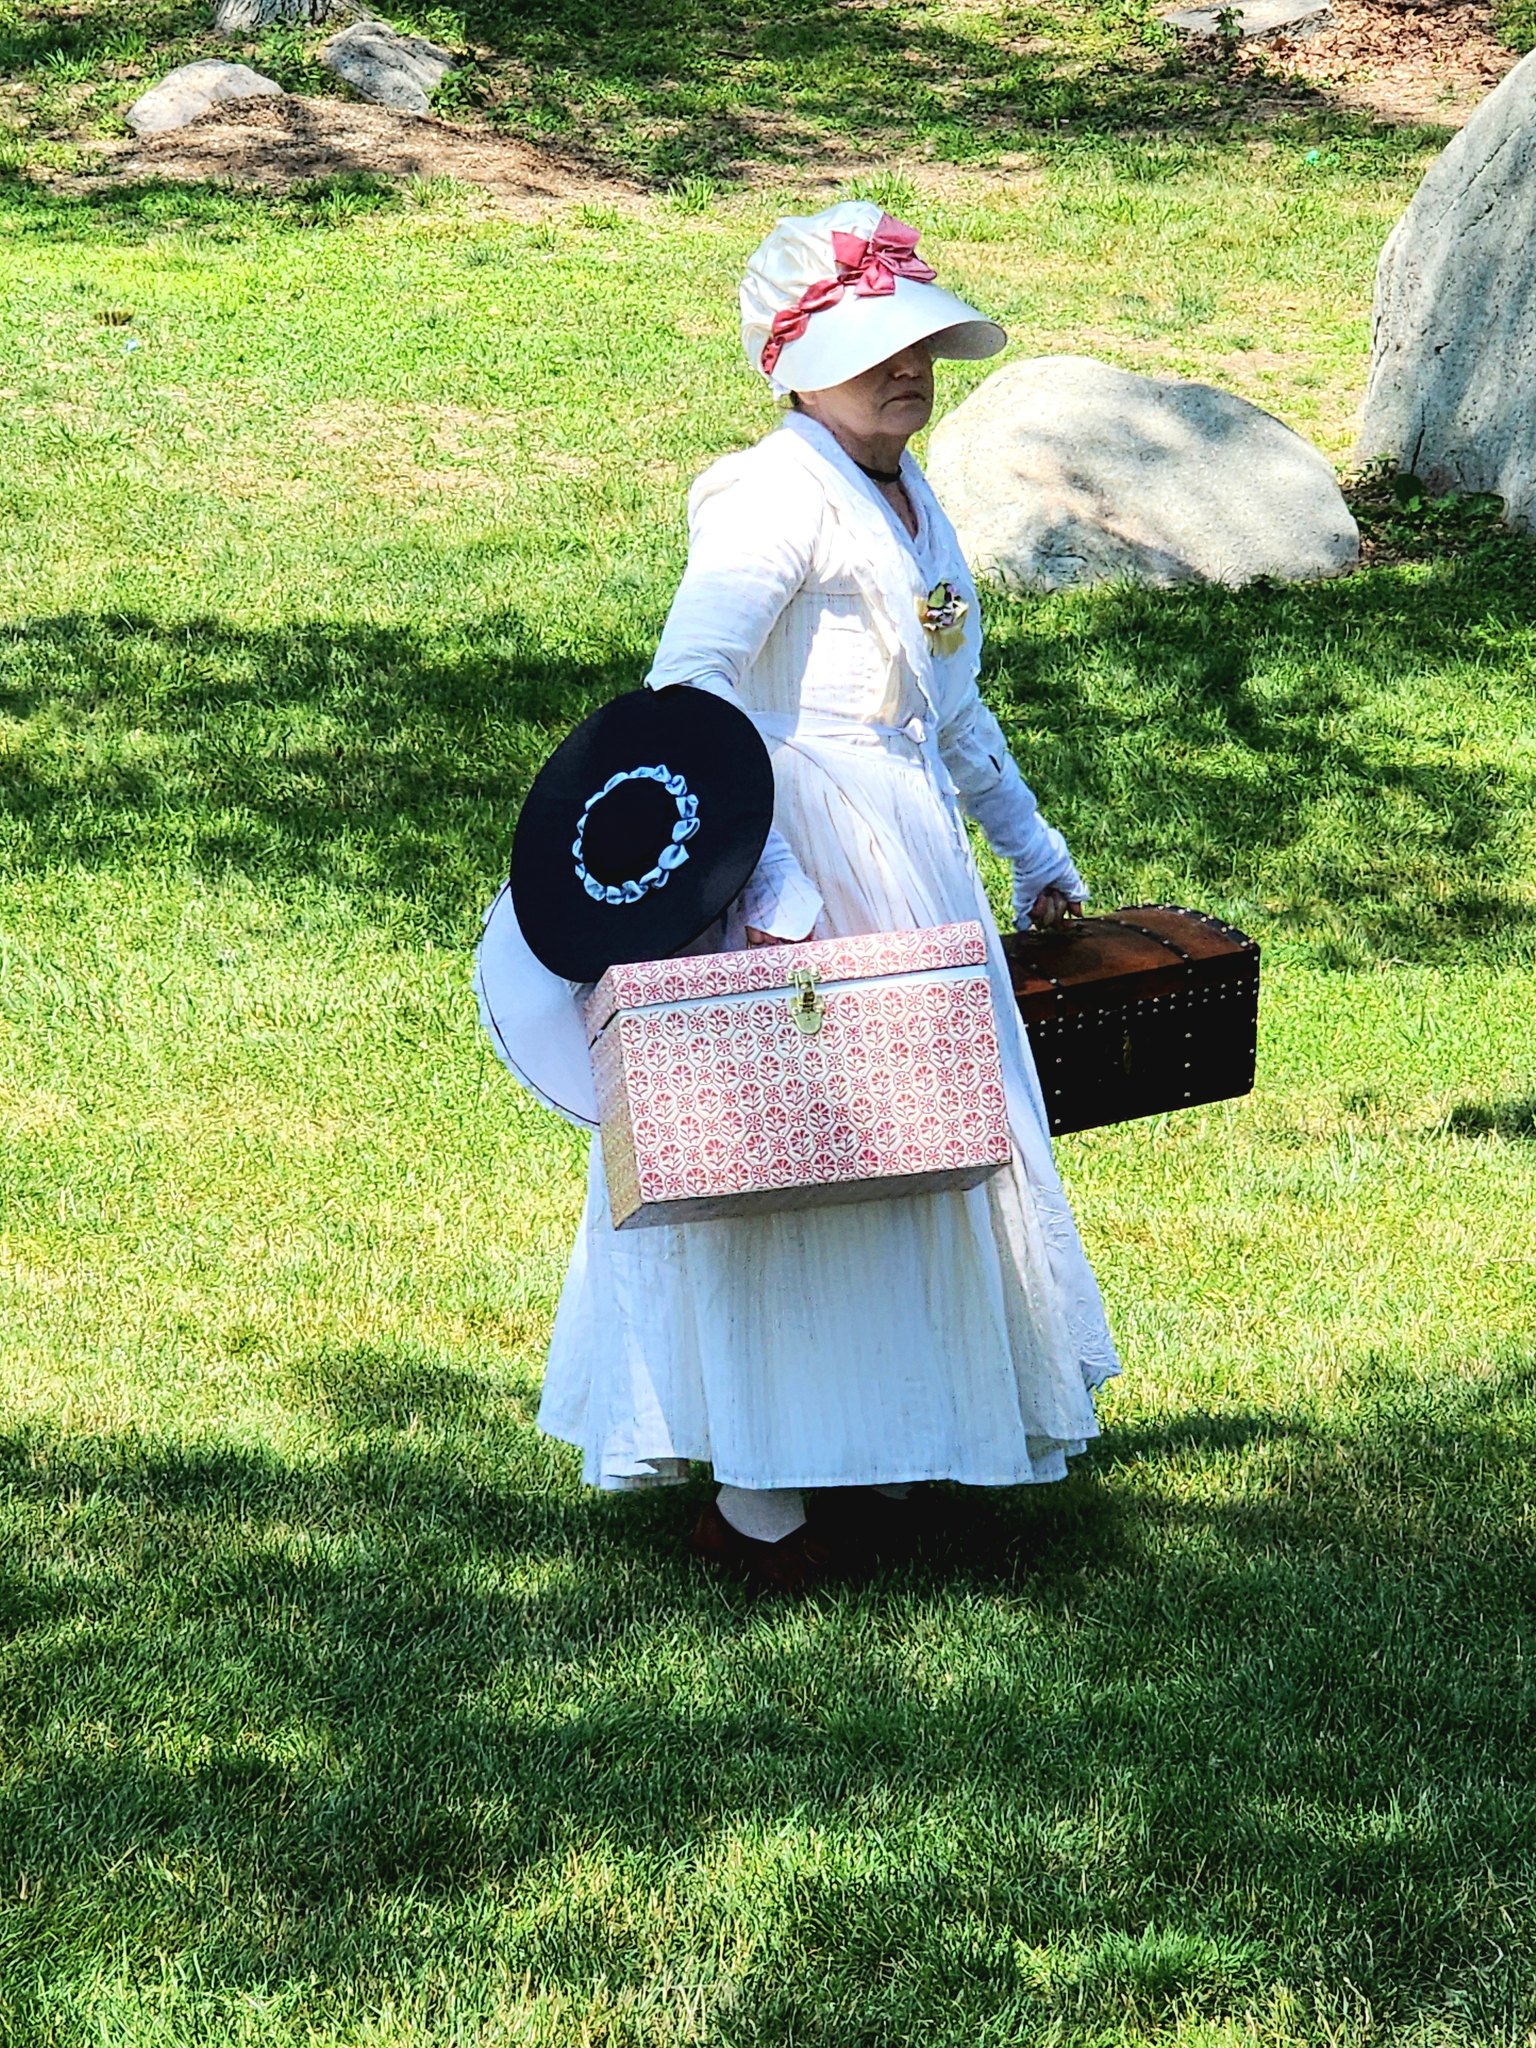
I chose to portray Mrs. Mecom, milliner from Boston.

I couldn't find much information about Mrs. Mecom other than this ad so I chose to represent her as a woman sympathetic to the cause of independence who would have chosen to leave Boston during the siege. As such, Mrs. Mecom grabbed what she could carry from her shop in hopes of being able to make some money to support herself. As is always the case, I needed to come up with some pieces of material culture so I made a milliner's trunk from a polka dotted pasteboard trunk I picked up on clearance at Michaels.
Here is the finished trunk: