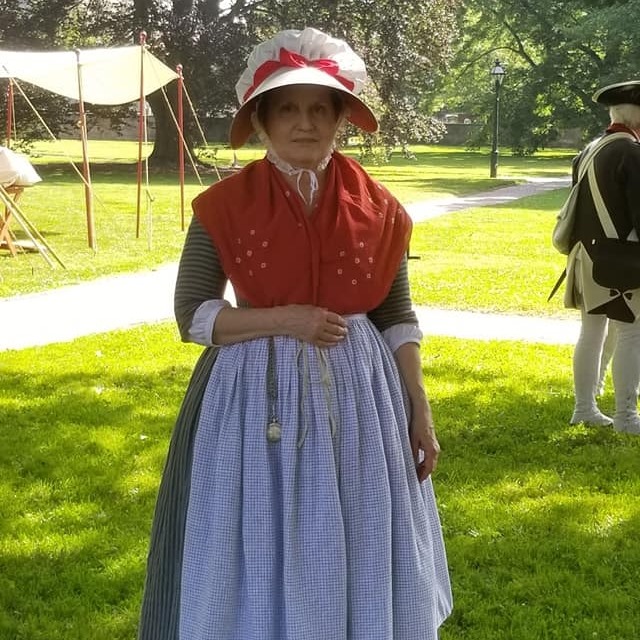
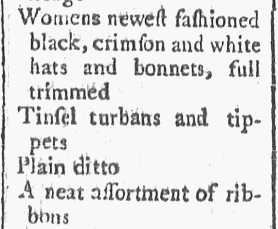
The title of this post comes from an ad in the Pennsylvania Chronicle, July 3, 1769. I've decided that I needed a few bonnets. I have 2, one of which I made from a pattern. This particular bonnet seems to be the style everyone makes with a half circular brim. You can see it in the photo below. This bonnet is made from green ribbed changeable taffeta. It's the most common style and the most popular bonnet pattern is this style which is probably why everyone seems to have this style.
My other bonnet is one that I purchased from
Kitty Calash. This is an oversized bonnet--white silk taffeta with the brim lined in red silk. I really love this one
I turned to
Sue Felshin's Bonnet research. If you haven't looked at Sue's research before, you really should. She has comprehensive pages on Bonnets, short cloaks, caps, 18th century lace--just to name a few.
Bonnets have 2 parts: a soft crown, or caul and a stiff brim. There are a number of brim shapes frequently seen in period images. Here are a few that I've been looking at:
Heyday! Is this my Daughter Anne! 1773
The pretty mantua maker 1772
Miss Tipapin Going for All Nine 1779
Edward Penny and a Sick Soldier 1765
Pot Fair Cambridge 1777
An Old Macaroni Miss-Led 1772
The Rival Milliners 1772
A Lady in Waiting--no date but looks to be around 1780.
The following 3 details are what I'm looking at copying:
Brim that wraps around face (without the creases in front) and a smallish caul.
Medium sized brim that has a curved bite out of the seam edge. This takes away that visor look that my green bonnet has. Medium caul.
Smaller brim with taller caul for late 70s tall hair. I also like the one in the Miss Tipapin image above.
Colors:
I looked at a number of ads, a few of which I've included here. Black and white were the colors most commonly listed. There were also references to "bonnets of all colors." I found crimson listed as a color in a number of ads and pink and blue listed in a few. I wanted to make a crimson bonnet to wear with my block print 60s gown and a black bonnet for the late 70s so I chose brown as the third color since I had a nice remnant of some brown taffeta.
Boston Gazette May 1767
Boston Newsletter Nov. 1765
Boston Newsletter July 1770
Connecticut Courant May 1769
Providence Gazette May 1768
Royal Gazette May 1778
Step 1: Draft the brims
I used extra heavy craft weight Pellon to draft my brims. I like this material because I can hold it in place on my head and it has enough body to not flop!
I started with my small brims. I cut a half circle like the brim on my green bonnet and then started reshaping it by cutting away at the straight edge--making it curved--and making the brims narrower or longer or both. Basically I played around with the shapes until they looked like I wanted.
The other brim is almost shaped like a Regency/Victorian brim. I had a straw bonnet blank I had made from a thrifted straw hat that had the kind of brim I was looking at so I draped my pellon over this brim and cut it a bit wider.
You can see the comparison of the straw bonnet with the finished brim:
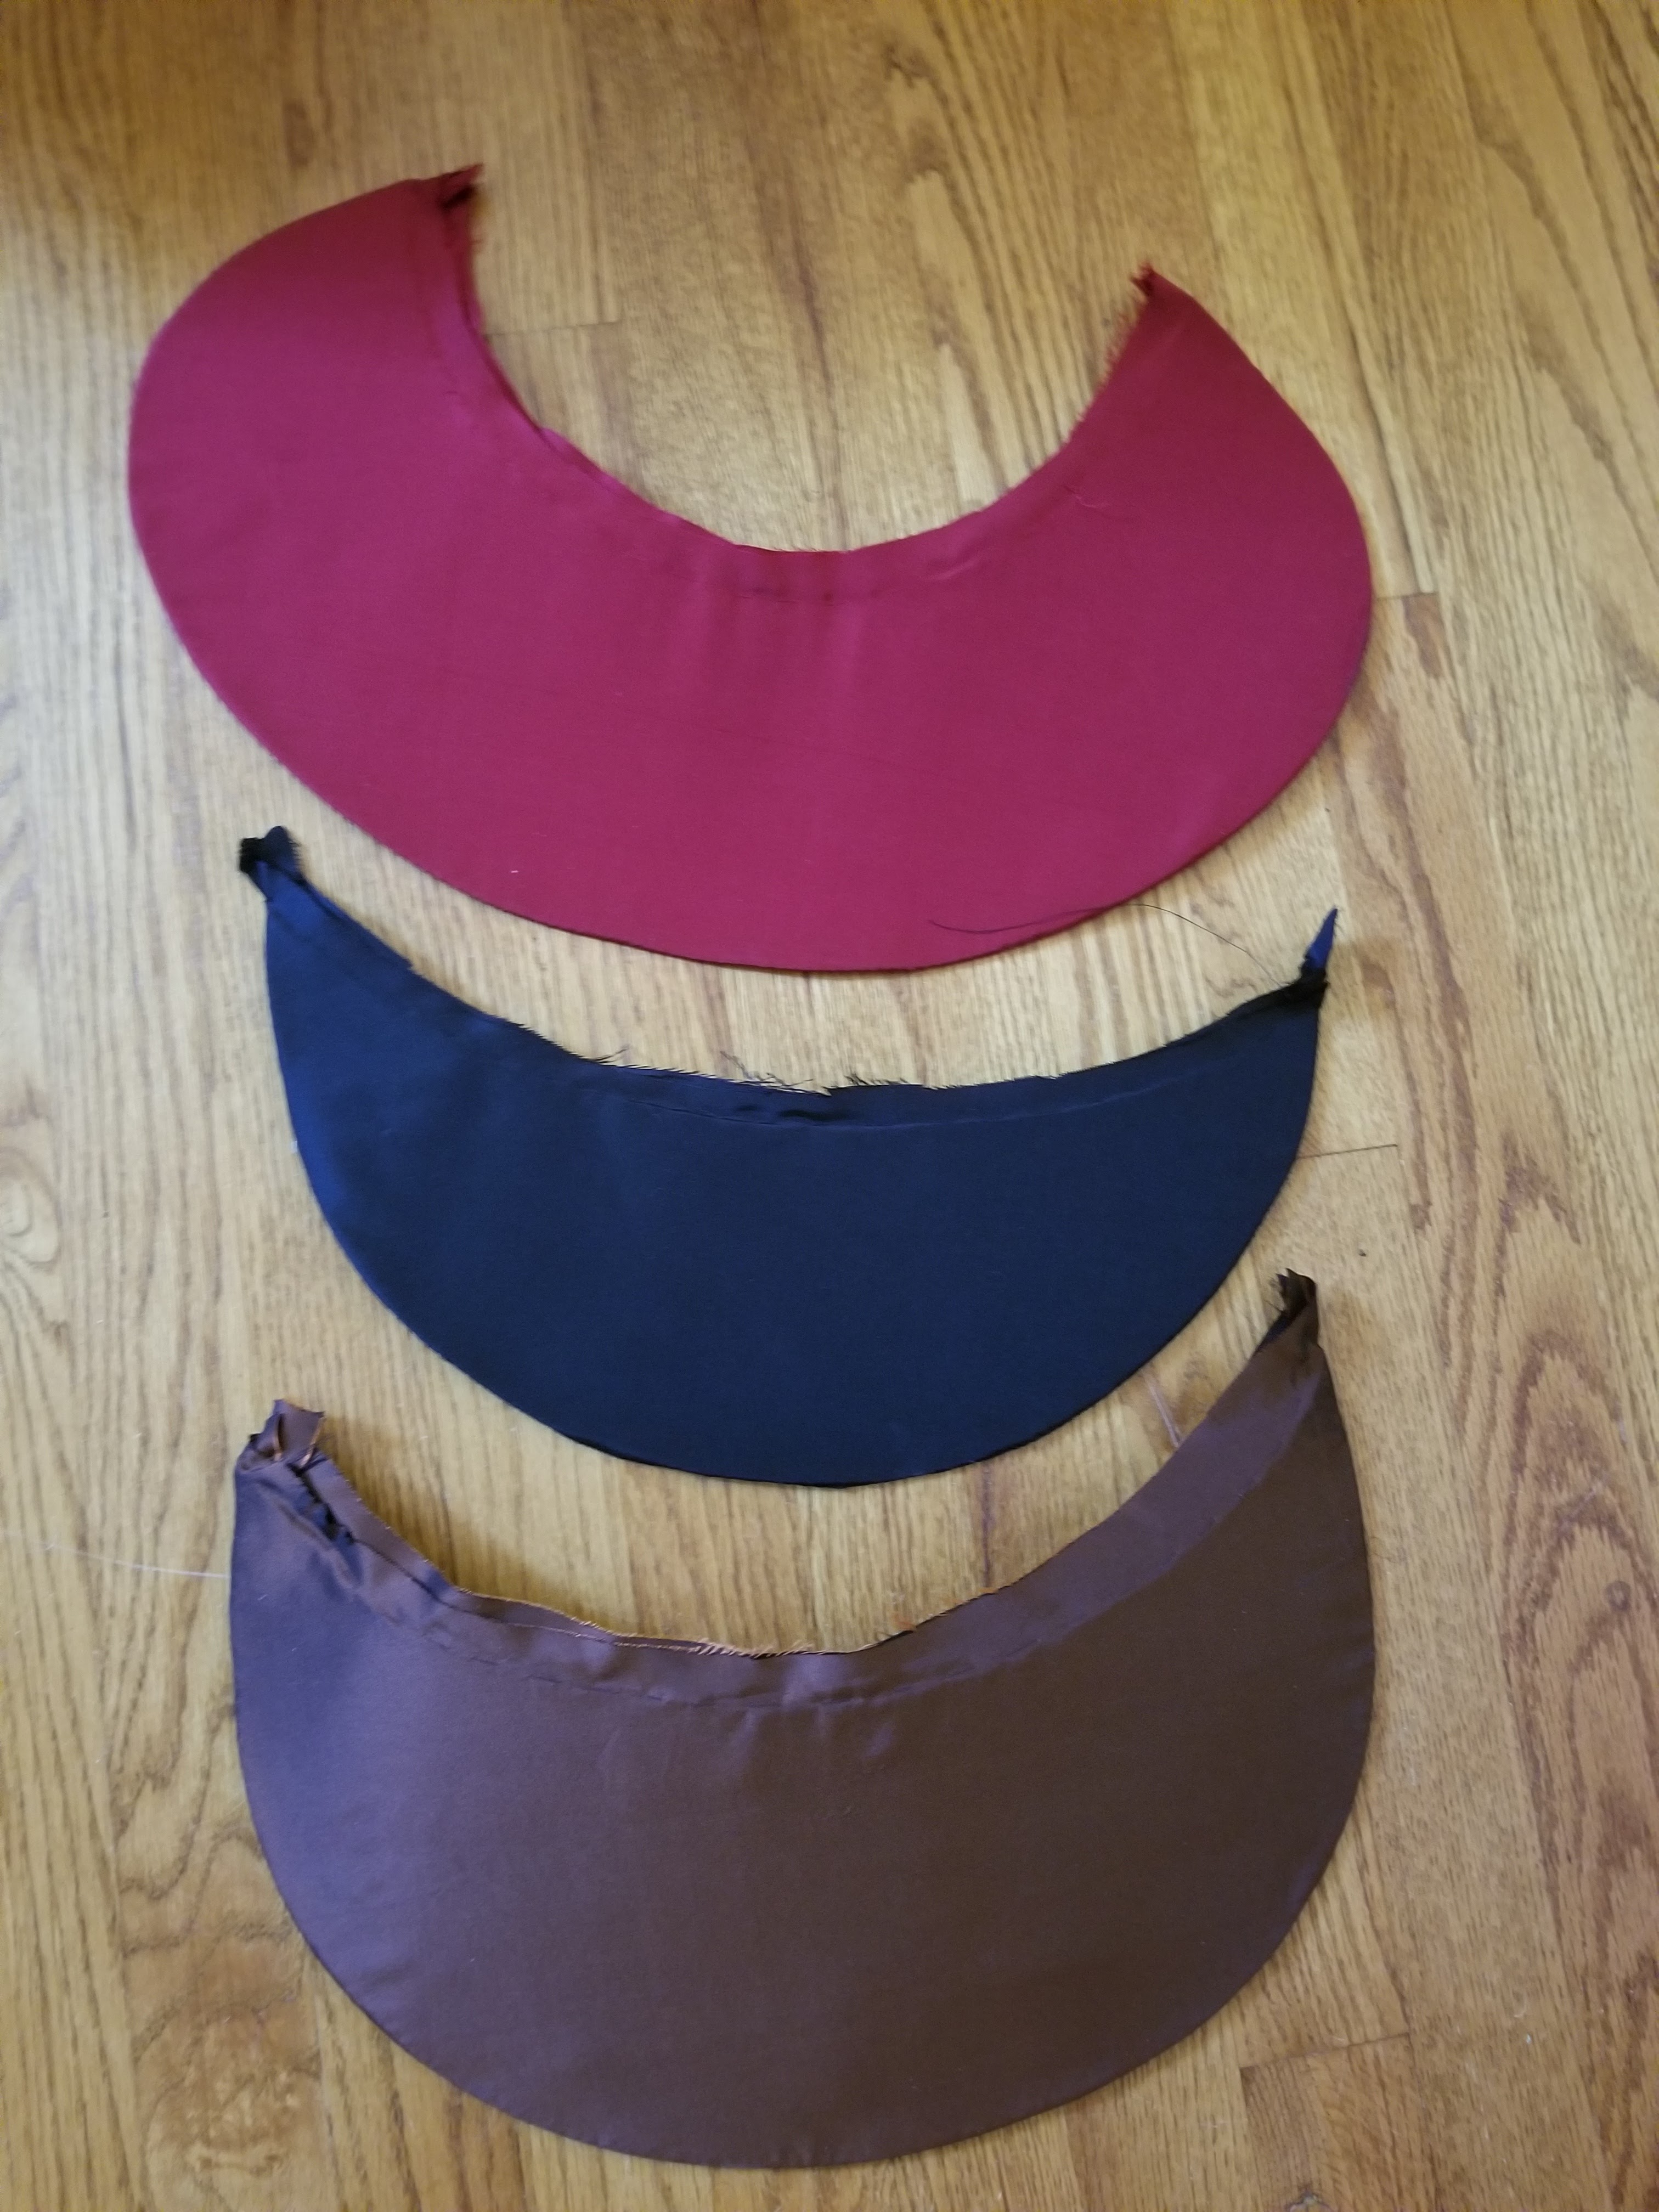
Here are my finished brim patterns, not including seam allowance.
Step 2: Construct the brims
18th century brims were typically stiffened with buckram, chip, or pasteboard. I've seen period ads selling pasteboard for bonnet brims. I chose not to use pasteboard because storage can be an issue. If the pasteboard gets creased then you cannot fix it. I went with double layer millinery buckram. This stuff is extremely stiff and if it gets creased, it can be ironed or steamed back into shape. Whenever I use this material, I stitch millinery wire along the edge of the buckram. After the brim buckram was prepared, I placed it on the silk and traced around it with chalk. Two pieces of the silk was then cut out with a 1/2 - 5/8 inch seam allowance.
The seam allowance was folded over the outer curved edge of the buckram. The other piece of silk had the seam allowance turned under. It was placed on the wrong side of the brim and pinned in place. The brims are ready for stitching.
The brim facing was stitched in place using an appliqué stitch.
The inner seam allowance was basted together. Finished brims:
Step 3: Draft the cauls
This is when I referred to the cap patterns that I drafted. The crimson bonnet is to have a smallish caul with an even pouf so I thought I'd start out with a circle that has one flat edge for the draw string. I cut that shape out of pattern tracing cloth, gathered the edge on the machine and pinned it to the brim. It wasn't right so I made it taller and repeated the gathering and pinning process. Brim #3 looks the way I want it to look (lower right). I ripped out the gathering stitches and kept the third pattern. I also cut another one that was 2 inches taller. You can see the evolution of that caul here:
The brim for the black bonnet is to be tall for late 70s hair so I started with the caul I used for a late 70s cap and made it 2 inches wider and taller. I gathered and pinned it to the black brim and it was just right. You can see the two cauls here (folded in half):
Step 4: Construct the cauls
The caul for the brown bonnet was cut an inch shorter and narrower than the caul on the left in the pic above. Here are the finished brims with their corresponding caul. The black caul is underlined with cotton netting to give it a little support. The bottom hems on the cauls are folded up twice and pressed. I'll unfold one fold and make an eyelet in the center back of each.
Step 5: Attach cauls to brims
Typically the curved edge of the caul is gathered to fit the brim. The desired finished shape of the bonnet will determine how the gathers are distributed. The desired shape of the red bonnet is round which will require the gathers to be evenly distributed. First I stitched running stitches round the curved edge and pull the gathers up tight, making sure they lay parallel as if making stroked gathers.
The gathered edge was pinned to the brim. I stitched it in place with a backstitch, making sure the stitches were snug up against the edge of the buckram/pasteboard.
Binding the seam isn't necessary but I prefer to do so. I cut my binding on the crossgrain to conserve fabric--something they would've done in the 18th century. I cut a strip the length of the seam plus 1 or 2 inches and 2 inches wide. I pressed the strip in half lengthwise then folded the raw edges in to meet in the middle to make a finished binding of 1/2 inch wide. I trimmed the bonnet seam allowance a bit then pinned the binding in place. You can choose to either whip stitch each side of the binding in place or simply use a running stitch through all the layers which is what I did since the binding isn't seen.
I chose to pleat the brim of the brown bonnet. I started with a 1 inch (approx.) wide box pleat in the center and made knife pleats radiating away from it. I don't measure pleats. The first 6 pleats on each side were deeper to concentrate more fullness to the front even though the pleats look even all the way around.
You can see how the pleats look. The seam was then bound as above.
The black bonnet was gathered and the gathering was concentrated in the front to make the bonnet more tall than wide.
Step 6: Trim bonnets
I've seen images of bonnets trimmed with self fabric as well as contrasting ribbon. I went with contrasting ribbon for these. I used double face silk satin ribbon on the red and brown bonnets. I used narrow ribbon on the red bonnet and made a large bow with wider ribbon which I stitched to the side of the bonnet.
The brown bonnet is trimmed with 2 inch wide silk satin ribbon in puffs.
The black bonnet is trimmed like that in these two images: The Pretty Mantua Maker and An Old Macaroni Miss-Led:
This bonnet needed a bit of support to make it stand up so I cut a piece of medium weight buckram the length of the brim and about three inches tall in the center, angling it to 1 inch tall at the ends. I stitched it inside the bonnet along the seam.
I made ribbon loops along the front at the seam and added two pieces of ribbon to hang on one side. I cut a strip of black taffeta 2 1/2 inches wide, pinked the edges with scalloping sheers to make the width 1 1/2 inches wide then painted the wrong side of the scalloped edge with fray check using a small artist's brush. The trim was then box pleated around the brim edge and prick stitched in place.
Here are the finished bonnets as worn. My hair isn't proper so I did the best I could!
I'm really pleased with all of them! I've drafted the patterns and will use them in a future workshop. It's nice to have a variety of bonnets that work for different decades and social classes!