Part 2: Marking the design on silk
One of the most daunting tasks of of this project is that of marking the quilting design on the silk. My original plan was to use a stencil and a product called Quilt Pounce, which is a white chalk like powder that goes into a pad. The pad is rubbed on the stencil and the white powder then shows up on the fabric. It looks like white chalk but the best thing about it is that it is heat removable. I had tried it on black silk and on a lighter silk and it seemed to work. The other thing that appealed to me about this product is that because it looked like chalk, I could work on this project at events.
Since choosing to go with a different design, I have 2 options: trace the design with some sort of removable marking pen/pencil or cut stencils and use the Quilt Pounce. If I were stitching a repeating design, I'd use a stencil. However since that's not the case, I have to trace it using a removable marker of some kind. I have a number markers that I use in general sewing that are typically cold water soluble. I've used them on silk but the marks were always inside the garment and not visible for that reason. I've never had any qualms about removing the marks with water and I've always had good luck with simply dampening a wash cloth and dabbing the marks with cold water.
This project has other concerns:
- The project will be subject to a significant amount of handling and the marks need to be able to withstand that handling without rubbing off
- In the event that the marks cannot be completely removed, they need to be obscured by the stitching
- The marks should look like something that could have been used in the 18th century if I wish to work on this project at events.
Given that we're in the middle of a pandemic and we aren't having events, the last concern is not relevant for this project. I set out to do some testing of various products on my silk.
Here is my chosen selection of markers to test: water soluble graphite pencils, heat erasable pens (these got particularly high reviews), a water soluble chalk type mechanical pencil, fine point blue water soluble marking pens.
Let's look at how the marks look.
The water soluble graphite pencil was easy to see and seemed to withstand rubbing the fabric. My one concern about this product is that these are traditional pencils that have to be repeatedly sharpened thus not having a consistently fine point. The thickness of the line will be harder to conceal with stitching. I do like this product though.
The heat erase pen was eliminated at this point. The lines are not even and would not work well for tracing detail. I can see how this would be a nice product to use for marking things like darts or pleats inside a garment but I was disappointed in this product overall.
The water soluble chalk pencil made a nice thin line that was readily visible. It did rub off a little but not completely with handling. I like this product.
The fine point blue markers made the line that was easiest to see. These have always been my marker of choice for general sewing. These marks do not rub off with handling.
So with one eliminated, let's see how the remaining 3 look with stitching. I used my silk quilting thread to see if the stitching would obscure the marks should the marks not be able to be removed.
First the graphite. I stitched over a solid wavy line. The color of the graphite blends well with this particular shade of blue and I found that it wasn't particularly noticeable. I'm still concerned with the thickness of the line though and I don't like the idea of having to constantly sharpen a pencil to get a fine line.
The water soluble chalk pencil marks are well obscured by the stitching, This fabric isn't dark enough for this to be too noticeable.
The blue water soluble marker is also pretty well obscured though a little visible.
The last test was that of removing the marks. For kicks, I did test the heat removable pen and it failed. It left a fair amount of residue. I do suspect this wouldn't show if it were quilted but I really don't want to have to iron a quilted petticoat.
The graphite pencil marks came out after dabbing with a damp washcloth. You can see where I also removed some of the lettering.
The water soluble chalk pencil marks were less visible after dabbing them but they did not completely remove. They are still not visible with the stitching.
As expected, the blue soluble marker lines came completely off.
At this point, I was thinking that I'd use the blue markers until I received some Bohin brand water soluble chalk pencils in the mail the next day. Here are the sample marks. They are more intense and crisp than the Dritz chalk pencil. I rubbed them with different textiles and my hands to check their durability and the marks stayed on so I'm going to go with them to mark the quilting design.
I used the blue markers to mark a dotted line 10 inches above the bottom raw edge of my petticoat to use as a guideline.
Next I tried out the light tablet to see if the design showed through the silk:
I couldn't believe how clear the images were! I pinned the paper pattern behind the fabric and worked on sections of the border. This was pretty time consuming--I spent about 3 hours getting the whole border traced. You can see how clear the marks are:
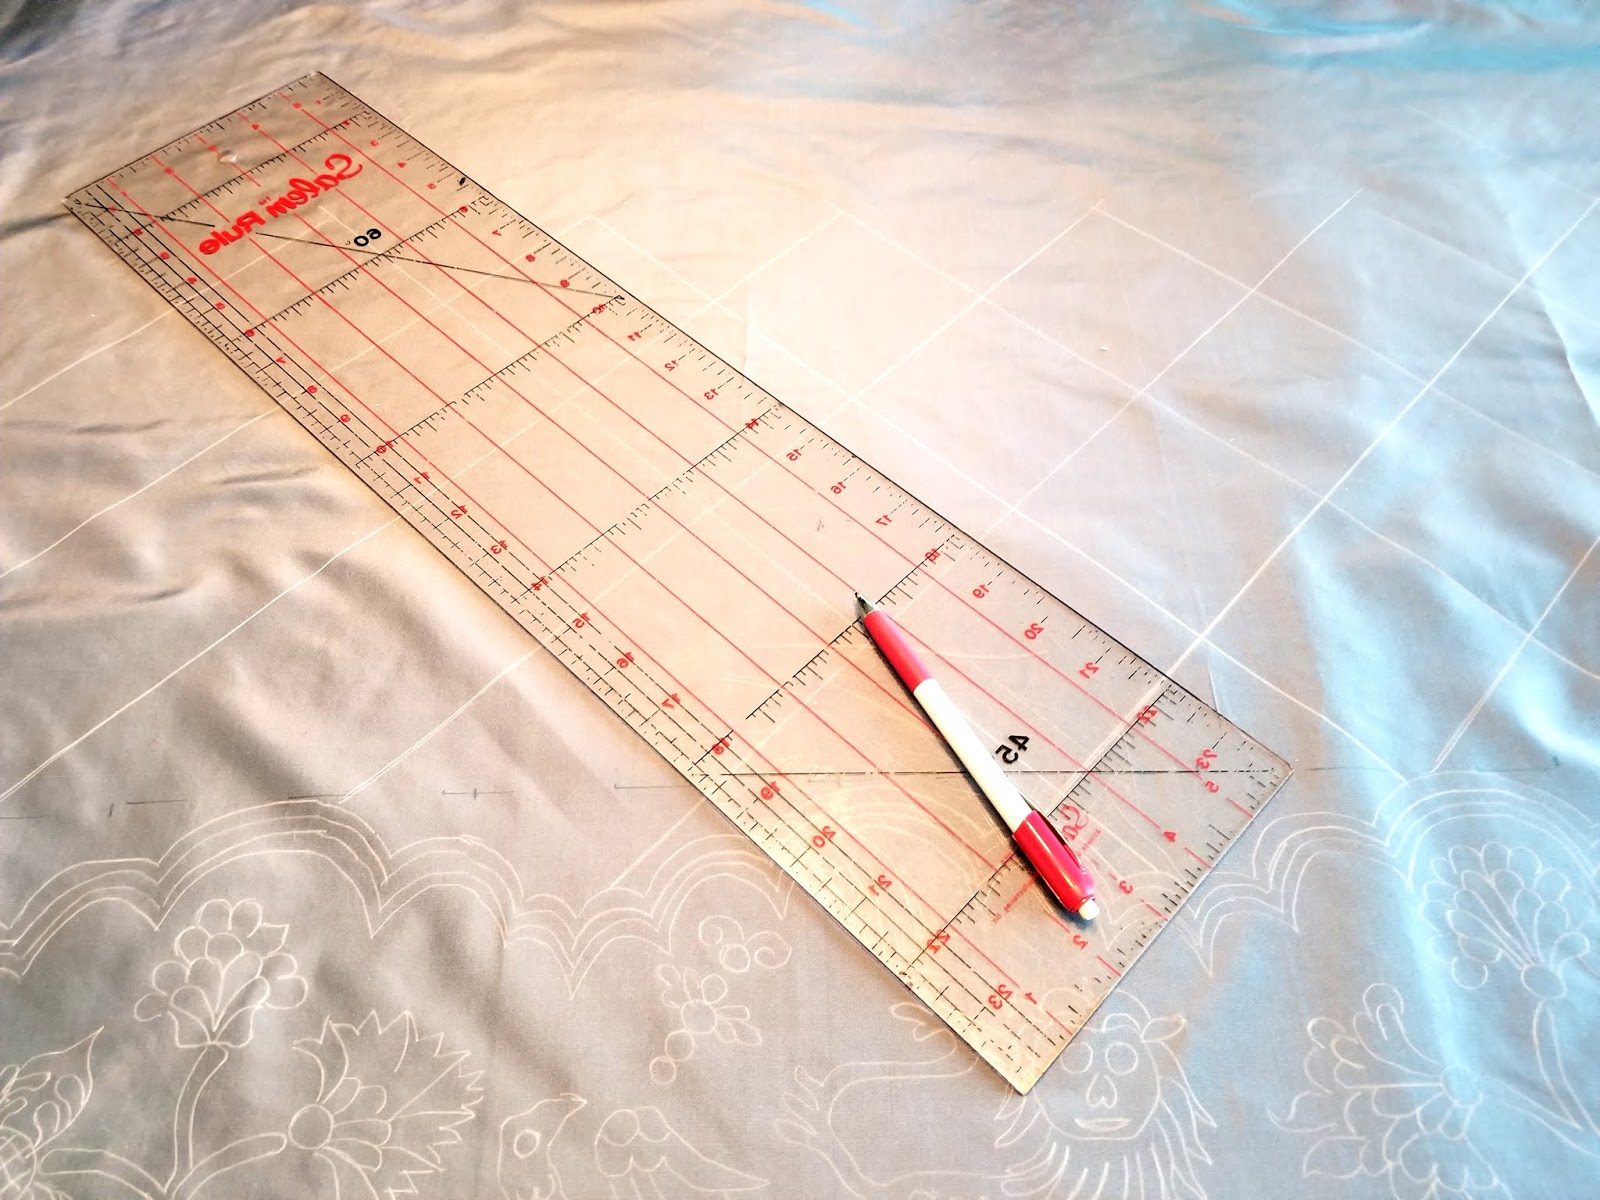
After the border was marked, I used a quilting ruler to draw diagonal lines. The quilting ruler has a 45 degree guideline which helped me line the ruler up with the guideline I had drawn for the border. The resulting squares were 3 1/2 inches wide.
Starting with the row of diamonds adjacent to the border, I divided each diamond into quarters. I did this every other row. In the "blank" diamonds, I used the light tablet to trace a variety of figures taken from extant quilted petticoats: the first row has flowers, the second row has animals the the third row has birds.
These images were taken from small sketches of the full extant petticoat designs. I used photoshop to isolate each one and resize it to fit the 3 1/2 inch diagonal squares. This was fairly time consuming.
It's hard to see how the design layout looks, but here's what I have:
I made sure to put my favorites in the front! Note the hippogryph! Nothing like an 18th century no to Harry Potter! LOL
Next up: basting the layers together, which I believe will take at least a whole day. Since I'm using the dining room table, I have to work on it and get it done so it doesn't become a cat bed.