Showing posts with label sewing. Show all posts

Thursday, May 7, 2026

Missing in Action--catching up!

It's been a long time since I last posted.  Sometimes life gets in the way.  Turns out that late last fall I starting having some extremely painful cervical spine issues requiring physical therapy which made it difficult to do hand sewing.  I tend to bend my neck when I hand sew.  I decided to use the time to catch up on some quickie machine sewing tasks.

I have so many cotton and cotton/lycra knits in my stash that I finally decided to whip up some pjs.  I love wearing knit pj pants with t-shirts.  I keep a collection of sleeping t-shirts in long and short sleeves as well as tank tops but I did get some new shirts for my new pjs.

I found a cute pattern on Etsy for summer pjs (which I still have to make) and decided to use that pants pattern since it was made for stretchy knits.  I realized after printing out the pattern that it had no side seam which is a problem as I like to have in seam pockets so I needed to add a side seam and a pocket.  

I really like the pocket construction in my Maryland flag lounge pants.  It's folded along the free vertical edge and the top of the pocket is caught in the waistband to keep it from flopping in place.  So I decided to just copy that one. 


The rest of the process went pretty smoothly.  I like the way the elastic and drawstring go together on this pattern.  One thing I realized, though, is that I need to start using my serger again.  I'll have to take it in for a tune up because sewing knits on the sewing machine takes longer.

Here are the finished PJs:


These pants are soooo comfortable.  These cotton/lycra knits are fairly meaty so I'll need to get some lightweight cotton jersey to make some summer ones.  This is one of the reasons I'll miss Joann Fabrics so much.  They had the best selection of cotton printed knits and I've amased quite a stash of them.  Some were for the grand which never got made but they'll make great pjs for me!

Next up is the skeleton print tunic.  I've had this fabric in my stash for years.   I made the grand a similar tunic when she was 4 (she's now 9!).  I love this print.  The other print is for another project.


I made the pink version but without the hood.  I love hoods but they can get in the way for workout clothing.  I did follow the pattern method for the neck band.


The last of the quickie sewing projects was one I've been sitting on for a year.  It's the Society Dress from Gertie's patreon.  It's a solid 1940s style knit dress.  I bought the rayon knit over a year ago for this project and realized that I do not like working with these slinky type knits.  I like the final result though.


This type of dress would be a great travel piece as you can literally roll it up into a ball and shove in a backpack!  I have another of these cut out of the black print with moons and stars (pictured above with the skeleton print).  That print is a more stable cotton/lycra knit.  I need to fine tune the fit a bit more as it was still a little long waisted on me.

Last up, I whipped up a quick knitting pattern:  One of the many versions of the Miss Marple scarf that you can find on Ravelry.  I had some white wool Cascade 220 in my stash and literally ran out about 1 inch from the end of the project.  I was able to get another skein.


I really like this pattern a lot.  The design is very clever--the way one side feeds through an opening on the other.  It keeps it snugged up against the neck which is nice and warm!

I guess being sidelined didn't completely render me completely unproductive. LOL.  I'm back at making history clothing.  I'm also looking forward to making more modern stuff--some which has already been cut out!


Saturday, August 9, 2025

Introducing Tiny Tabitha!

 Let me introduce you to Tiny Tabitha!  I've never been one to name my dress forms but I decided she needed an identity.  She's a half size form.  I found the pattern for her in an article on Scribd.  If you do not have a subscription to Scribd, the creator does have a downloadable pattern available on Etsy.  The pattern included 1/4, 1/3 and 1/2 scale versions.  I went with the half size scale.  Since I planned on using her with teaching demos, I chose to make her out of plain osnaburg linen.  I also decided to change the base a bit, choosing to use a wood plaque in lieu of the weighted cardboard base shown in the pattern.  She was a bit fiddly to sew but the process was interesting.  Here is the finished product:


I discovered that the pattern creator also had a pattern for arms on her Etsy site so I added them and painted the base:

Next up:  Under pinnings.  

I ordered the half sized shift and under petticoat pattern from B&T.  I modified the sleeves and a few other details on the shift as I wanted the shift to have sleeve buttons and an open cuff.

Note the laundry mark!


I didn't have any buttons small enough to use so I cut off the legs from some paper brads and curved them into button shanks.  The size was just right!

Here she is in her shift (Jordie for scale):

Next up--stays!  I wanted strapless fully boned stays.  There's a lovely line drawing on the JP Ryan stays pattern which my stays are made from so I used that line drawing and sized the width of the stays laying flat to the measurement I computed would fit Tiny Tabitha.  I then cut a fitting muslin from heavy interfacing, all in one piece with no seams.


I found this mock up to be fairly close though it was clearly too short.  I made the adjustments then cut it out of pink worsted and linen canvas, sewing the boning channels by hand.  I also added 1/8 inch tape to where the seamlines would be to give the illusion that the stays were made in sections.  Here they are before the boning channels are finished.


After boning them, the top was bound with white lambskin.  The tabs were split and the bottom portion of the stays were lined with the same lambskin, stitched right sides together with the fashion fabric which was much less tedious then attempting to bind the tabs.  A pink and white checked linen lining was added last.


Now to work on getting her dressed!

This has been an enjoyable project so far and she will come in handy for mantua making demonstrations.  The best thing is that I can make a garment for her using remnants from my own gowns!  I'll post her wardrobe as it develops.

Thursday, February 8, 2024

Just in time for the cold! Gertie's Swing Coat

First post of the year!  I actually finished this on New Year's Eve.

One of the best things about being a member of Gertie's Charm Patterns Patreon is the fact that you get a full sized exclusive garment pattern every month.  Occasionally you get a bonus pattern or a pattern hack for an existing one.  This pattern is a Patreon exclusive.

I fell in love with this fabric from Fabric Mart, which is 100% wool, a couple of years ago.  I resisted ordering it until there were just a few yards left then I got what was left.  They threw in an extra yard.  This particular fabric posed some challenges in that it is super chunky and loosely woven.  I thought it would be perfect for a design that is as simple as this coat--just a few seams and darts with one buttonhole.

Due to the loose weave, I decided to add a bit of extra warmth by choosing sunback lining.  Other issues to work out were how to mark the darts given the texture of this and how to construct the bound buttonhole.  I decided to do the buttonhole "lips" out of a plain wool flannel that wouldn't ravel.  Fortunately I had some black wool flannel in my stash.  I also used a larger button than called for.  A 1-inch button would've gotten lost in this fabric.  I found a plain, but interesting button almost 2 inches with multiple holes that was funky enough to go with it.

Other than shortening the sleeve pattern piece and the body by 1 inch, no alterations were made.  I used the straight size 8 pattern.

Bound buttonhole


Used some silk embroidery floss to stitch the button on.  I had to ensure that I made a good sturdy shank when doing so due to the bulk of this fabric.

Finished coat front

Finished coat back

Love the way it turned out!


I'm very happy with the way this one turned out.  The pattern is very simple and Gertie designed it to have very little hand sewing.  Even the sleeve lining is completely put in by machine.  I'm considering making a raincoat from this pattern.  One alteration I will need to make next time is the raise the inseam pockets by a couple of inches.  They are just too low on my body.  I'm not sure if that's due to the actual pattern measurements or if the coat just stretched in length due to the weight of it.  Another option would be to make patch pockets.  I'll cross that bridge when I come to it!

I highly recommend this pattern.  If you love vintage styled clothing, you should check out Gertie's Patreon!

Sunday, December 18, 2022

2022 Costuming/Historical Sewing Year in Review

It's that time of year when I take stock of my costuming accomplishments.  I've expanded this post to include other historical sewing since some of it required a boatload of research and took a lot of time.  Note that these projects are all sewn in the period manner.  If the period used machines, then a machine was used.  If hand sewing was the period standard, then the project was sewn by hand in the manner revealed in my research. Many of these items are accessories--some of which are just as labor intensive as full sized garments--particularly those with any embroidery or trim.  

One thing that always amuses me when I make these year in review posts is how different this list often is from the goals list I make at the beginning of the year.  Two of these projects were on my goals list.  At least two of those original goals that weren't completed will go on my goals for 2023 list.  LOL.  Sometimes my research and needs just takes me in a different direction!

This post does not include my modern sewing projects which includes three 1950's style frocks and 3 or 4 other garments.  I've listed these in order of completion and linked them to blog posts/tutorials where they exist.

1.  1921 black worsted tea frock.   This one was a lot more complicated than it appears to be!

      Detailed post with research can be found here. 


2. 1920s black taffeta petticoat.
    
Detailed post and tutorial can be found here.


3 and 4.  1786 Balloon hat and figured wool Italian gown.

               Detailed post and hat tutorial can be found here.


5, 6, and 7.   Three different silk bonnets.

                     Detailed post and tutorial can be found here:


8.  1780 Chintz gown.   Shown here with my friend Esther, who is wearing a gown of the same fabric!

      I'm on the right.  Detailed post can be found here.


9 and 10.  Two new work aprons.  The heavier white apron and the red checked apron are new.  

                 The blue one is included to show the new hand woven tape.  


11.  A new 1760s work gown for Widow Ferguson.   This gown is being worn with the white apron above         as well as a new linen voile handkerchief included with this project.
       Detailed post can be found here.


12.  1810s Regency cap made from a remnant of antique sprigged organdy.


13.  Linen bed gown.  It's hard to believe I haven't had a bed gown all these years.  I completed this one as         part of an 18th century home sewing presentation and found that I rather liked it.


14.  1920s brimmed cloche.  I wasn't sure whether to include this or not.  It was a fair amount of work.  It         was refashioned from a wide brimmed large brimmed thrift store hat that is 100% wool.  I had to         
       completely reblock it numerous times, cut away much of the brim and stiffen it more.  I should trim it 
       but haven't yet decided on what I want.


15.  Common linen mitts.    These were done as a sample for a mitts workshop.


16.  1770s Sheer organdy cap.  Another demo project for a workshop.


17.  1770s shift.  This one was a lot of work but desperately needed.


18.  In progress, fine linen voile Quaker cap.  Hopefully I'll finish it before the end of the year in which csse I will update.


Other history sewing that I don't wear:

Men's shirt.   This was made for a museum program on Esther deBerdt Reed.  I found myself demonstrating thread button making all day as the kids seemed to enjoy it.


Baby layette from Sharon Burnston's excellent instructions.


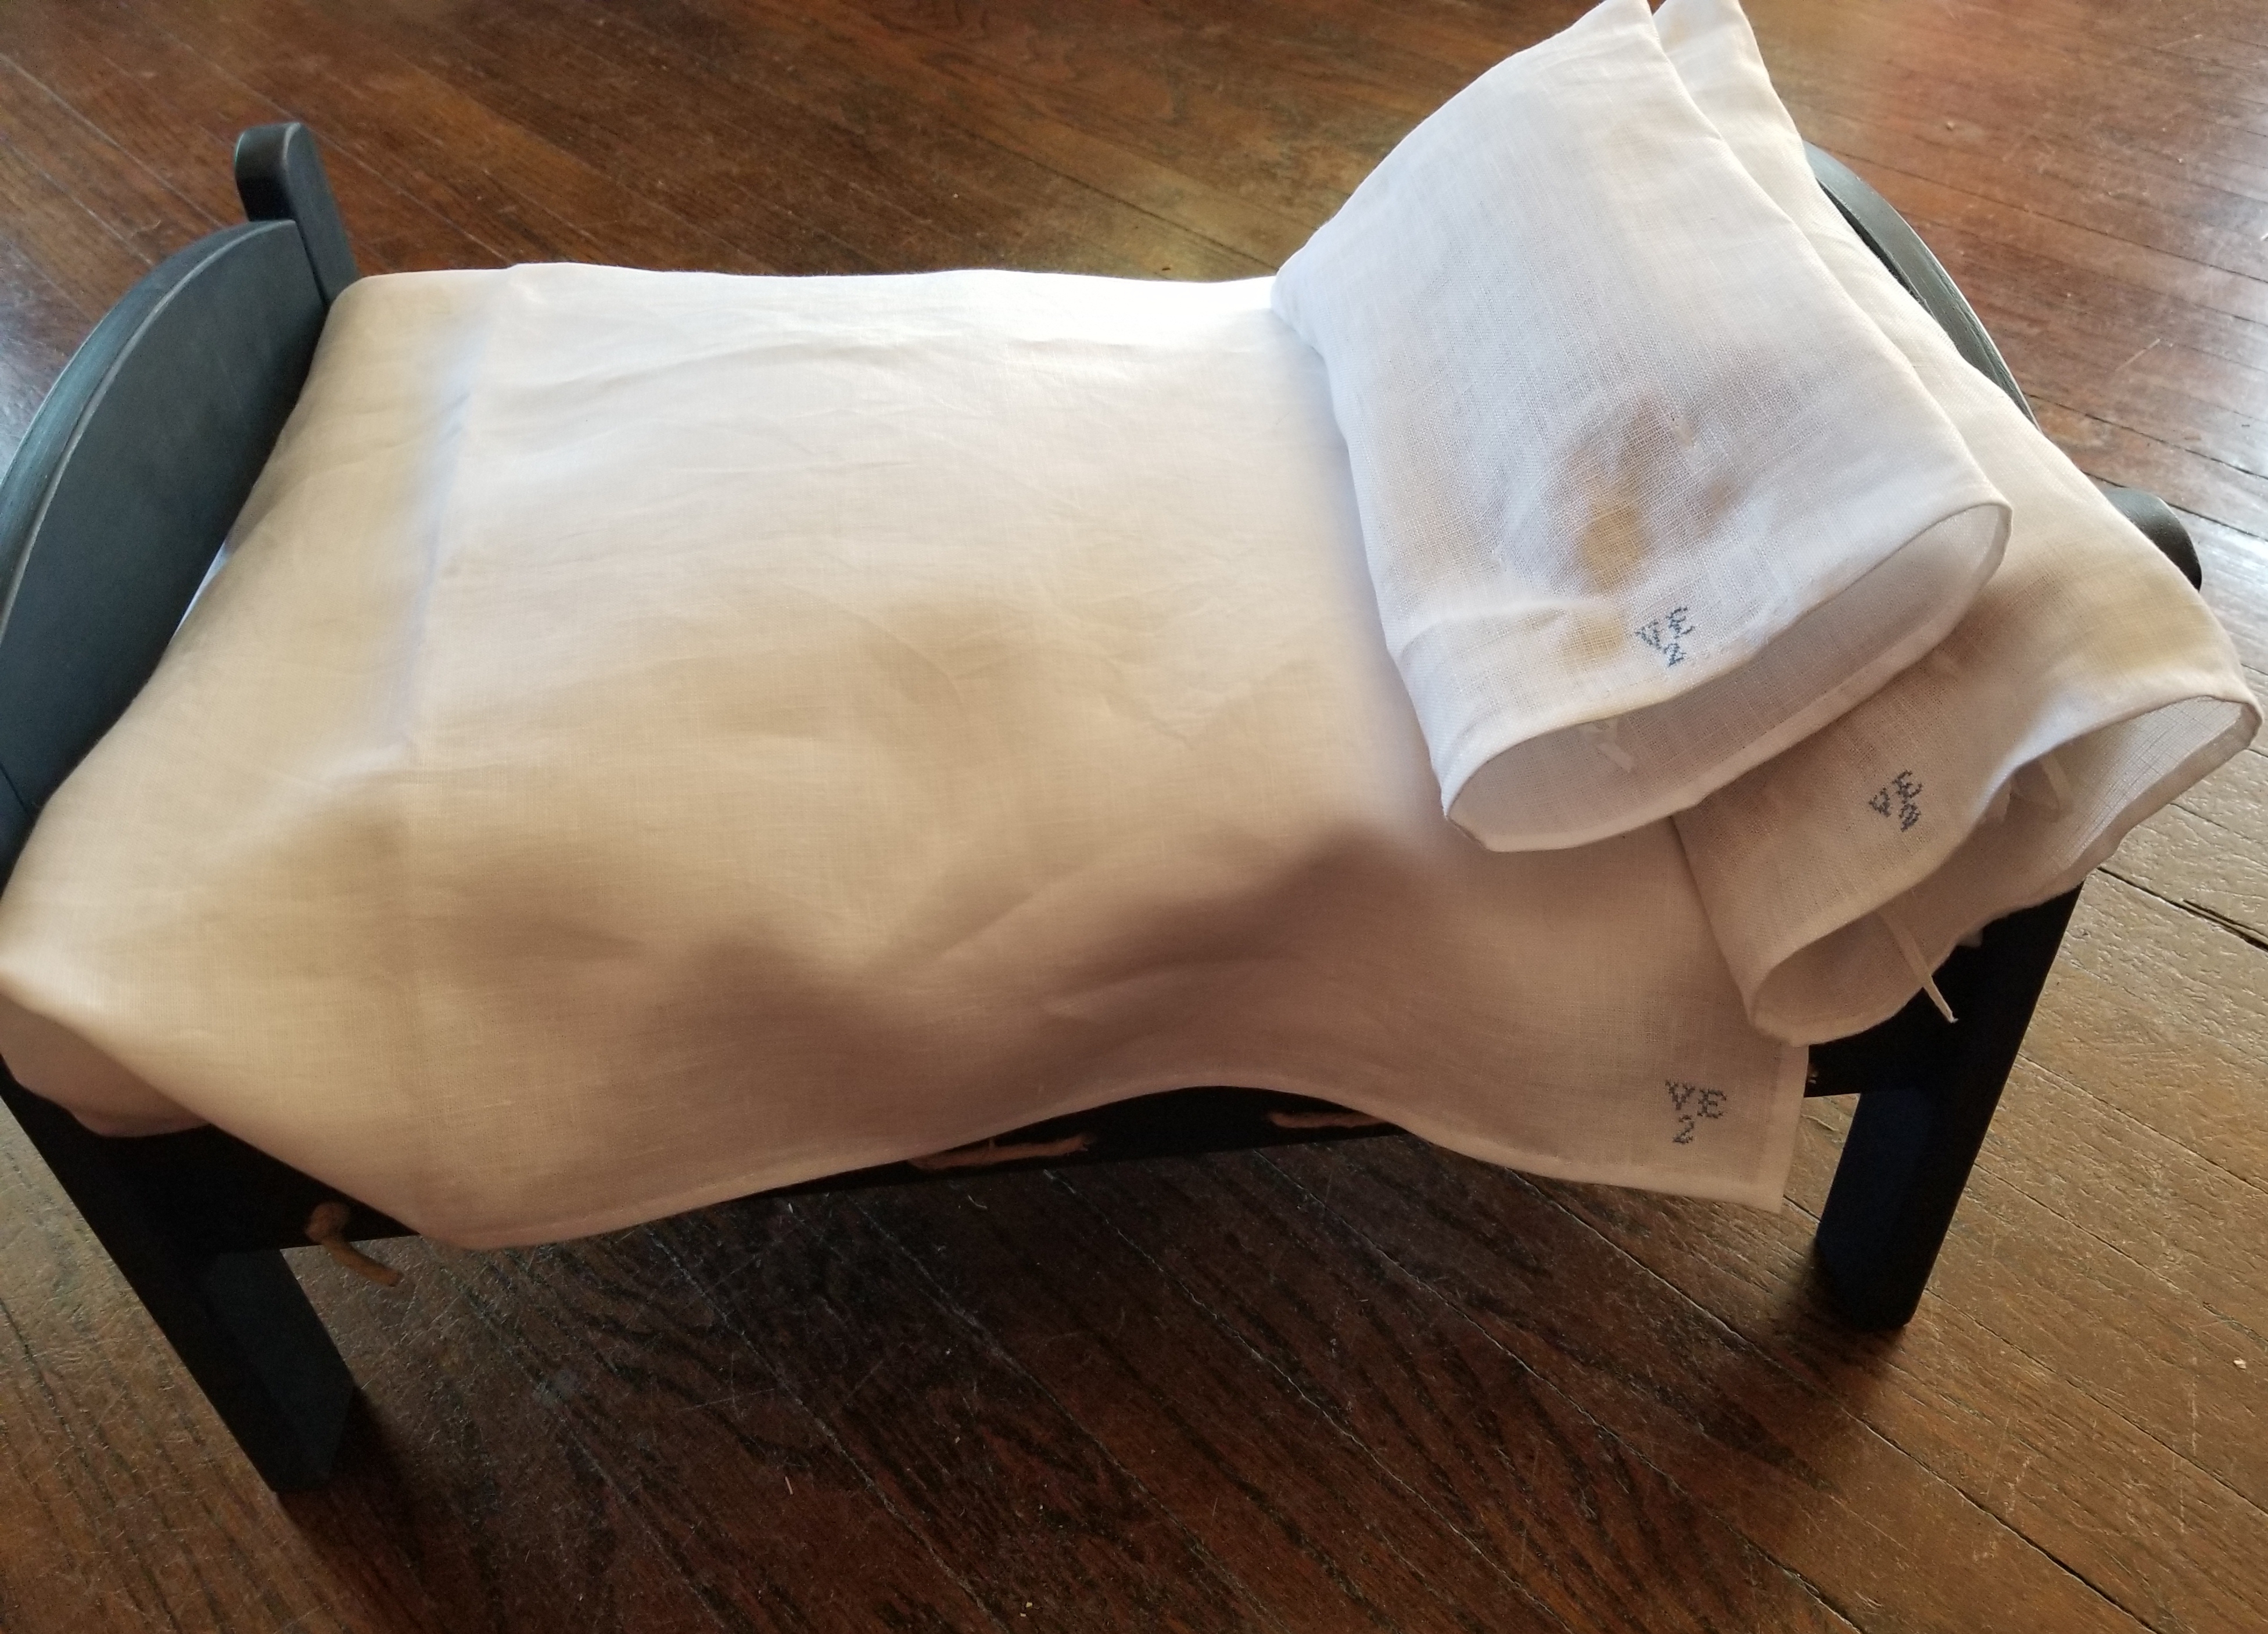
Miniature bedding project:  This was a lengthy project as I had to make the rope bed from an Ikea doll  
bed.  Details and research can be found here.


Rose blanket for the miniature bed:  research and details here.


In progress:  Blue checked men's shirt.  If I finish it, I'll update.

When I start these posts, I always think I didn't accomplish much--until I actually start counting and realize that I was rather productive!  I have a lot planned for 2023 and I suspect that what gets finished will not even be on that list if past years are an indicator. LOL.

Here's to a new year with lots of new sewing adventures!