I've been planning to make a sacque for some time now. I've had to work up the motivation first. I have a reproduction chintz that I planned on using to make a day gown with simple trim for Lady Stirling to wear to Valley Forge. There is a silk gown in the Colonial Williamsburg Collection that I had in mind as inspiration:
You can see in the closeup of the stomacher that there is one pleated trim strip on each side of the compere front. The trim strips, sleeve ruffles and front and neck edges are also trimmed in lace. I liked the fairly simple trimming on this gown.
My first quandary is what kind of fringe or braid, if any, to use on the fabric trim strips. I have some fringe type trim which I might possibly dye as it's optic white--or--I could simply roll hem the fabric strips and leave it at that. Looking at extant chintz gowns I notice that many have some narrow trim on the edges of the fashion fabric trim strip so I'll deal with that a little later. Also, this being a day gown, I do not plan to wear large side hoops but will use modest hip pads instead.
Pattern: J.P. Ryan Francaise
JP Ryan patterns are made for machine sewing. I've noticed a lot of questions about the construction on various facebook groups as the illustrations aren't terribly clear. I would like to make this pattern using historically accurate methods. First I perused the instructions which were fairly clear. I also found a blog post
here that had nice pics of some of the construction using the pattern instructions. I've made over a dozen English gowns and there were some stark differences in this pattern--no shoulder strap and no waist seam for starters. I was curious to find out of if this was common so I went to my books. There were several sacque back gowns patterned in both the Janet Arnold Patterns of Fashion book and the Norah Waugh Cut of Women's Clothes book. The pieces looked almost exactly like the JP Ryan pattern pieces. I also looked at the American Duchess Guide and found the pattern shown there to be quite different--with the lining having a shoulder strap and the gown having no robings. That one just looked wrong to me in comparison to the historic images. I continued to explore close up images from various museum extants to get an idea of some of the stitches used. Then I found that the Marquis.de page had a
historic pattern with construction notes and decided to follow those instructions.
I will walk through the process of fitting and constructing the JP Ryan Francaise with historical sewing methods.
Overview
- Unlike the English gown which is basically flat lined as it is constructed, this sacque uses a completed bodice lining for structure with the outer gown being draped onto the fitted lining.
- The back pleats will be draped onto the lining then the fronts and sides will be added and tacked down.
- Sleeves will be lined and sewn onto the gown.
- Stomacher will be constructed.
Method
As per the pattern instructions, use the lining front, back, internal stomacher and sleeve to make a fitting muslin. Keep in mind that the back of the bodice will be loose and will be fitted to the body using the internal ties. I suggest flat measuring pattern pieces and comparing them to your body measurements in stays. I find that with JPR patterns, I need to add 2 inches to the waist and I need to add at least an inch in the sleeve girth. I also added 3/4 of an inch to the sleeve length.
Once you have the fitting done, use a sturdy linen and cut and mark your lining pieces.
One of the confusing things about this lining is that the
right side will be the side toward the body. It is actually the
inside of the lining bodice. The
wrong side will face outward against the wrong side of the gown. This means that you will put your lining on your dress form or body with the unfinished seams being visible.
First you will need to attach the back ties and boning channels. I used 1/2 inch linen tape for the boning channels and 1/4 inch linen tape for the ties. I pinned the ties in place then laid the boning channel over them with the short ends turned under. I made sure that the tie ends were long enough to protrude out of the edge of the tape. Then I stitched the boning channel down using running stitch except where it overlapped the ties. I took 2 or 3 small back stitches over the ties to secure them. I did this along both long edges of the boning channel then I trimmed off the little tie ends that were protruding. Also make sure to take tiny back stitches at the bottom of the boning channel to keep the boning from slipping out there.
Here are the completed boning channels and ties:
I stitched the lining fronts to the back at the sides and shoulders using a lapped seam and spaced back stitch. This is done by folding under the front seam allowance and placing it over the back seam allowance, matching seam lines. If you've constructed the Larkin and Smith English gown then you will be familiar with this seaming method. I also trimmed the seam allowances to about 3/8 of an inch. When sewing the shoulder seam, be sure to only stitch between the dots. This will make turning the back neck edge under easier when you get to that point.
Make sure that your boning strips and ties are on the wrong side of the lining. Here you can see the right side of the lining that will be next to the body.
Here you can see the wrong side of the lining--the part that will be facing the gown.
Next we need to make the inner stomacher. I basically followed the pattern instructions and stitched two stomacher pieces together and turned them right side out.
Press under the seam allowance on the front and neck edges. Trim to 3/8 of an inch. Also press the lining "hem" under as well. It is already 3/8 inch.. Stitch the lining hem in place using a running stitch if desired.
Place your stomacher pieces over the front on the right side of the lining. Backstitch them in place close to the front edge.
Turn under the seam allowance edges of the front facing. The seam allowance is 5/8 inch along the front edge and 3/8 inch along the bottom edge. I also turned under 1/4 inch along the other edges which are left unturned in the pattern instructions.
Place the facing over the stomacher/front seam allowances and whip stitch in place.
Now it's time to try on your lining to check the fit and adjust the ties. Before doing so, however, slip your boning into the back boning channels. You will need help to fit it to your body but if you have a dress form, you can fit it on that. First overlap the stomacher at the center front, then adjust the ties for a snug fit. I did this on my dress form then tested it on myself after since I didn't have a helper.
Back ties adjusted on the dress form:
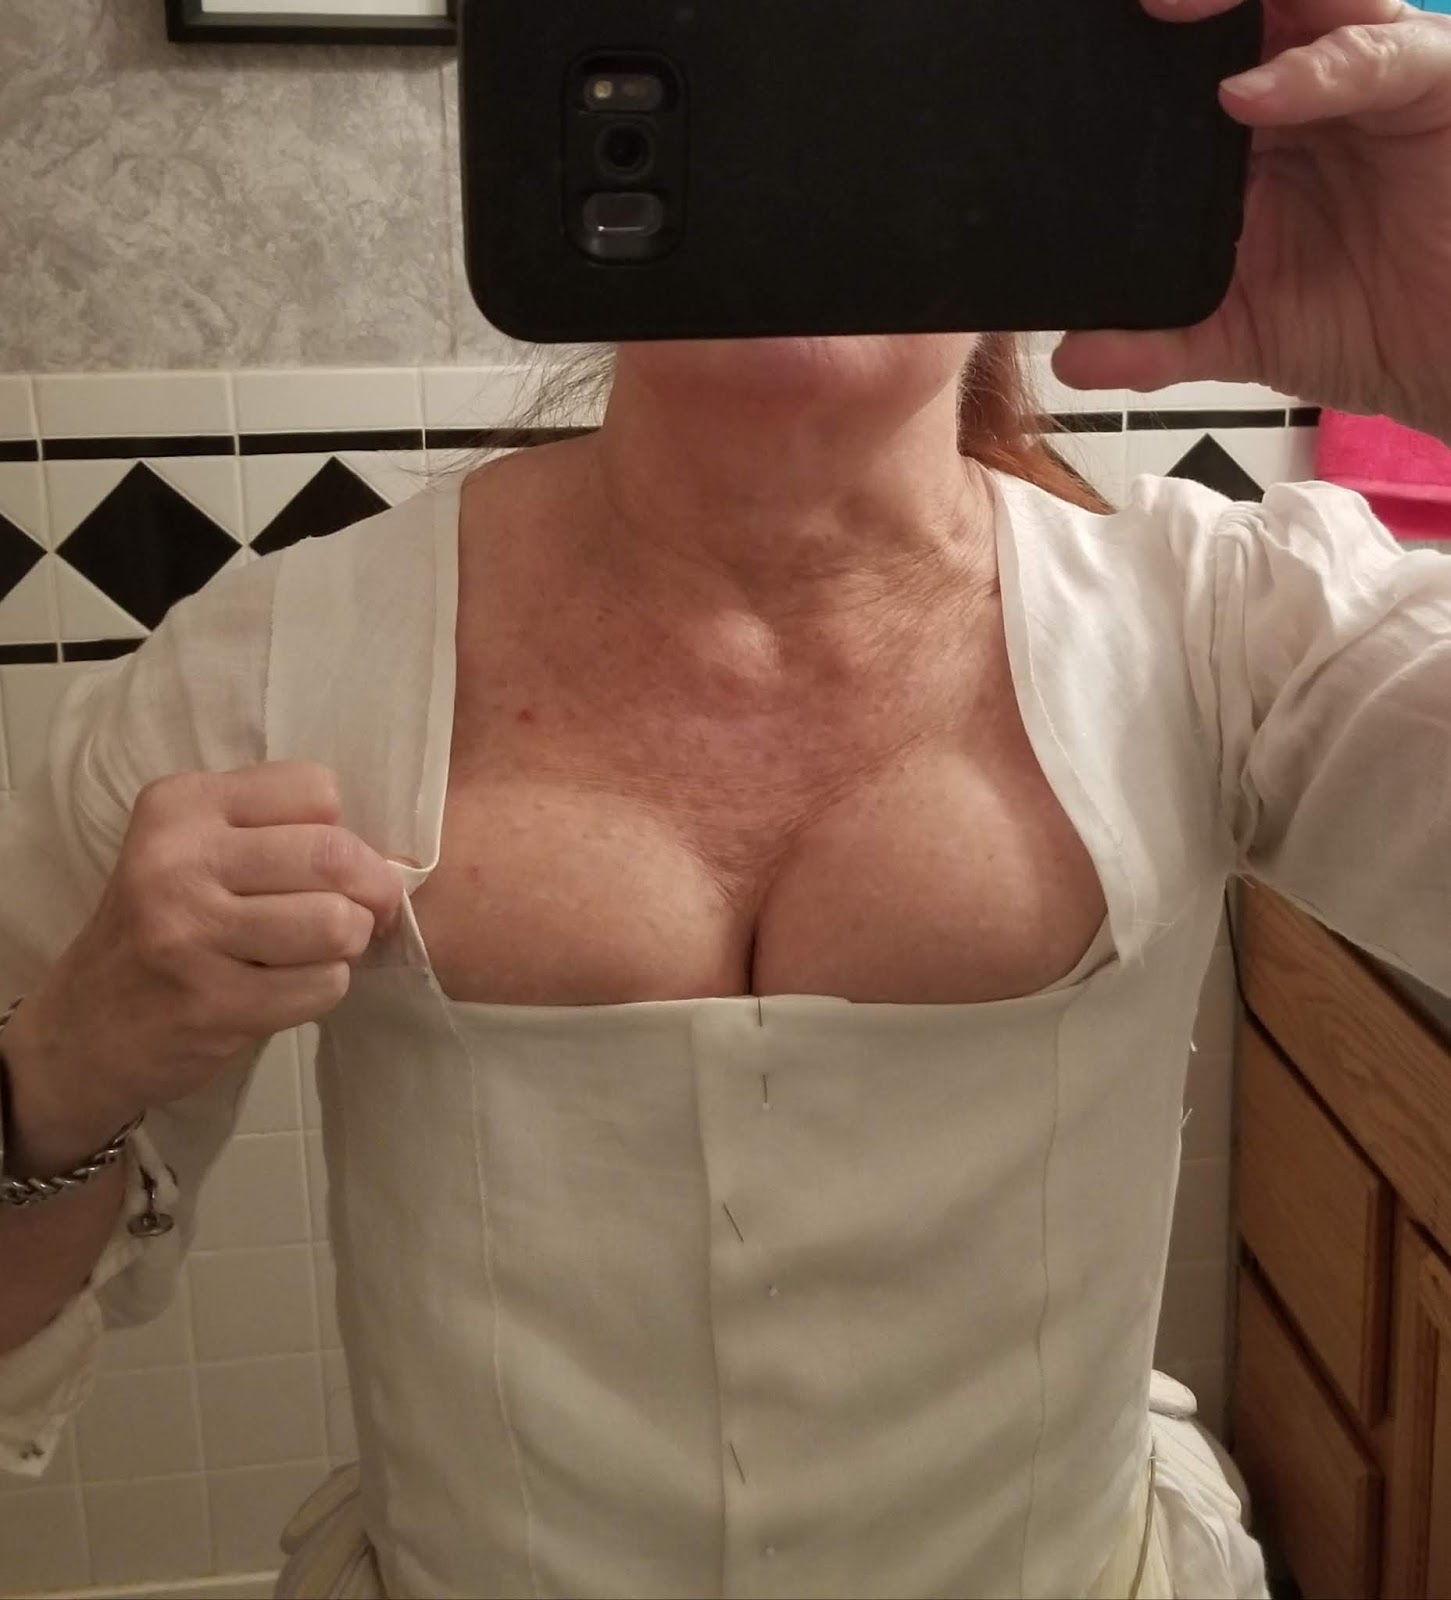
First fitting--stomacher closed at center front but, as usual, there's some "gaposis" along the side neck area.
I pinched about 3/4 inch fullness out then pinned a dart that size right at the edge of the front facing.
The dart got rid of the gap so I will stitch that in place. This adjustment on the fashion fabric will be done at the shoulder seam.
Now I just need to finish off the front of the under stomacher--fold in, add boning and make eyelets.
Lining is completed. Next step--cutting out the fashion fabric.
Starting with the sleeves--I stitched the dart in each sleeve and sleeve lining piece. Then did a one step sleeve/sleeve lining seam. This is where you put the right sides of your sleeve edges together and the right side of your lining edges together and stack the lining on top of your sleeve. Stitch the seam through all 4 layers, stopping about 1/5 inches from the lower edge.
I constructed the sleeves next--after sewing the darts in the sleeves and sleeve lining, I placed each sleeve wrong side to the wrong side of the corresponding lining. Then I matched the sleeve raw edges right sides together and the lining raw edges right sides together and stitched through all 4 layers using a backstitch. I stopped about 1 1/2 inches from the bottom of the sleeve, sewing the lining and sleeve seams separately.
Then the cuff edges were turned in toward each other and stitched using the 18th Century Edge Stitch otherwise known as the Point a Rabbatre Sous La Main. Raw edges were basted together.
For the gown, I followed the pattern instructions for folding the front robings after sewing the dart with combination stitch and stitched the center back seam.
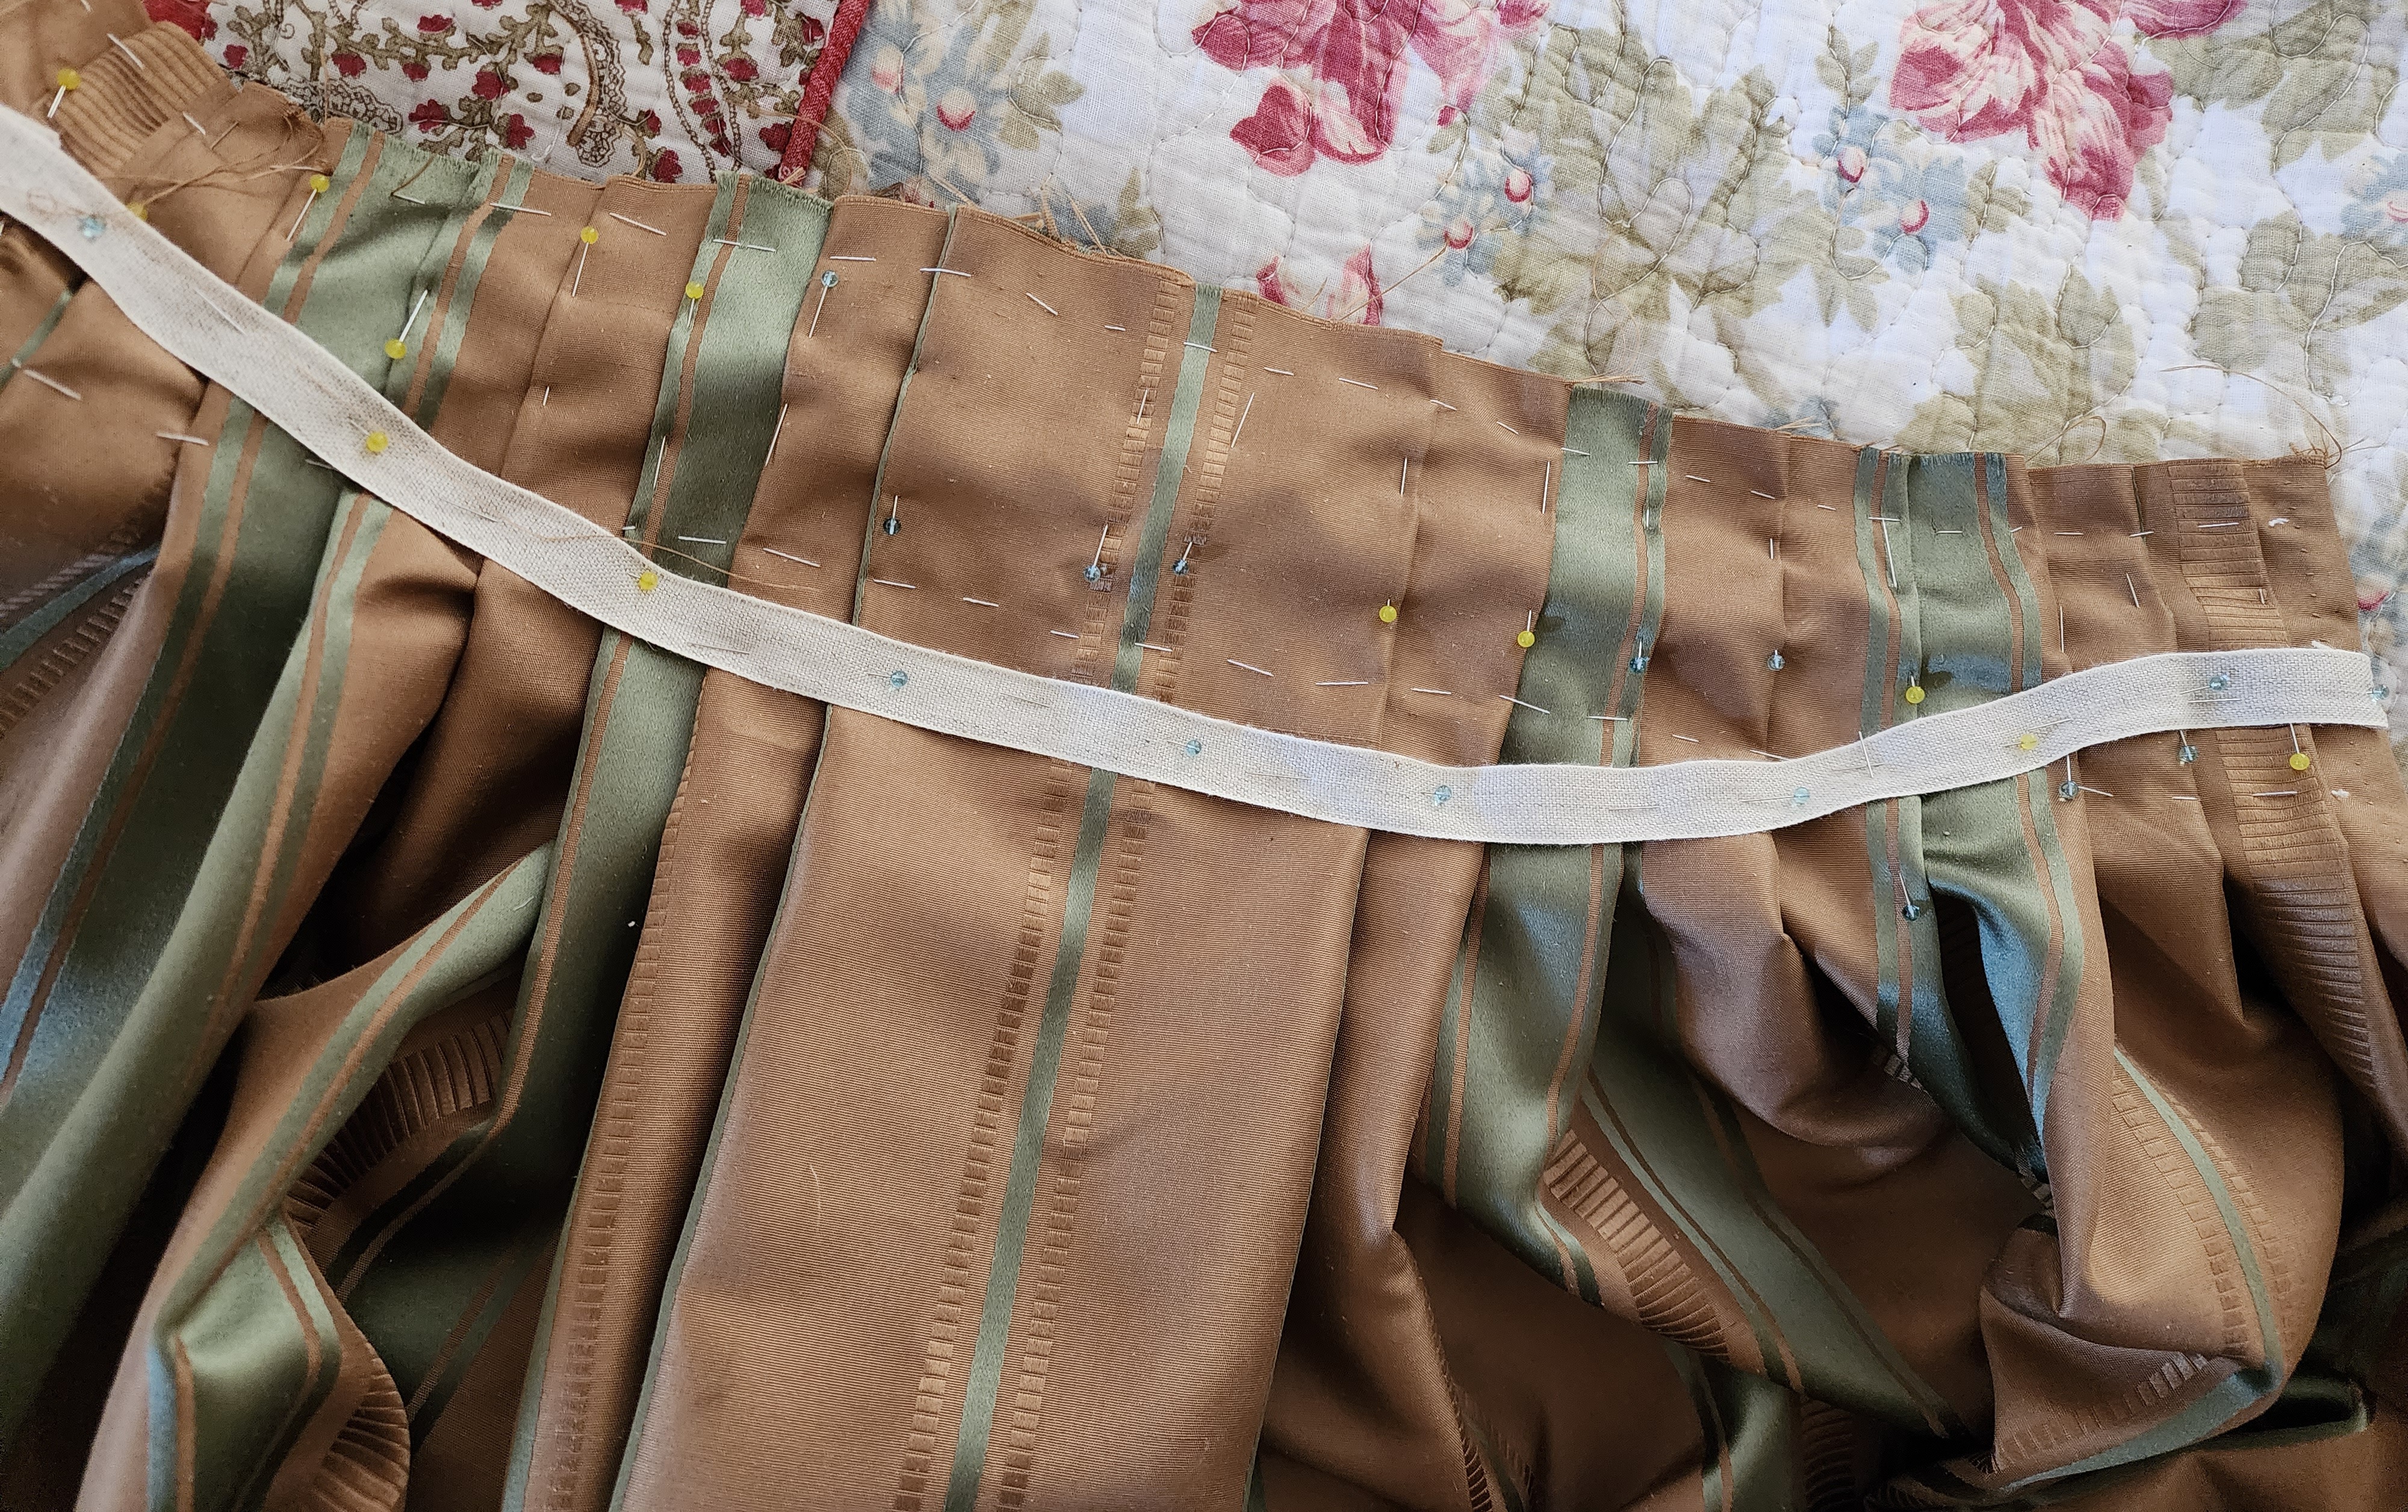
Back watteau pleats were completed as per pattern instructions then the side panels were connected to the skirts as per pattern instruction. Here it is pinned onto the lining. Note that the shoulder seams are not stitched.
I basted the fashion fabric and lining together around the bottom part of the armscye--from the back shoulder seam up to the top of the shoulder then I stitched the seam there as well using a back stitch. I then flipped the top of the sleeve up and pleated it to the lining. The sleeve pleats were then stitched in place. This is the same method as inserting a sleeve when a gown has a shoulder strap.
The fashion fabric edge was turned under and invisibly stitched to the sleeve cap. The back edge was turned under and stitched in place.
I didn't care for the sleeve ruffles included with the pattern as they were huge and clearly meant for a ball gown. I drafted smaller ones from the Arnold book. Before putting them on the sleeves, I had to dye the trim which was way too white. My research shows that most edge trims on cotton prints tend to match or be close in color to the ground color.
So I went with a lighter shade of blue.
Trim is applied by turning the raw edge a scant 1/8 inch up showing the wrong side of the fabric which is then covered with the trim and just stitched in place using a running stitch. All edges of the top ruffles are trimmed. The bottom edge of the under ruffles are trimmed.
I pressed under about 1/4 inch on the unfinished straight edge of the lower ruffle and whip gathered it to fit the bottom of the sleeve then I whip stitched it in place.
The upper ruffle was pleated to fit with the straight edge being about 1/2 inch above the top of the lower ruffle.
The upper ruffle was stitched in place about 1/2 inch from the top using a prick stitch.
Next up--the stomacher. I am making a compere front stomacher but I am not putting buttonholes on it. I decided to make it in 2 halves that overlap with the buttons stitched on. I folded the pattern 1/2 inch past the center front line. I cut the lining to the folded pattern and cut the fashion fabric 1 1/2 inches past the pattern edge.
I turned the seam allowance under on all edges except the center front and trimmed them to 1/4 inch on both the lining and fashion fabric. The center edge of the fashion fabric was turned under about 1/8 inch or so. The lining and fashion fabric were placed wrong sides together and pinned in place.
The fashion fabric facing edge was pressed and pinned into place.
I used the Point a Rabbatre Sous Le Main stitch (also known as the 18th century edge stitch) to secure the lining to the fashion fabric on all edges except the center front. The center front facing was whip stitched in place.
The left side was pinned in place over the right side and tacked in place at the button points.
I wasn't sure how wide or long to make my trim strips and I only have about 1/4 yard or less of fabric so I decided to experiment using tissue paper. The trim on the extant looks pretty wide and my eyes told me to try a trim strip of 2 1/2 inches. I cut some tissue strips and just pleated them and pinned in place the way I would do with fabric. I think the width is perfect.
I cut two strips 2 5/8 inches wide across the width of the fabric an turned the edges up on the right side, covering them with the trim which was secured with running stitch. Then I pinned one side down on the stomacher.
I pinned the other side on the stitched the ruffles down about 1/2 inch from the edge using a prick stitch.
I chose not to make buttonholes. I covered 5/8 inch bone button moulds with fabric, centering a flower on each one and stitched them to the stomacher.
I made sheer white voile sleeve ruffles and I made a petticoat using my regular petticoat method. Since the fabric is 44 inches wide, I used 3 panels for the petticoat with a center back seam. The petticoat was made to be worn over hip pads so I made the pleats a little deeper on the sides where the pads are.
Last was the gown hem. I was stunned by how long the JPR pattern is. The instructions said to add 34 inches to the Pet en L'air pattern and it is way too long and probably resulted in a wasted yard of fabric. Measure from your shoulder to you finished gown length to get an idea of what to add. I found that I needed to cut off about 10 inches.
Here is the finished gown--it needs a final pressing and at least one under petticoat. I will update once I do a proper photo shoot.
Pleased with how this turned out. I'll put internal ties in the back for those times I need to get it off of the ground.
Edit 5/2/2020: