Showing posts with label bonnet. Show all posts

Wednesday, December 31, 2025

2025 Year in Review

When I start these posts, I always think I didn't get much done.  Then when I add it all up, I realize I did. I guess I'm judging my quantity of work on modern standards involving machine sewing.  There are a few of projects that fall in that category.  The rest are all hand sewn and often involve patterning as well.  This post includes a few non sewing history items that were needed for various impressions.

1. Silk bonnet with taffeta trim 
    This was done using my own pattern that I designed for workshops.  The pattern has 3 brims and 2 
    cauls.  This is the small caul and brim #2.


2.  Black taffeta sack  (self drafted)
     I had actually started this a couple of years ago and it had been languishing on my mannequin ever   
     since until we decided to do a funeral/mourning program which gave me the motivation I needed.

3.  Silk gauze half hankerchief with French Valenciennes lace.


4.  Silk gauze double ruffles with French Valenciennes lace

5.  Tropical weight wool/cashmere stuff English gown (self drafted)
     I love this gown.  It feels like pima cotton.  This, the bonnet and cloak were made for the 250th of  
     Battle Road.

6.  Black broadcloth cloak with mohair trim
     Sue Felshin's pattern which was put on paper by Ruth Hodges.

7.  Shop sign
     I've been going by "Sign of the Yellow Cat" for years for any impression that involves needle trades.  I       finally got around to making a proper sign for Bunker Hill.

8.  Large Milliner's trunk.
     The shape isn't quite right--it should be domed --but this was the only cardboard trunk shape I could           find.  This one is large enough to put bonnets and hats in. I'd like to change the clasp.  


Of course the trunk is lined with the Maryland Gazette --Stamp Act edition!

9.  Summer striped linen gown (self drafted)
     This gown is so cool and comfortable.  I made it for Bunker Hill but ended up wearing it all summer.
     

close up of bodice

10.  1970s short caftan.  Elizabeth Caftan from Charm Patterns Patreon.
       I can't begin to say how much I love this garment.  It's is the most comfortable thing I've had on my           body that I can remember.  Fabric is a Liberty of London retro print from the 1960s. I have some 
       tropical rayon to make a long version next summer.


11.  Mid 1820s summer frock
       This is the last of the LaFayette's Triumphant Tour gowns. 

11.  Mid 1820s summer bonnet. 
       I started with a seagrass capeline for this.  I used the Timely Tresses Sophia bonnet pattern to make a  
       pasteboard form to block the capeline on and it worked out well.  The hardest thing was finding a               capeline large enough to not have to piece.


12.  Half sized mannequin--aka--"Tiny Tabitha"
       I needed a way to demonstrate draping and making a gown in an hour long demonstration.  Tiny   
      Tabitha was the perfect assistant.  I found the pattern on Scribd and the author ended up having an 
      Etsy shop where I ordered the pattern for the arms.  I designed the base.  Fun, but very fiddly, project!  

13.  Shift for Tiny Tabitha (a combination of B&T half size pattern and self drafting)

14.  Stays for Tiny Tabitha (self drafted).
       Worsted, lined with linen and trimmed in leather.

15.  Taffeta English gown for Tiny Taffeta (self drafted)

16.  1950s dress  Charm Patterns Scout dress with 3/4 sleeve extension (Patreon)
       Scout is one of my favorite patterns.  I didn't have enough fabric to make the skirt with the                   pattern so I just cut two lengths of the 45 inch fabric, seamed them then pleated it to the bodice.           The original skirt is substantially fuller.


17.  Red worsted English Gown (self drafted)
       I've been wanting a red wool gown for years!  Finally got some fabric on sale.  Need to finish  
       the petticoat but in the meantime, the silk matelasse one will do.


Wednesday, March 26, 2025

2025--Catching up on small projects and one big UFO!

I realized I hadn't posted anything here yet in 2025.  January and February are typically pretty busy--getting ready for our skill building weekend end of February.  I figured I'd just show my projects thus far in a single post.

1.  Satin bonnet.  This was my demo bonnet for a workshop I taught in MA early in January.  I've always wanted to do a satin bonnet so it seemed like a good time to get one done.  I really like it.  The duchss satin has so much body that it stays poofy!   I ended up trimming it with some shot silk taffeta I had on hand. 


2.    Miniature bonnet for Miss Prudence Pennyweather.  It was a fiddly little project but I like how it turned out.  Miss Pennyweather seems rather pleased.


3.  Mini quilted petticoat for Miss Pennyweather.  I started this last year but decided to get it done.  It was a fun little project.  I will be making a worsted English gown to go over it.

4.  Round eared cap.  Forgive the terrible photo.  This was another workshop demo project.  It's made of the same handkerchief linen that the partipants were given.  It'll be a nice middlin' sort cap.  Not pictured were all of the flower breast knots made as samples for the same workshop.

5.  Black trim for my fancy cap.    This is one of the accessories done for the gown I just finished.  I had trimmed this cap similarly with blue taffeta trim in the same style.  The trim is pinned on.  Needed the black so I figured I'd just do it again!

6.  One of several taffeta breast knots.  I love making these things.  I think the taffeta just works better than ribbon but it involves hemming the long edges.

7.  Silk gauze double ruffles with French lace.  Obviously I made a pair of these.  I dislike working with silk gauze.  It's too springy and doesn't finger press like organdy does but I wanted the ultra sheef fabric for these. I love how frothy they are!

8.  Silk gauze half handkerchief to go with the ruffles.

8.  Black taffeta sack.  Finally finished!  This gown has been almost finished since fall of 2023 and living on my dress form.  It needed some trim and the hem.  The petticoat was seamed and needed to be hemmed and pleated to the waistbands.  I'm debating whether or not to add some trim to the petticoat at some point.  I like it the way it is though.  It needs to be pressed.  I'm really tickled with this one as I've always had a soft spot for black dresses regardless of the time period.  This year seems like a good year to wear them! 


Bodice detail

Sleeve detail

I guess now that I've written all of this done, I've gotten a fair amount done!  I was feeling lazy and unaccomplished. LOL.  Now on to the next projects on the queue.


Sunday, October 13, 2024

Welcome LaFayette, the Nation's Guest. My Journey to 1824

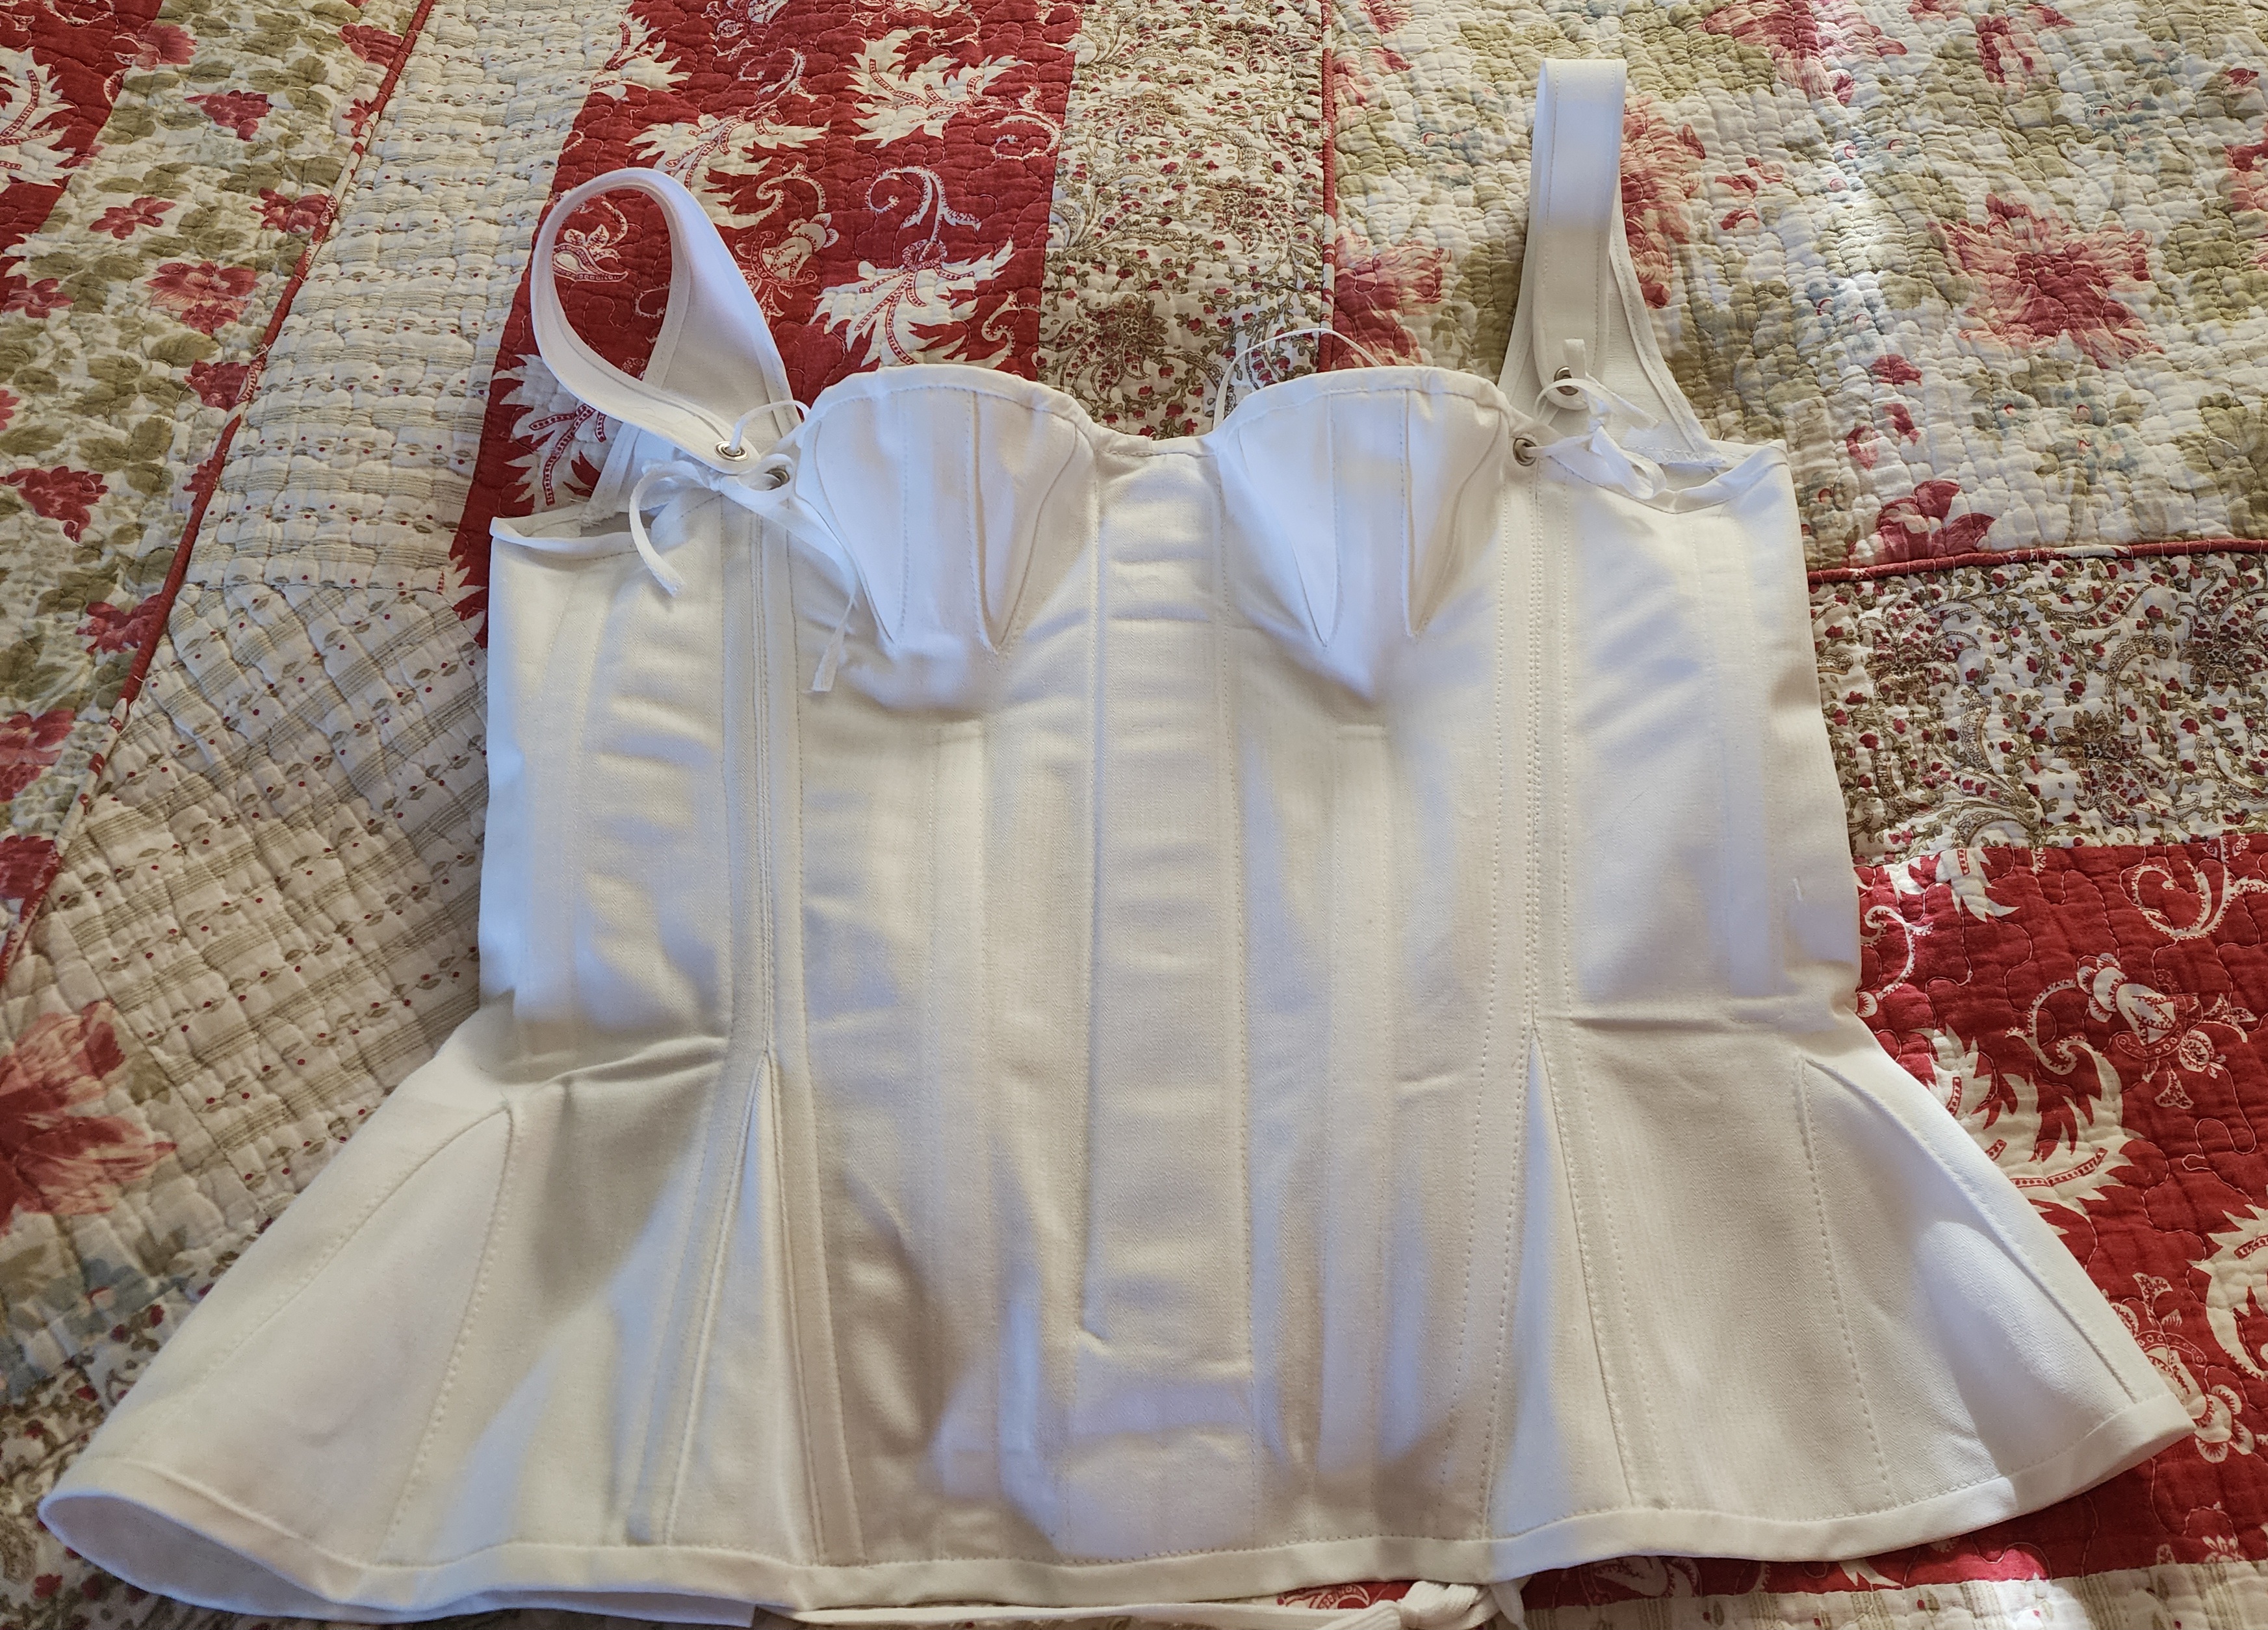
The Bicentennial of LaFayette's Triumphant Tour of 1824-25 is well underway.  In order to prepare for the first festivities in Baltimore, I needed to make a day gown, an evening gown and the appropriate accessories.  Before I could even start all that, I really needed to make the long Regency stays that I'd been planning for several years.  The thing that was holding me up was trying to figure out a way I could dress myself as back lacing stays are problematic.  I decided to go with fan lacing and it was life changing!  I performed the pattern adjustments on the Red Threaded Regency stays patten and found they fit well.

Doing the fan lacing myself was made so much easier with the help of this video that explained the entire process.


The next fitting issue involved the busk which wouldn't sit flat against my chest.  Further research found that the busks were curved to go over the belly then curved slightly the other way to sit against the chest.  I soaked my busk for 24 hours then gently curved it to the contours of my body and it made a huge difference!  Now it sits flat on my chest and doesn't compress my stomach.  These stays are super comfortable!

I started on my accessories first since I was still working out my gown details.  I used this 1820s cap from

the Monmouth Historical Society as my inspiration.  


Using this diagram, I drafted a pattern to fit my head.  I had to enlarge this one quite a bit.


Materials for the cap:  Swiss organdy and Swiss embroidered trim for the ruffles.


I didn't have enough of the trim to add the ruffle at the crown but I'm still happy with how this turned out.


Next up:  Corded petticoat.  I had to make this at the last minute.  I bought 90 inch wide bleached muslin and cut one piece the desired length of the petticoat plus 5 inches.  I trimmed the width to 80 inches the folded the bottom up 1/2 inch then 4 inches and pinned that hem in place.


I used this 3/16 inch upholstery cord and stitched 2 rows in at the bottom crease using a zipper foot.  It was like stitching piping.  I pulled enough out at the seam allowance so as not to catch the cord when sewing the seam.  Then I stitched the large hem allowance flat.  I stitched a back seam leaving about 5 inches open at the top and made a waist band.


Because 1820s gowns tend to be somewhat flat in front, I decided to pleat the petticoat to the waistband concentrating most of them in the back then I ran wide cotton tape through the waistband to form a tie.


Here are the finished underpinnings.  I did end up adding a third row of cord later.


My bonnet is the Sophia Bonnet from Timely Tresses.  I purchased the buckram form and covered it myself.


It took me awhile to figure out how to trim it but I settled on white roses and a back bow.  I ended up not adding ties.

I used this gown as my inspiration  I love the shape of the gown and the sleeves.  It's such a simple design.  I planned to trim my skirt differently.


I ended up using the bodice to the Laughing Moon #138 pattern after not having luck with a different one.  I like this pattern as it has 3 neckline variations.  I drafted the sleeve to match that of my inspiration gown and used the skirt from the new Fig Leaf pattern since I had already cut those pieces out.


This is the Indienne cotton I decided on.   I found petite maching blue cotton sateen piping at Farmhouse Fabrics.

Used a horizontal stripe of the print as the gown hem trim.  The trim was piped along both edges.


Piping was also added to the neckline, sleeve seam and the back seams.


The sleeve cuff trim matched the hem with the addition of a 1 inch wide ruffle.


Here's the finished outfit


My accessories for the day.


Here is the whole outfit!


I needed an evening gown 2 days later and had only a couple of days to make it due to some unexpected circumstances.  Here are some inspiration gowns.


I had this white cotton in my stash


I made the bodice the same as the other gown with a short puff sleeve.  I did add piping to the sleeve band.


I wanted some type of sheer trim but had very little time.  I used silk chiffon cut in long 8 inch wide strips and draped them to the lower skirt piece which was then attached to the top piece with piping.  I added some drapes to the sleeves then did a pleated piece of the chiffon across the bust before sewing the sleeves on.   I didn't get any progress photos of this.  The long leather gloves and Lafayette reticule were worn with this gown.


Here is the completed outfit.


With my husband and friends

I was quite happy with all of these projects.  I found that I like the 1820s better than earlier regency except for the fact that the gowns all close in the back which prohibits me from dressing myself. Oh well!  It's always something!  I hope to make a couple more 1820s gowns for December events.

Vive LaFayette!