Monday, March 20, 2017

When the weather gets cold . . .

After 2 weeks of spring weather, I found myself faced with a major snow storm and extremely cold weather.  So as any seamstress would do, I started thinking about winter garments again.  Fortunately a recent trip to the thrift store had yielded great results in finding some nice matelassé bedspreads.

This first picture is of one of a pair of twin size bedspreads which were marked $9.95 each but ended up being discounted 30% that particular day.
This second picture is of a king size bedspread which is thinner than the ones above.  This one was $20.

The twin spreads are the perfect size for petticoats--measuring a little over 60 inches wide and at least 80 inches long.

First I studied some extant pictures of quilted petticoats.  Most appear to be made from silk with some linen and wool examples.


I also found two examples that were listed as being silk matelassé.


For those who would like a quilted petticoat but simply don't have the time or inclination to make one, matelassé is a nice alternative.  The Dreamstress has an excellent post on the history of matelassé if you wish to explore further.  

I had made a plain matelassé petticoat from some simple diamond patterned matelassé fabric.  I use this as an under petticoat in cold weather.  It's heavy and these patterned bedspreads are also quite heavy.  This is something you will want to consider when making one.  You could certainly take some of the fullness out but I like them full.  The fullness also alleviates the need for any skirt supports.

I decided to make a petticoat from one of the twin bedspreads and save the king for a quilted waistcoat and possibly a dyed petticoat.

First, I had to cut the scalloped edge off of all sides of the bedspread.

Then I analyzed the design.  This bedspread had a one way floral design with an obvious repeat.  I measured the length to see if I could line up the design at the side seams which was possible as my finished petticoat length is only 35 - 36 inches.

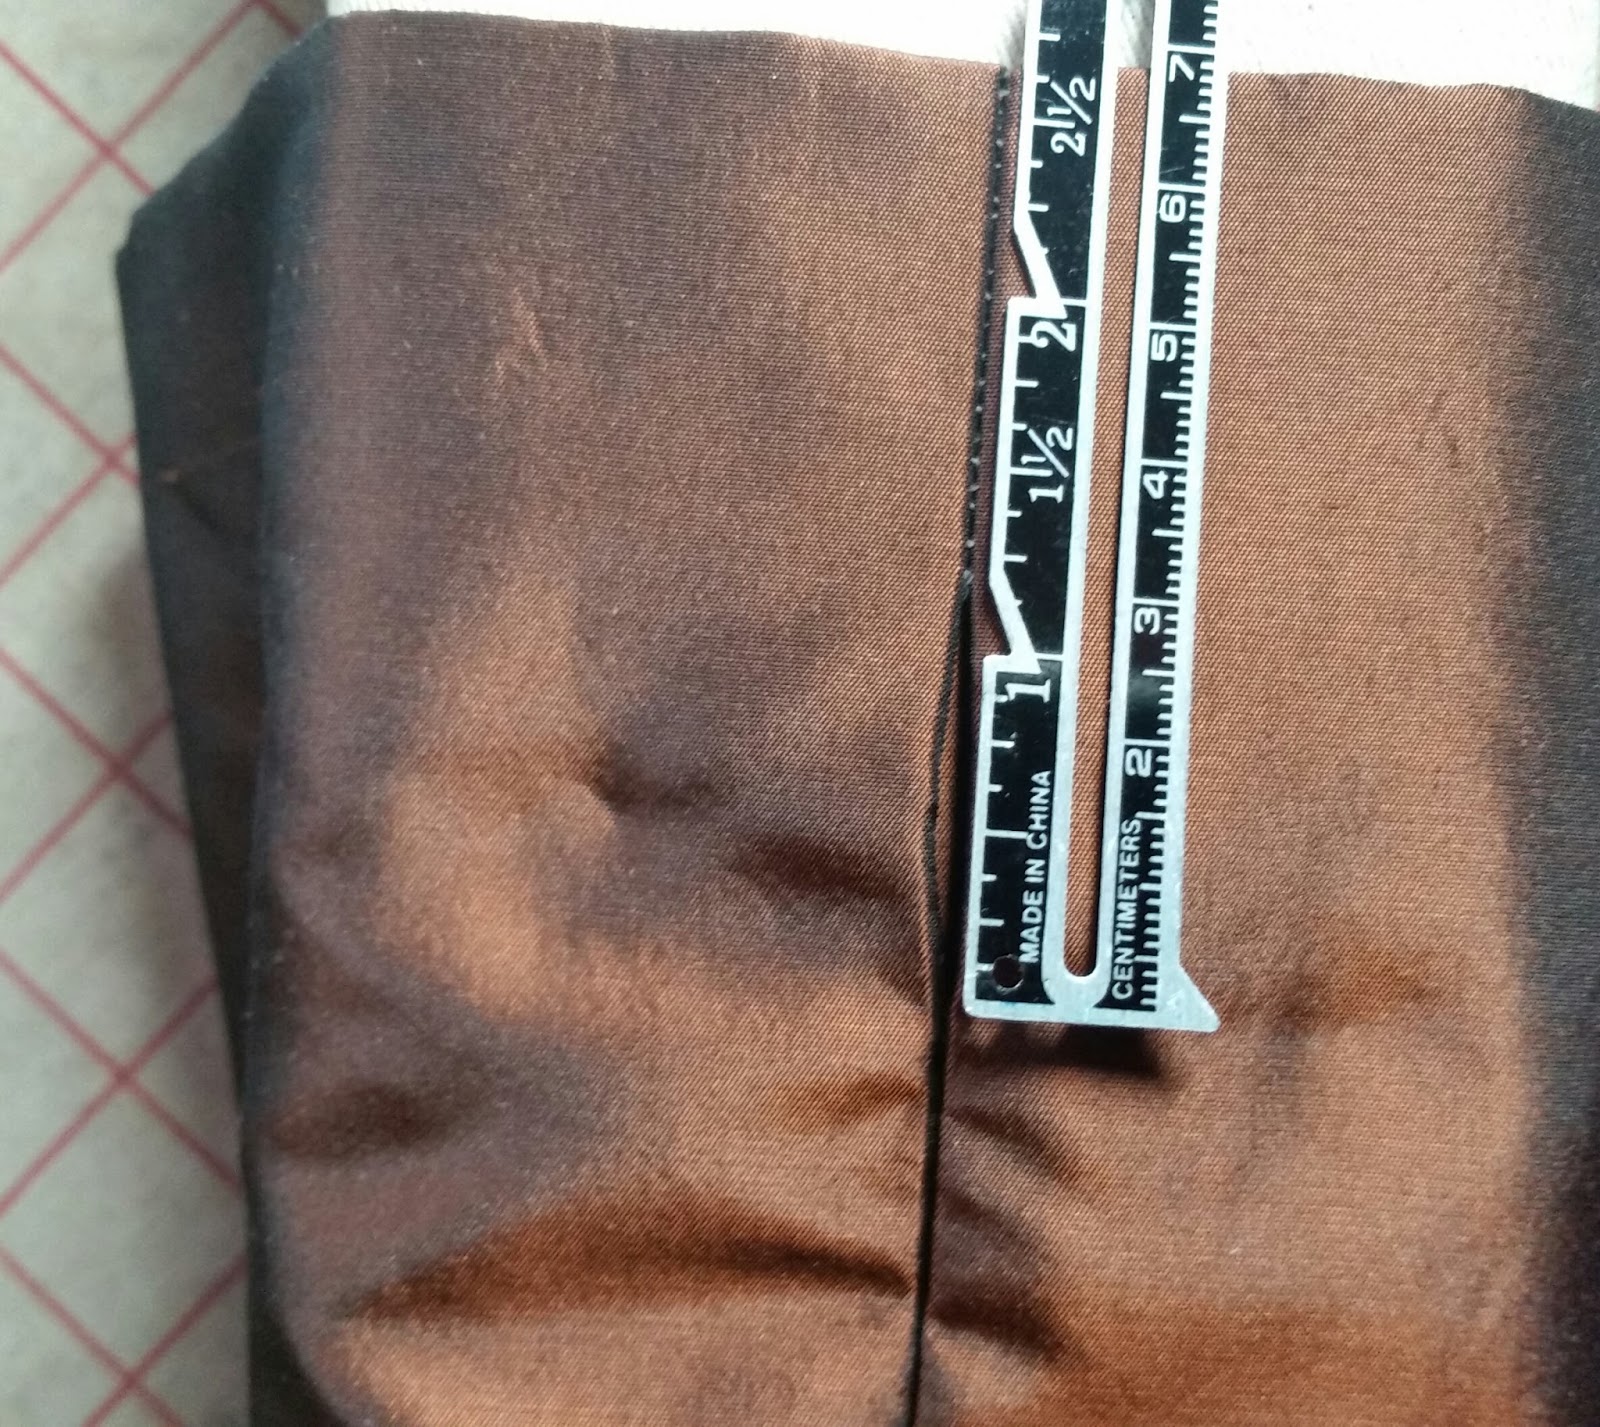
Next, I sewed the side seams using a backstitch, leaving 9 inches open at the top for pocket slits.  The fabric is heavy sew I whip stitched the seam allowances flat inside and I whip stitched the seam allowance at the pocket openings.

I also went ahead and pressed up the hem about 5/8 of an inch and stitched some 1/2 inch cotton tape to the edge using running stitch.  I then whip stitched the hem in place.

Because the fabric is so thick and densely woven, I decided to use fewer pleats.  I made a 5 inch box pleat in the front and a 5 inch inverted box pleat in the back then made a few 1 - 1 1/2 inch pleats on each side of the box pleats to achieve the appropriate measurement.  I whip stitched the edge to hold the pleats in place and stitched a row of basting about 2 inches from the top.

I typically use 3/4 inch linen tape to bind my petticoats and for the ties but due to the density of this fabric, I decided to go with some 1 inch cotton tape I had in my stash.  I followed my usual method of whip stitching the tape to the outside of the petticoat, folding it over and whip stitching it on the inside.  Both the front and back ties wrap around my waist twice.

I'm happy with the result of this quick project.  You can see it here on my dress form which, unfortunately, isn't shaped quite right.


Thursday, March 9, 2017

Large Reticule or Work bag--tutorial and pattern

I love the little reticules that are so typical of Federal era fashion.  Sadly they are highly impractical and don't allow me to carry what I need.  A few months ago, I decided I needed a bigger one when going on an all day outing dressed in period attire.  I had to carry a wallet, car keys, tissues, etc. etc. and a regular reticule just wasn't going to cut it.  I decided to design something based on a shape that was popular for smaller bags.  I also discovered that ladies sometimes carried work bags which were similar to what I was looking for.


My bag is similar to the shape of that in the top picture.  And I've found it to be so practical that I decided to make another.

Large Reticule/Work Bag Tutorial

Materials:

  • 1/2 yard each fashion fabric, lining, interlining (interlining can be linen, cotton flannel or some other fabric which gives the bag body.  It shouldn't be stiff. )
  • 2 pairs of 4 inch tassels 
  • 2 chair ties (chair ties are long cords with a tassel on each end)
  • matching thread
  • Pattern--downloadable below
The red bag in the above photo is made from silk dupioni with a cotton flannel underlining and it is lined with red silk persian.  It was sewn entirely by machine.

The bag in the tutorial is made from silk taffeta with cotton flannel underlining and it is lined with black linen.  It was sewn entirely by hand.

I found my tassels and chair ties at Hobby Lobby but any store that carries home decorating supplies should carry them.   DO NOT REMOVE THE PLASTIC PROTECTIVE TUBES FROM THE TASSELS/ CHAIR TIES.

Download the pattern you would like to use.  You can download either the scale pattern and enlarge it yourself or you can download page 1 and page 2 of the full size pattern on standard printing patper and tape them together.  The full size pattern takes 11 X 17 sheet of paper when enlarged. 


Page 1 full size

Page 2 full size

1/2 inch scale pattern

Seam allowances are 3/8 inch.

Cut the full size pattern out of your fashion fabric and underlining and cut out the lining, noting the cutting line for the lining on the pattern.  Place the underlining pieces on the wrong side of the fashion fabric the place the right sides of the fashion fabric together creating 4 layers and pin together.  Make two marks on each side 4 3/4 and 5 3/4 inches down from the top.  This is the part of the seam that will be left open for your ties.   Pin the lining pieces right sides together.

Stitch the lining pieces together using a spaced back stitch and a 3/8 inch seam, leaving the top edge open.  Begin stitching the bag pieces together leaving an opening between the two marks you made.  Your opening must be at least an inch.  

When you get to the first corner, take one one of your tassels and insert it inside the bag, pulling the loop out at the corner.  Hold that loop in place with the tassel pulled firmly against the seam on the inside.  Take several stitches anchoring the loop in the seam and give it a little tug to make sure it's securely stitched in place.  Continue in this manner, stitching all 4 tassels in place, one at each corner.

Press the seams of the bag open and tack the seam allowances to the underlining where the opening for the ties is. This will make it easier to thread your ties through the casing.

Press the seam allowances of the lining open and turn under 1/4 inch on the top edge, pressing it in place.

Either whip stitch the top edges of the bag or do a running stitch 1/8 - 1/4 inch from the edge to secure the layers together.  Fold the top in on the fold line which is 3 inches from the edge and pin in place.


Turn the bag right side out and measure from the top edge of the bag to the top of the tie opening and again from the top edge of the bag to the bottom of the tie opening.  It should be close to 1 1/2 and 2 1/2 inches.


You will need to mark a line around the bag at those measurements using chalk or other removable marking method--for me those lines were 1 1/2 inches and 2 5/8 inches from the top.  

Stitch around the bag on each line using a spaced back stitch, taking a couple of extra stitches over the seams. Then remove the marks.


Turn the bag inside out and the lining right side out.  Insert the bag into the lining, aligning the top of the lining with the bottom row of casing backstitching. Pin the lining then whip stitch it in place.


Turn the bag right side out and insert one of the chair tie tassels (still in the plast tube) into the casing, threading the tie through the casing all the way around.  The tassel must come out of the same side it went in.


Thread the other chair tie starting on the other side of the bag. Tie the tassel ends together on each side using a square knot.

Pull the plastic tube off of your tassels and enjoy your new bag!


*Options*
If you like the bag in the top picture without a ruffle above the casing, alter the instructions as follows:  Cut the fashion fabric and underlining off on the first fold line, making it three inches shorter.  Sew side seams beginning and ending 1 1/2 inches below the top edge.  Stitch the layers at the top edge together and fold the top in 1 1/2 inch.  Sew your casing 1 inch below the folded edge using spaced back stitch.  Attach the lining the same as above.

You may wish to add embroidery or ribbon treatment to your bag before sewing the seams.

You may with to eliminate the tassels altogether or add beaded loops.  The sky is the limit when it comes to decorating your bag.

You may also choose to stitch a pocket on the lining before stitching the seams.


Sunday, March 5, 2017

Natural Form Era Hat--a tutorial

Victorian dress is not my area but I ventured into that era as outlined in this post for our Maryland State DAR Founders Day celebration in October of 2015.  I chose a Natural Form Era outfit since no bustle was required and I like the line of the skirts--narrower in the front with the bulk of the fabric in the back.  Some  friends organized a Victorian Tea for this weekend so I had occasion to wear the outfit again.  I felt I needed a hat so I did some research and found some great links on Lynn McMaster's page.  There I found a link to the google books upload of the London and Parish Ladies' Magazine of Fashion 1881-1882.  There were pages and pages of fashions and I focused on several that showed closeups of possible hats and neck treatments as I also need a dickie or chemisette to fill in the low neckline of my bodice.


 The hats in the last picture looked like something I could make from an existing straw hat.  I also liked the chemisette in the left hand outfit.  I decided to make the bonnet type hat in the center of the above picture.

I found a nice plain straw hat at the thrift store for $3.

Some supplies I find helpful when working with deconstructing straw hats is wonder clips (found in the quilting notions at Joanns), Size 4 straw needles (purchased from Judith M millinery) and spray starch (also from Joanns).  You can also use plan Knox gelatin to size hats but it takes longer to dry.

One thing about natural straw is that you can use moisture and / or steam to completely reshape it much the way you do with wool felt.  The brim is about the right size on this hat but it needs some changes.  The crown, is too tall and needs to have more squared angles.    I cut the crown off and made it shorter, completely wet it and put it on a container that was the size I wanted.  The crown was bigger so I wrapped it with twill tape to mold it to the container and I left it overnight to dry.   When I took it off, I cut another half inch or so off of it.   


I looked at the brim and found it had a double layer of straw on the edge so I used a seam ripper to rip out the stitching for about 6 inches.  I wrapped the brim around the crown to check the fit and I ended up cutting a few inches of the brim off as I needed a gap in the back of the hat.

Once I determined the right size, I trimmed the ends of the hat into a curve and sandwiched the edges of the hat between the two edge pieces of straw--steaming with my iron to shape the straw.  I used wonder clips to hold the edge in place so I could stitch it on using regular sewing thread in a color that matched the straw.

I then had to block the brim to fit the crown.  I sprayed it with starch and steamed it, holding it in place until it took the shape I wanted.

Here is the stitched brim so far.

I used a running stitch to stitch the brim to the crown, putting the edge of the brim inside of the crown.

Next, I cut away a small arch in the back of the crown and cut a scrap of straw from leftover pieces of straw.  I curved the insert to a pleasing shape and clipped it in place, stitching it to the brim ends and the crown.


I had some leftover pieces of edging straw so I cut a piece and stitched it in place.

I ended up blocking this hat by saturating it with the spray starch, steaming it well and shaping it the way I liked.  I wrapped it with fabric to hold it in place to dry.

Next came decorating the hat. First I tacked some 2 inch wide double faced satin silk ribbon on.   I normally order ostrich wing plumes but didn't have time to get them from my usual supplier in CA so I ordered cheap ostrich drabs 20 for $20 on Amazon.  The feathers were sparse as I expected so I used my half inch diameter curling iron to curl the fronds and stacked 2 together then layered another group of 3 stacked together to cover most of the hat.  


Next I cut a 5 inch wide piece the width of my silk (54") and did a machine rolled hem on each edge.  I tied this into a multi loop bow and tacked the bow in the center so it wouldn't come untied.  I pinned the bow on the hat so I would have the option of using other bows or decorations as well.

I also glued some pleated ribbon inside to cover the stitching.

Here is the finished hat:  


To complete my outfit, I found a glorious piece of 14 inch wide French lace in my stash.   I decided to pin it to my corset and arrange it to make a temporary chemisette. 

The outfit was also upgraded with the addition of an overskirt.  I had ended up with 4.5 yards of silk left over from the original outfit and the overskirt just took three yards.  


We had a wonderful time at our Victorian Tea!  The food and the company couldn't be beat!