Last year I made an
1810's gown and spencer that needs some sort of bonnet. Given that I was planning to wear this outfit to the Battle of North Point reenactment Labor Day weekend, I figured that now was as good of a time as any to make one. I had purchased a
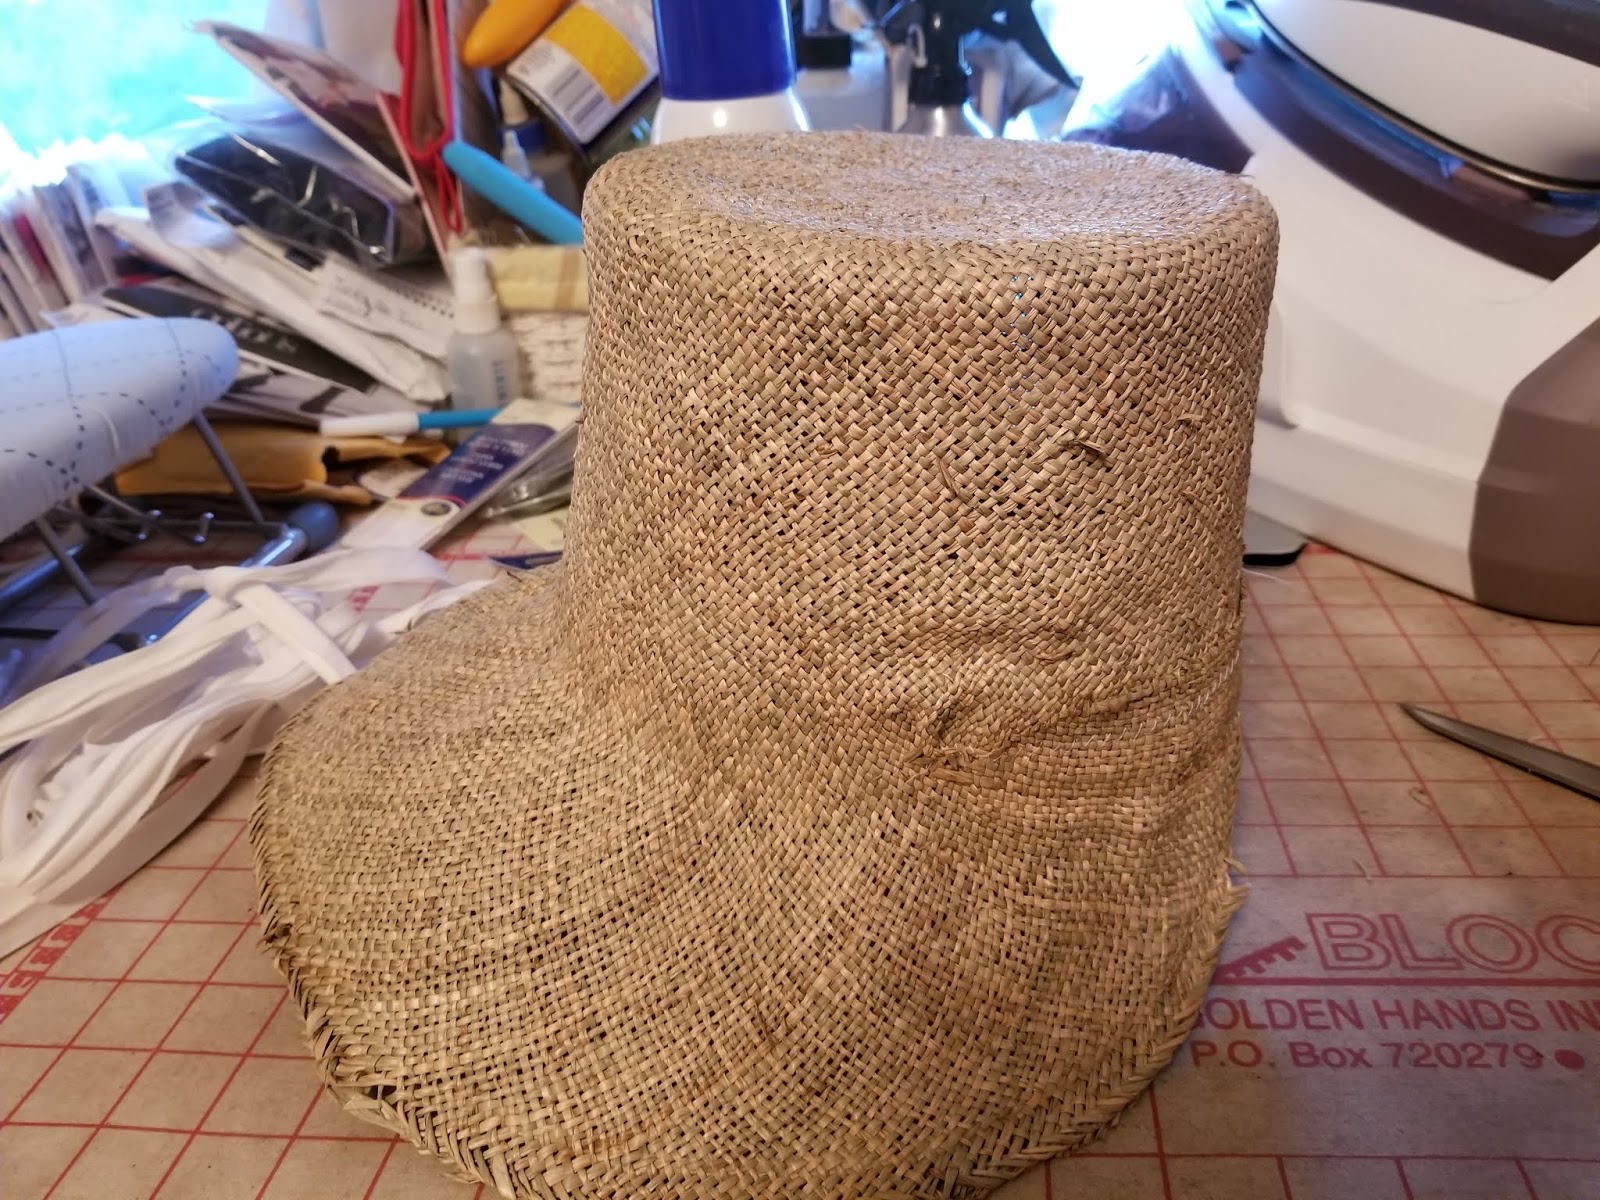
seagrass capeline from Judith M. Millinery months ago a figured I'd start with that. I wanted the bonnet to have olive green trim to go with this outfit and another gown yet to be made. For those not familiar, a capeline is an unsized hat blank. They are extremely floppy and do require stiffening. I wet the crown of the capeline and saturated it with spray starch then stretched it over one of the forms I use--this one is a 3 - 5 pound coffee can. I stuck it out in the sun to dry.
Here is what it looked like when it dried.
I used steam to flatten the brim as much as I could and played around with it while it was on my head, pinching out various amounts of fullness on the brim then marking the amount that I pinched out. Then I cut that part of the brim away and cut about a 3 inch slit along the crease between the crown and the brim.
I pinned the loose ends of the brim in place;.
Using a zig zag stitch, I stitched the brim in place and trimmed the excess away on the right side.
Here is what it looked like at that point.
I saturated the crown with spray starch again and blocked it once more.
It's starting to take the right shape thought it's still not as stiff as it needs to be.
Getting there! The edge of the brim needs some support.
I stitched some heavy millinery wire to the edge of the brim using a zig zag stitch.
I also made a ring of wire and stitched it in the base of the crown for support.
Much better! The bonnet is now ready for trimming and lining.
I had some extra olive green silk so I used that to bind the edge of the brim and I wrapped two pieces around the crown with the long edges folded under and stitched it in place. I also made a large cockade and stitched it on the side front. I didn't have any button molds so I used a large plastic button and a little fiberfill to fill in the indentation in the front and covered it in the same silk.
It was completed with 3 very small ostrich plumes I had on hand. I didn't use a fabric liner like I normally do. I had a crown that I had cut off of a straw hat that I bound with petersham ribbon and just inserted inside. This helped to stiffen up the bonnet.
Front view:
And here it is with the gown!
I was pleased with the way this turned out. The seagrass gives it a nice summery look which I like. It fits well without any ties and I didn't need a hat pin!