Showing posts with label corset. Show all posts

Monday, December 19, 2022

2023 Costuming Goals

It's time to set some goals for 2023.  It will be interesting to see which of these I actually complete in a year and how many projects I complete that are not on this list!


1.  Finish my linen voile lappet cap.

2.  Grace Banker needs an overcoat for mid January.

I have some navy wool broadcloth that may work for this.  I need to do a bit more research to find out if this is the right textile or if I should order something else.  This one is still up in the air as it's a real time crunch


3.  Elizabeth Chew would like some fashionable undress. 

I have 7 yards of this silk.  It screams something sack back.  I think a late 70s short sack with sabot sleeves would fit the bill nicely.  It will have modest trim --typical of that era--with a shorter petticoat.  My goal is to have this for our February event.


4.  Yellow linen petticoat
     This is the petticoat to go with Widow Ferguson's work gown that I made last year.  It will also go with another linen gown I have planned.


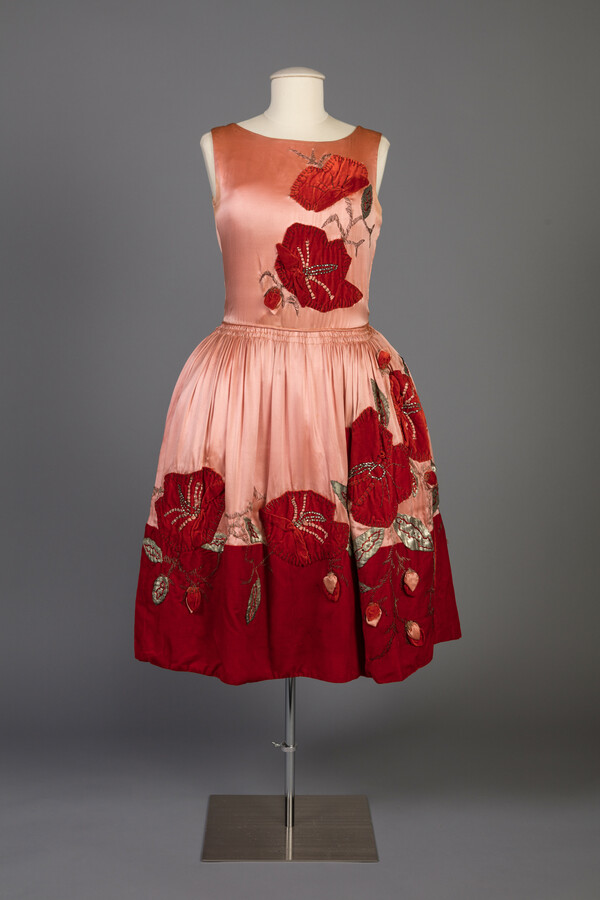
5.  Simple summer 1920s Robe de Style


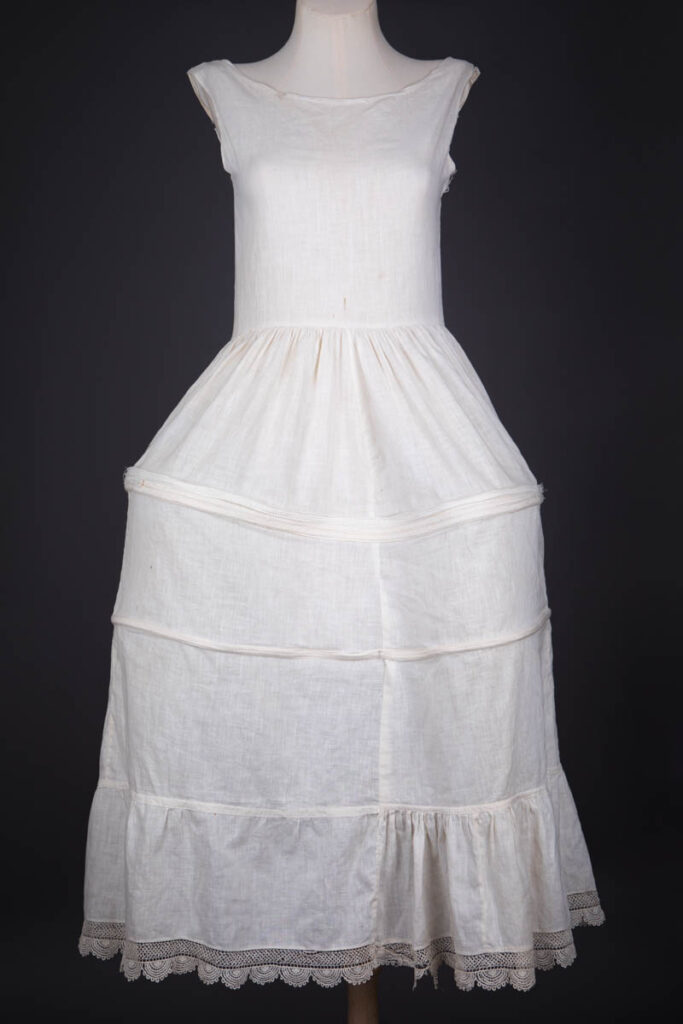
6.  To piggy back on the last item, I need an under slip with panniers for the robe de style based on this one from the Underpinnings Museum.


7.  1916 Spring frock


8.  1903 Corset


The background of this coutil is very pale--almost white.


9.  Long Regency Stays--Red Threaded pattern


10.  1775-76 Linen gown


11.  Mrs. Izard's 1776 silk sack.


12.  Finish my Met 1812 Cap project. 
I've drafted a pattern for this cap which I need to muslin, refine and make up.  I have swiss batiste in the same pattern.


Other possibilities from past years:

1.  1912 tea gown (center image)


2. 1920 Robe de Style--repro of MDHS frock.


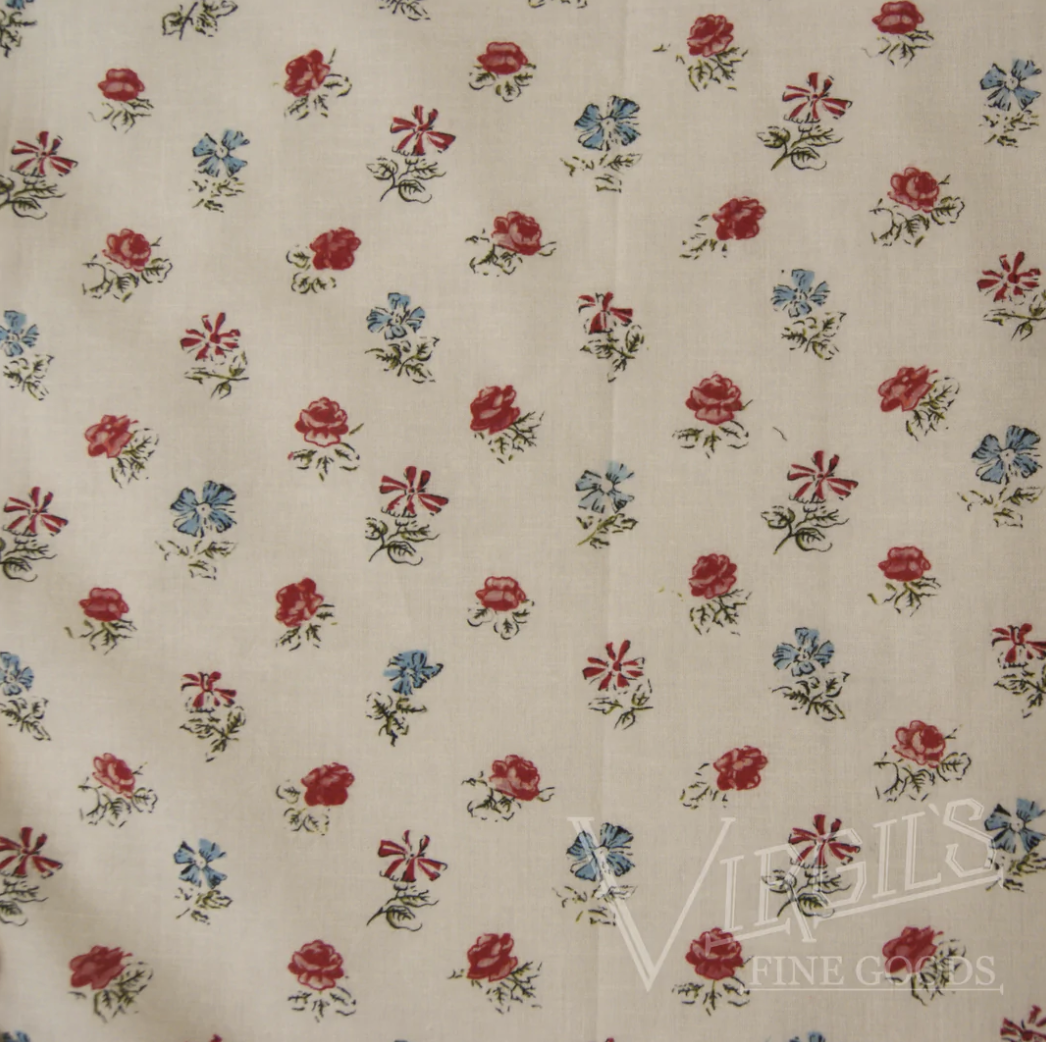
3. 1790s round gown--using the sprigged lawn from Virgil's Fine goods


4.  Late 19teens/early 1920s winter jacket


I have some black wool melton and nice faux fur to trim this one.


I have a bunch of 1930s - 1950s day wear to make but that's my "modern" clothing so I won't list that here.

So the real challenge will be sticking to this list when I know that other inspiration will hit!

I hope everyone has a productive 2023!

Friday, December 31, 2021

2021 Costuming Year in Review


Another year done, another group of additions to my costuming wardrobe.  For some reason, I feel like I didn't accomplish as much this year.  I think that is because I seemed to make more accessories than large garments this year.  Needless to say, some accessories are every bit as time consuming as an 18th century gown and some are even more so.  I also spend a good portion of the year researching a new era--the 1920s.  So without further ado, here are my costuming accomplishments:

The first projects were samples for our February workshop which had to be moved online.  We had a quilted pockets class.  After studying a number of extants, I decided on 2 techniques for the pocket construction.  Both were quilted.

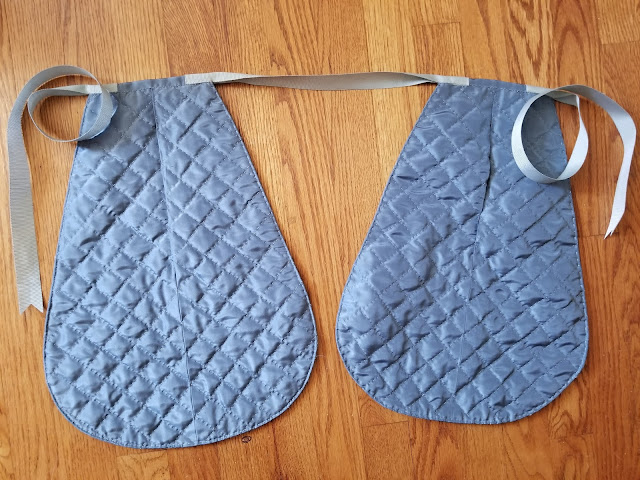
1.  Quilted linen pockets, bound with linen tape.  The hippogryphs were taken from from a 1740s quilted petticoat.

2.  Quilted silk pockets based on an extant pair.  These pockets are not bound but have the edges turned in and stitched with running stitch.

3. Another sample for our Feb. workshop which was on making muff covers.  The beading /embroidery design was copied from an extant muff in the Boston Museum of Fine Arts.  The image is printed on      silk.   Detailed post of the muff and pockets here.


4.  1920s underpinnings were a big part of this year. As is typical for me, I worked from the skin out--starting with an envelope chemise from a reprinted antique pattern from Silk and Thimbles on Etsy.

5.  1920's Corselette.  I used a pattern as a foundation for this but ended up totally redesigning it.  I don't like how this one works on me.

6.  1920s silk crepe de chine slip.  I used an image from an antique pattern.  The pieces looked like a 1 hour dress so I just drafted my own pattern for this.

7.  1920s Brassiere.  I started with the Wearing History pattern and changed it to match a brassiere in a 1922 store catalog.   Detailed post of these 4 undergarments here.

8.  One hour dress--self drafted.  This was made as a toile.  I will probably not wear it but I'm glad I made it.  It was enough to show me that this particular 20s shape doesn't work on me.  Detailed post here.

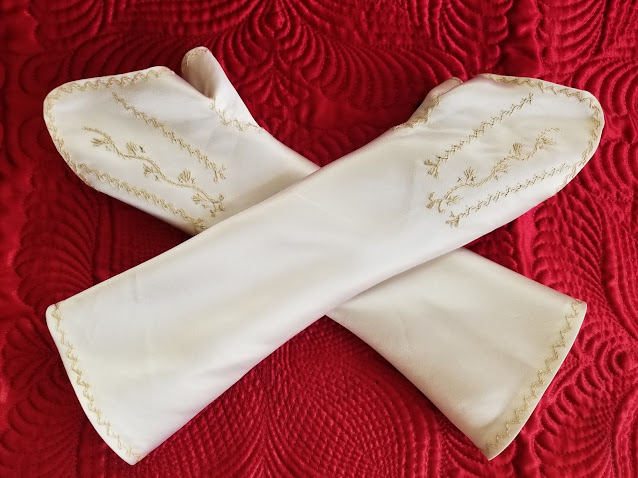
9. 18th century lined silk satin mitts.  These were a copy of a pair in the Bostom Museum of Fine Arts.    Detailed post here.

10.  18th century unlined silk taffeta mitts.  The embroidery was copied from a pair in the Amsterdam Museum.  These were one of 2 pairs I made as class samples for the summer mitts class I taught.

11.  Unlined silk satin fancy mitts.  This was my 2nd sample for the summer mitts class.  

12. 1778 silk taffeta English gown with pleated and ruched trim. Detailed post here.

Here's the gown as worn at the French Occupation at Newport, RI.

13.  2 Masquerades masks for our 18th century masquerade gift swap--paper mache covered with silk velvet, lined with linen and silk taffeta ruffle.

14. Silk mantelette based on Garsault pattern.  Silk taffeta, self lined, interlined with wool, trimmed with rabbit fur.  Detailed post here.

Here's the matelette as worn.

15.   1920s French corset based on several extants.  Detailed post here.

16.  1803 silk workbag with silk embroidery and spangles, copy of extant in the National Trust.  Detailed post here.

17. Annabelle cap: Pattern test for Virgil's Fine Goods new cap pattern!  Be sure to check it out!

19.  French blue lambskin mitts--class sample for leather mitts class.  

I was hoping to have one more outfit to show but it won't be finished today so it will have to be my first completed project for 2022!

It's easy for me to discount my accomplishment because so many of them are small.  Some of the small projects require the same time commitment as a full sized garment though.

Anyway--here's to a productive 2022!  Happy New Year!


Monday, December 6, 2021

1920s Underpinnings Take 2: French Corset

Once again I've been studying 1920s corsets.

1920

1924

I felt a need to upgrade my 1920s shapewear that I wrote about in this post.  As noted in that post I noted that the corselette was not right for my shape so I moved on to plan B.  My 1922 catalog shows pages and pages of corsets, which look like a hybrid between an Edwardian corset and a modern girdle so I looked for extants to study the details and I discovered French corsets that were more like a girdle .  Let's look at some extants.


All of these corsets are made from coutil and contain both back lacing and a hook and eye front side closure.  The first one has the lacing and closure both in the front.  They all appear to have fairly wide boning.  The last example has narrower boning along the grommets in the back.  All of them also have at least one elastic insert.  The second example also looks like it extends above the waist. I also noticed that they seem to have wider boning in single rows instead of double rows of 1/4 inch boning as my Edwardian corset has.

I figured it would be pretty straightforward to reproduce one of these.  I started out using the Rilla Corset pattern from Scroop patterns due to the simple lines it has.  Another plus with this pattern is that it has 2 sizing categories--one with a greater waist to hip ratio and one without.  I figured it would be easier for me to get the shape right for my body.  The object here is for more compression at the hips, control of my little tummy and little compression on my waist.  I looked at the measurements and made a couple of adjustments on the paper pattern and drew in the lines for the bottom hem and lowering the top to be about 2 inches above the waist.  I decided to use the last corset example above for my model.

After tracing the pieces onto pattern fitting cloth, it occurred to me that the front side seam was not in a good place for a closure so I pinned the front/front side pieces together and redrew the seam line--the example on the left being the original and the one on the right being the new pieces.  I added a boning line to the right of the new seam line.

I cut out the pieces in a heavy poplin for fitting and it was pretty close.  I needed to take in the seam allowance a tiny bit at the bottom 4 inches or so on the sides and back.  I had enough coutil left from my corselette if I cut this cross grain but it was really close given the scraps I had left!

There's enough for the back facing but I decided to save this for the front under lap at the closure and to use plain white coutil for the back facings.  Other materials needed:  1/2 inch German faux whalebone boning, 3/4 inch boning chanel, small hook and eye tape, 1/2 inch cotton twill tape, size 00 grommets and lacing.

Next steps: stitch seams, press hems, apply back facings, stitch boning channels by the grommet area, cover seams with boning channel tape.   I also cut the elastic insert.  I didn't photograph these steps.  Here is the corset with the boning channel tape pinned over the seam lines and the elastic insert pinned in.

Inside of corset with tape and elastic pinned in place.

Outside of corset with boning tape and elastic insert pinned in place:


Next steps:  Insert grommets, finish front closure, finish bottom hem.  The idea here is to leave the top hem open to be able to insert the boning.  I need to be able to try the corset on to determine how long the front boning pieces need to be in order to be able to sit comfortably.

Grommets set:


Seams, boning channels, bottom hem taped and sewn and front closure completed. Boning along both sides of lacing in place:


Next step:  try on and mark the length of front boning, put boning in, hem the top and make the suspenders.  After marking how long the boning should be, I had to stitch a line in each boning channel since most of them run the full length of each seam.

I used 3/4 inch satin bra strap elastic for the suspenders with vintage style sliders and grips.  I also decided to go with six suspenders which I prefer to four.


It probably would've been better to sew these on before binding the bottom hem but I simply didn't think of it!

Here is the finished corset closed and open

Front:


Back:


Here it is open
Inside:

Outside:


I'm very pleased with the way this turned out.  It fit perfectly and having it extend a bit above the waist eliminates muffin top.  This was the piece I needed. 

I'm sure glad to get this one finished!


Here it is over my envelope chemise.