


My bag is similar to the shape of that in the top picture. And I've found it to be so practical that I decided to make another.

Large Reticule/Work Bag Tutorial
Materials:- 1/2 yard each fashion fabric, lining, interlining (interlining can be linen, cotton flannel or some other fabric which gives the bag body. It shouldn't be stiff. )
- 2 pairs of 4 inch tassels
- 2 chair ties (chair ties are long cords with a tassel on each end)
- matching thread
- Pattern--downloadable below
The red bag in the above photo is made from silk dupioni with a cotton flannel underlining and it is lined with red silk persian. It was sewn entirely by machine.
The bag in the tutorial is made from silk taffeta with cotton flannel underlining and it is lined with black linen. It was sewn entirely by hand.
I found my tassels and chair ties at Hobby Lobby but any store that carries home decorating supplies should carry them. DO NOT REMOVE THE PLASTIC PROTECTIVE TUBES FROM THE TASSELS/ CHAIR TIES.

Download the pattern you would like to use. You can download either the scale pattern and enlarge it yourself or you can download page 1 and page 2 of the full size pattern on standard printing patper and tape them together. The full size pattern takes 11 X 17 sheet of paper when enlarged.
Page 1 full size
Page 2 full size
1/2 inch scale pattern
Seam allowances are 3/8 inch.
Cut the full size pattern out of your fashion fabric and underlining and cut out the lining, noting the cutting line for the lining on the pattern. Place the underlining pieces on the wrong side of the fashion fabric the place the right sides of the fashion fabric together creating 4 layers and pin together. Make two marks on each side 4 3/4 and 5 3/4 inches down from the top. This is the part of the seam that will be left open for your ties. Pin the lining pieces right sides together.

Stitch the lining pieces together using a spaced back stitch and a 3/8 inch seam, leaving the top edge open. Begin stitching the bag pieces together leaving an opening between the two marks you made. Your opening must be at least an inch.

When you get to the first corner, take one one of your tassels and insert it inside the bag, pulling the loop out at the corner. Hold that loop in place with the tassel pulled firmly against the seam on the inside. Take several stitches anchoring the loop in the seam and give it a little tug to make sure it's securely stitched in place. Continue in this manner, stitching all 4 tassels in place, one at each corner.

Press the seams of the bag open and tack the seam allowances to the underlining where the opening for the ties is. This will make it easier to thread your ties through the casing.

Press the seam allowances of the lining open and turn under 1/4 inch on the top edge, pressing it in place.

Either whip stitch the top edges of the bag or do a running stitch 1/8 - 1/4 inch from the edge to secure the layers together. Fold the top in on the fold line which is 3 inches from the edge and pin in place.

Turn the bag right side out and measure from the top edge of the bag to the top of the tie opening and again from the top edge of the bag to the bottom of the tie opening. It should be close to 1 1/2 and 2 1/2 inches.

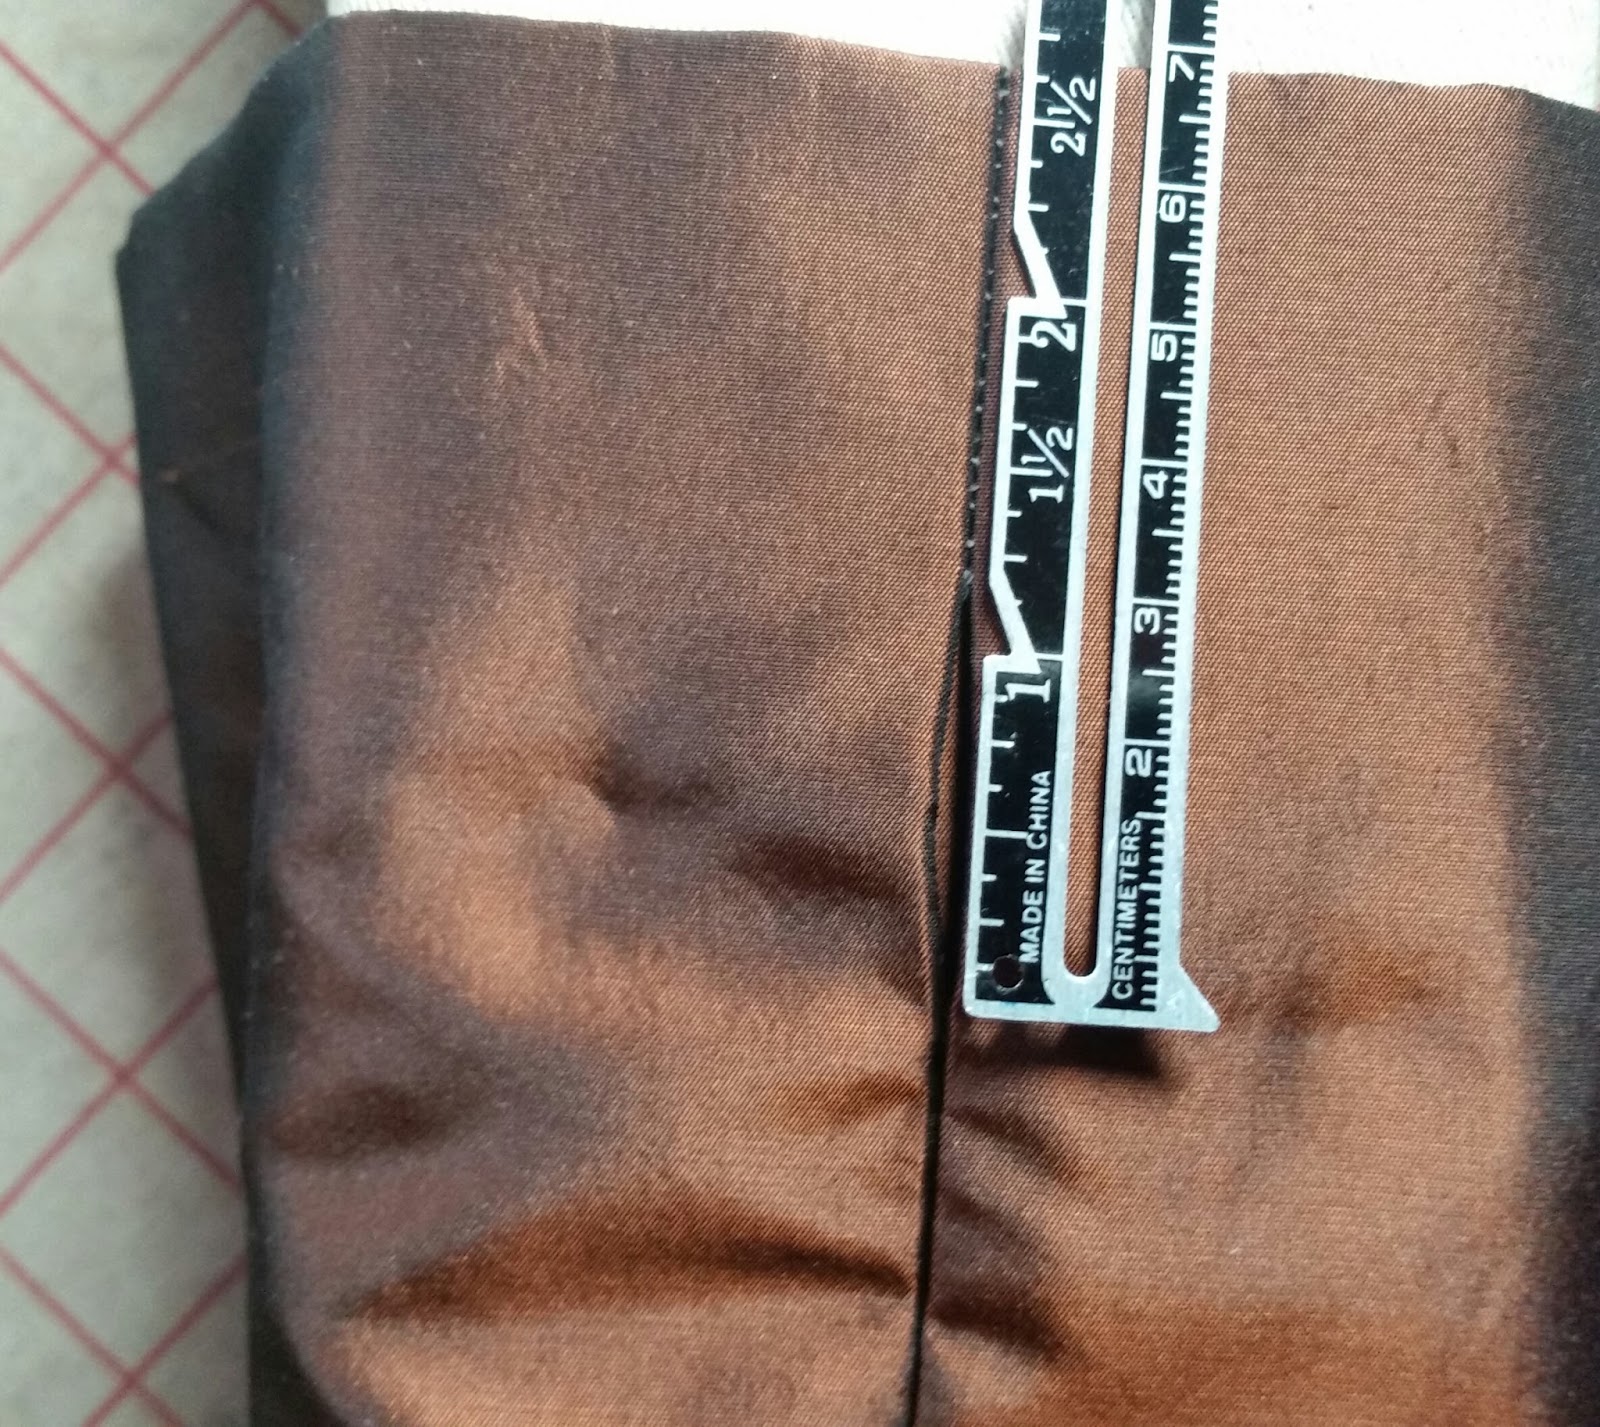
You will need to mark a line around the bag at those measurements using chalk or other removable marking method--for me those lines were 1 1/2 inches and 2 5/8 inches from the top.

Stitch around the bag on each line using a spaced back stitch, taking a couple of extra stitches over the seams. Then remove the marks.

Turn the bag inside out and the lining right side out. Insert the bag into the lining, aligning the top of the lining with the bottom row of casing backstitching. Pin the lining then whip stitch it in place.


Turn the bag right side out and insert one of the chair tie tassels (still in the plast tube) into the casing, threading the tie through the casing all the way around. The tassel must come out of the same side it went in.

Thread the other chair tie starting on the other side of the bag. Tie the tassel ends together on each side using a square knot.

Pull the plastic tube off of your tassels and enjoy your new bag!


*Options*
If you like the bag in the top picture without a ruffle above the casing, alter the instructions as follows: Cut the fashion fabric and underlining off on the first fold line, making it three inches shorter. Sew side seams beginning and ending 1 1/2 inches below the top edge. Stitch the layers at the top edge together and fold the top in 1 1/2 inch. Sew your casing 1 inch below the folded edge using spaced back stitch. Attach the lining the same as above.
You may wish to add embroidery or ribbon treatment to your bag before sewing the seams.
You may with to eliminate the tassels altogether or add beaded loops. The sky is the limit when it comes to decorating your bag.
You may also choose to stitch a pocket on the lining before stitching the seams.
Lovely! Thank you so much
ReplyDelete