Monday, September 21, 2015

Portrait of a Gown . . .


There's just something about the transition from structured Georgian gowns of the 1770's to the free flowing Regency styles of 1790 - 1820 as illustrated in these portraits that I simply love.  This gown is called the Chemise a la Reine--so named because it was a queen who first wore it and turned it into a fashion trend.  The top portrait of Marie Antoinette was done in 1783.  One can find other portraits of society maidens wearing similar dresses and hats throughout the 1780's.

The Chemise a la Reine is typically made of lightweight, almost sheer cotton muslin with a lot of gathers and no boning.  It is worn over several white petticoats as was the custom in the 18th century as it was also typically open in the front.  The gathers were controlled by a large colored sash tied in a large bow in the back.  These gowns could have straight or puffy sleeves.  Puffy sleeves were new on the fashion scene at the time.

All of the portraits I've found of ladies in their chemises, also highlight the newest hairstyle of the time:  the Hedgehog!  Unlike the highly structured big hair with pinned rolls and such, the hedgehog was just a headful of crazy curls, often kinky with some long sausage curls hanging down the back.  No need for pomatum to hold one's hair in place with this style.  It would have been curled using rags which would result in very tight, almost frizzy curls.

The hats were larger too.  The Georgian hats tended to be of the Bergere style with a fairly flat crown and some simple ruched ribbon trim--though feathers were often added.  The hats worn in the portraits above had large crowns, big ribbon trim and large plumes.

One can see how this whole look--  hair, hat, gown-- transitioned into the Regency styles represented in the Jane Austin era.

I decided it was time to reproduce this look.

I settled on the chemise diagram from the Norah Waugh Cut of Women's Clothes book.  It was a one page diagram on 1/8 inch grid graph paper.  The basic shape of the gown is simply a large rectangle of fabric with some shaping at the top, a shaped shoulder strap and a sleeve.  I copied the top part of the gown onto 1 inch gridded paper as well as the sleeve and shoulder piece which I lengthened from the original 7 inches to 10 inches.
This was what I had to work with.  Because it has a lot of drawstrings, fitting wouldn't be much of a problem.  I decided that this would be entirely hand sewn. I used 56 inch wide cotton voile cut about 64 inches long--2 lengths plus a 30 inch wide piece which was in the center back.  These pieces were stitched together in tiny French seams. The front edges were hemmed with a hand rolled hem. I used silk thread for all stitching.
Then I added the waist and bust casing--using 1/4 inch silk ribbon, hand stitched in place.
This was probably the most time consuming part of making this dress.  Once this part was done, I folded the piece in half, laid it out and cut the contour of the top and the hem.
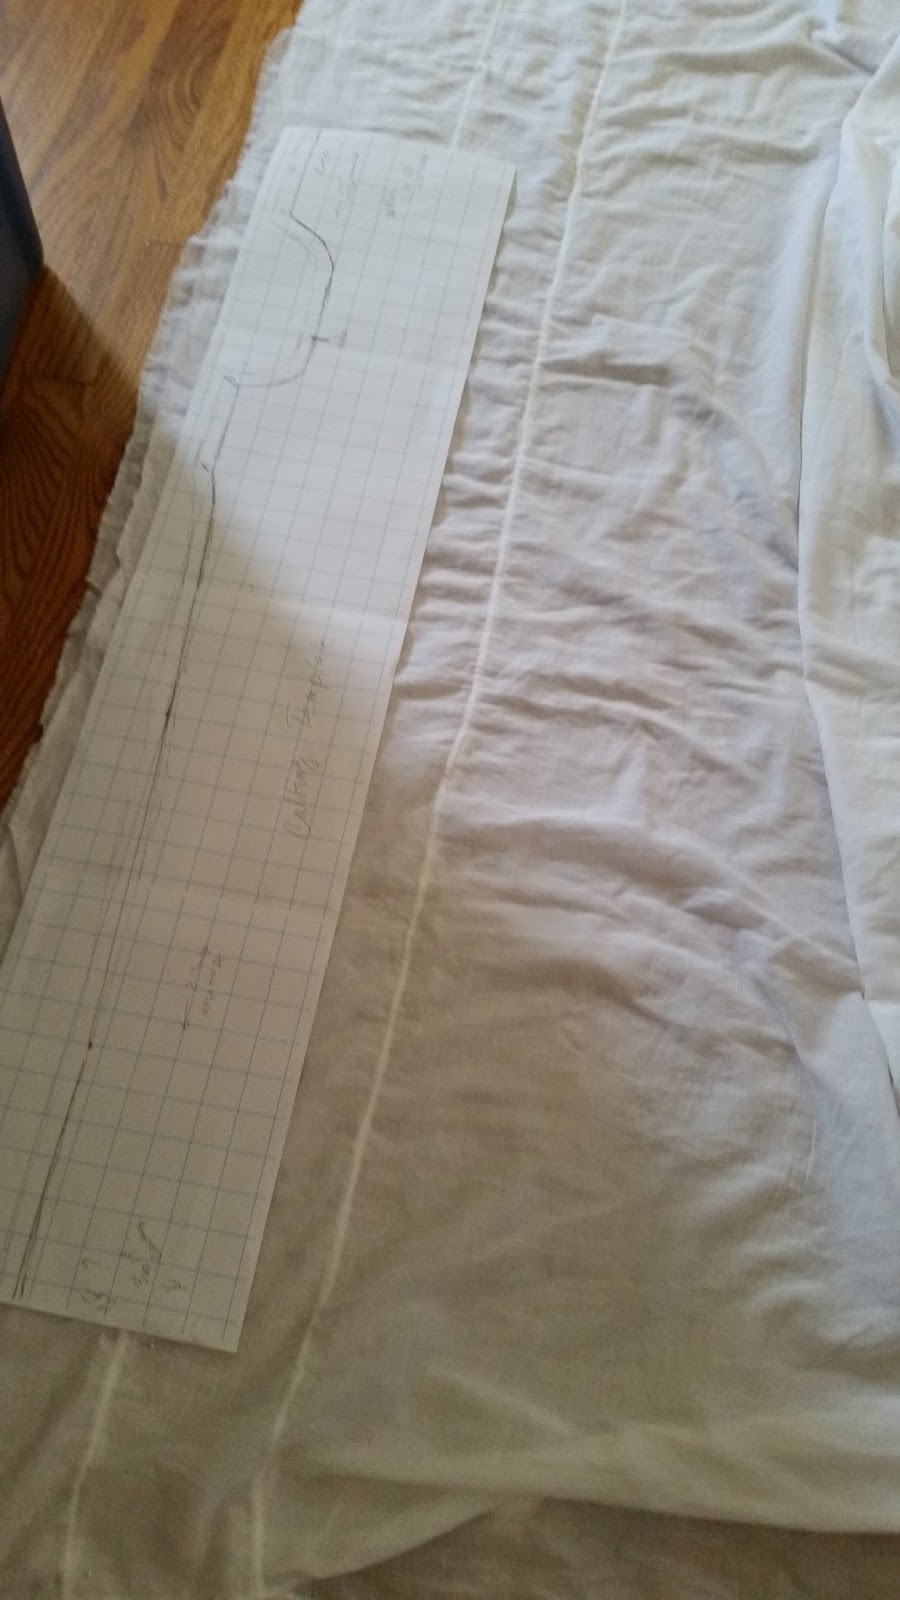
After inserting the 1/8 inch cotton twill tape drawstrings, I pinned the gown on my dress form.  
I used medium weight white linen for the lining of the shoulder straps. The straps in the diagram were only about 7 inches long and I knew that would be way too small so I made them 10 inches long for fitting purposes.  I sewed the lining on first then tried the dress on to see how it fit. 

As I suspected, the straps were too long.  I made a shoulder seam in them, taking them up 1 1/2 inches.  I then cut the outer strap out of voile to the corrected length.  I then stitched a French seam in the sleeves,  hemmed the sleeves then made two eyelets at the cuff and casing line in the center.  I did this so that the ribbon bows would show.  I stitched the silk ribbon in as a casing and I used the same 1/4 inch silk ribbon as drawstrings.  I stitched the sleeve in with seam inside the bottom and on the outside of the sleeve lining.  Then the outer shoulder piece was added and whip stitched to the lining, encasing the sleeve seam.
I decided that I wanted a neck ruffle so I measured each section of the neckline:  front, shoulder strap back.  I doubled each measurement and added them together to make a ruffle with 2 : 1 fullness.  The short ends and one long end were stitched with a tiny 1/16 inch rolled hem.
After the hemming, I made whipped gathers and fit the ruffle to the neckline, whip stitching it in place.  I was quite pleased with the final result.


The final thing to do was to do a hand rolled hem and make another white linen petticoat.
The sash was about 12 feet long and all edges were finished with hand rolled hems.  It was made from silk dupioni.

Step One completed! 

I fashioned a hat out of straw millinery blank.  I stitched teal silk bias around the edge of the brim.  I then cut a circle of the same silk and layered sheer white silk chiffon over it, gathered the edges and covered the crown with it.  A wide bias strip was cut with pinking shears and I fashioned it into a loopy bow, stitching the loops in place.  Two ostrich plumes and a couple of peacock spikes were added and stitched in place.


Step Two completed!

Now the hair!  I had bought a tacky Lioness wig from Whilshire wigs in a color that matched my own hair.
It definitely had that 80's biker chic thing going on!  Fortunately I had the tool of the trade!

I sectioned off the bottom, curled it around a 1 inch dowel and sprayed the curls.  The rest of the wig got teased--a lot!  It took over an hour to do all the teasing.  I had to trim some of the longer teased pieces.  


I ended up with one big hedgehog wig of win!  Love it!  The hat was the perfect proportion for the big hair!

The gown was worn over a Regency shift, fully boned strapless 18th century stays, a small bum roll and 2 white linen petticoats.

I made this ensemble to wear to an 18th century wedding at an 18th century country church--no electricity!  It was a gorgeous day.  Here's the final ensemble:


Friday, August 7, 2015

If the dress fits . . .

I've been cleaning through my vintage clothes and I came across this dress that I made for a contest in the early 1990's.  The Martha Pullen Company held a contest for heirloom sewn by machine garments.  Heirloom sewing is that style of sewing that you see in those lovely white lacy Victorian garments of the past and it was done by hand.  Rows and rows of French cotton lace and ruched fabric strips stitched together are very typical of this style of sewing along with details like pin tucks and hand embroidery.  To make it more complicated, the lace and fabric strips are typically joined together with entredeux which is a tiny strip about 1/8 inch wide (sometimes less) that looks like faggotting.  These rows are typically hand whipstitched together.  It includes tiny hand rolled and stitched hems.  However when sewing by machine, one must use very tiny zig zag stitches that fall in the little holes in the lace and make tiny rolled hems with the machine to replicate the hand stitches.  It takes some practice, but I enjoyed this type of vintage styling and made a number of dresses for Emily when she was little.

My inspiration for this dress was a single piece of 14 inch wide Swiss embroidered cotton lace that dates to around 1900.  My brother, the antiques dealer, had gifted me with a Hefty garbage bag full of old store stock French Val and Swiss embroidered laces from that time period.  I lovingly restored all of them and I've enjoyed using them over the years.  This one piece though was simply spectacular. The lace, while white, did not match the stark bleached white imported Swiss batiste that I bought so I had to tea dye that then lightly bleach out the dye until I got the right color.   I don't like to wear pure white so I chose a cream color Swiss batiste to use as an under layer.  The sleeves were kept sheer, using only the white batiste.

The dress had some spots on it so I spent a day carefully removing them and gave it a light hand wash.

I've always treasured this frock.  It was a lot of work.

Front and back views:


Closer views of the bodice.  The wide lace inset at the center front, dropped waist and cuff was also vintage.  The insertion lace with the ribbon and the edging on the collar and cuffs was new.


Hand pulled thread and shadow embroidery done with silk floss.

Collar detail--The front and back are white batiste, the pointed shoulder piece is the cream colored batiste.


Cuff detail

Detail of cuff showing the tiny stitches connecting the different rows of lace.

Detail of sleeve seam showing the entredeux used to connect the sleeves to the body of the dress.

Inside of bodice showing entredeux seam and French seam.

Waist inset

The gorgeous piece of lace that inspired the dress.  

Skirt details


Knotted ribbon rosette--I loved making these.  Ems wore them in her hair all the time as a little girl.

I dressed up a straw hat to wear with this dress which I really liked at the time.  I'm thinking that I should remove the ribbon trim and make a cloche styled or Edwardian type hat and put the ribbon on it.  I have to figure out the period I want.


I wore this with white leather flats.  Now I have the perfect shoes--Seabury Edwardian pumps by the American Duchess with clocked Edwardian silk stockings!

I'll have to keep this frock handy to wear to one of my teas or other functions.  It's just too pretty to sit in the closet!

Tuesday, July 28, 2015

Where's the Pattern?

This is one of my catch up posts from my hiatus from the blog.  I've always loved Burda patterns. They had European details and fit and they didn't have seem allowances which I also loved. They also fit like no other commercial patterns.  Sometime during the 90's (I believe) they were purchased by Simplicity.  Seam allowances were added and they took on the qualities of the other American pattern companies which I wasn't particularly fond of.  Oh well.  It was nice while it lasted.  It was a few years later that I discovered Burda Style Magazine which contained patterns that retained all of the qualities I loved about the original Burda patterns.

While thumbing through this issue at G-Street Fabrics one day, I came across this pic:
I fell in love with this tunic.  There's just so much to love about it.  It has girlie details like the pleats, lace and crocheted flowers.  The white gives it a nice clean airy look and it's long enough to cover all of my figure flaws.  I purchased some slightly off white Swiss batiste and set out to make this.

Opening the pattern sheet was like playing "Where's Waldo."  All the patterns are on one sheet overlapping with each pattern having different colored lines and each size of the multi-sized patterns having different styled lines.  It made me want to go blind!

I think tracing the pattern was the worst part but I came up with this which was a big improvement.

As is so often the case, I had to make certain changes.  This pattern had a side zipper which I dislike so I moved that to the center back.  I also decided to add the crocheted lace to the hemline.

The tunic went together smoothly but the real challenge was creating crocheted flowers that I liked.  I first looked for doilies that I could take apart but didn't find anything that I liked.  So I found a book of crocheted flowers.   The sizes of crochet thread at the craft/ yarn stores had gauges that were either too big or too small and the colors were either too light or too dark.  Fortunately I found a size online that was right between the two sizes in the stores and a lighter off white.  It was perfect.  Honestly, I don't know how I ever managed before having the internet at my disposal!

I was pleased with the final result which you can see here.


This has become one of my favorite summer pieces!

Saturday, July 25, 2015

Taming the Beast

I have a big project coming up.  I'd like to be almost finished with it by the time school starts.  I've nicknamed this project "The Beast" because it is massive.  Here is the inspiration:

This dress currently resides in the Metropolitan Museum.  I found a research paper written by the conservator of this dress.   Apparently, this dress was styled in silk taffeta during the 1780's from another dress that was made during the 1760's.  This was common practice at that time because silk was expensive and had to be imported from the Orient.  The conservator went on to describe how the dress was originally a standard mantua that was made into the zone front gown we see today.

This is the dress I intend to make.  I don't do pink, however so I found a dark red stripe in the same approximate size.  I literally bought the last 9 yards in stock from Renaissance Fabrics.

There are two main challenges with this dress.  First is how to make the bodice.  I found a pattern that has a tabbed stomacher that looks very similar.  The problem is the slanted zone sides hook to the stomacher.  I dislike hook and eye closings as they don't allow for fluctuations in size and they are just a pain in the rear.  Most zone front gowns at the time fastened in the center front.  The "zones" on the bodice--the slanted pieces--were mock closings and stitched flat allowing the wearer to just use straight pins at the center front.  I think I'd like to make this dress like that.  Here are the patterns I have to work with:


The pattern on the right is the correct style except it shows the sleeves cut with the stripes going horizontally.  The original dress above has them running vertically which I prefer.  The stripes on the stomacher on the pattern run horizontally whereas the ones on the original dress run vertically.  I like the vertical stripes better and I'll probably run the stripes on the zone front more diagonally.  I think I will draft a new bodice using the J.P. Ryan pattern on the left, creating a sewn down zone front and tabs at the center making it more of a mock stomacher so my first task will be to do a mock up of the bodice.  Once that's done, I'll be good to go on cutting and sewing the gown.

The next challenge is the pinked scallops you see on the petticoat ruffle and hem and the sleeve cuffs.  Cutting scallops like this with pinking shears is a no go.  Fortunately I found a tool maker who makes leather punches like this.  He said that many people purchase the punches to cut silk.  He said to use a dead blow hammer on shoe sole rubber material.  I tried this with one layer of silk and it didn't work.  A costumer told me that she used 4 layers of silk and glossy magazines under the fabric to do the punching so I will try that.  She also said that she used a wooden mallet.  I'll try that if the dead blow hammer isn't working.  This will be fairly labor intensive.  I do not intent to punch the hem of the petticoat because I think it will suffer abrasion from brushing against my shoes and that will cause some raveling.

So this week, I hope to attack the bodice mock up while finishing some other projects.  I think I'll also start experimenting with how to punch the scallops.  This gown is to be worn on September 20 and I don't want to be worrying about it when school starts!  I'll post my progress as it is made!