Sunday, March 5, 2017

Natural Form Era Hat--a tutorial

Victorian dress is not my area but I ventured into that era as outlined in this post for our Maryland State DAR Founders Day celebration in October of 2015.  I chose a Natural Form Era outfit since no bustle was required and I like the line of the skirts--narrower in the front with the bulk of the fabric in the back.  Some  friends organized a Victorian Tea for this weekend so I had occasion to wear the outfit again.  I felt I needed a hat so I did some research and found some great links on Lynn McMaster's page.  There I found a link to the google books upload of the London and Parish Ladies' Magazine of Fashion 1881-1882.  There were pages and pages of fashions and I focused on several that showed closeups of possible hats and neck treatments as I also need a dickie or chemisette to fill in the low neckline of my bodice.


 The hats in the last picture looked like something I could make from an existing straw hat.  I also liked the chemisette in the left hand outfit.  I decided to make the bonnet type hat in the center of the above picture.

I found a nice plain straw hat at the thrift store for $3.

Some supplies I find helpful when working with deconstructing straw hats is wonder clips (found in the quilting notions at Joanns), Size 4 straw needles (purchased from Judith M millinery) and spray starch (also from Joanns).  You can also use plan Knox gelatin to size hats but it takes longer to dry.

One thing about natural straw is that you can use moisture and / or steam to completely reshape it much the way you do with wool felt.  The brim is about the right size on this hat but it needs some changes.  The crown, is too tall and needs to have more squared angles.    I cut the crown off and made it shorter, completely wet it and put it on a container that was the size I wanted.  The crown was bigger so I wrapped it with twill tape to mold it to the container and I left it overnight to dry.   When I took it off, I cut another half inch or so off of it.   


I looked at the brim and found it had a double layer of straw on the edge so I used a seam ripper to rip out the stitching for about 6 inches.  I wrapped the brim around the crown to check the fit and I ended up cutting a few inches of the brim off as I needed a gap in the back of the hat.

Once I determined the right size, I trimmed the ends of the hat into a curve and sandwiched the edges of the hat between the two edge pieces of straw--steaming with my iron to shape the straw.  I used wonder clips to hold the edge in place so I could stitch it on using regular sewing thread in a color that matched the straw.

I then had to block the brim to fit the crown.  I sprayed it with starch and steamed it, holding it in place until it took the shape I wanted.

Here is the stitched brim so far.

I used a running stitch to stitch the brim to the crown, putting the edge of the brim inside of the crown.

Next, I cut away a small arch in the back of the crown and cut a scrap of straw from leftover pieces of straw.  I curved the insert to a pleasing shape and clipped it in place, stitching it to the brim ends and the crown.


I had some leftover pieces of edging straw so I cut a piece and stitched it in place.

I ended up blocking this hat by saturating it with the spray starch, steaming it well and shaping it the way I liked.  I wrapped it with fabric to hold it in place to dry.

Next came decorating the hat. First I tacked some 2 inch wide double faced satin silk ribbon on.   I normally order ostrich wing plumes but didn't have time to get them from my usual supplier in CA so I ordered cheap ostrich drabs 20 for $20 on Amazon.  The feathers were sparse as I expected so I used my half inch diameter curling iron to curl the fronds and stacked 2 together then layered another group of 3 stacked together to cover most of the hat.  


Next I cut a 5 inch wide piece the width of my silk (54") and did a machine rolled hem on each edge.  I tied this into a multi loop bow and tacked the bow in the center so it wouldn't come untied.  I pinned the bow on the hat so I would have the option of using other bows or decorations as well.

I also glued some pleated ribbon inside to cover the stitching.

Here is the finished hat:  


To complete my outfit, I found a glorious piece of 14 inch wide French lace in my stash.   I decided to pin it to my corset and arrange it to make a temporary chemisette. 

The outfit was also upgraded with the addition of an overskirt.  I had ended up with 4.5 yards of silk left over from the original outfit and the overskirt just took three yards.  


We had a wonderful time at our Victorian Tea!  The food and the company couldn't be beat!


Tuesday, February 14, 2017

Converting a stomacher gown pattern to a center close front

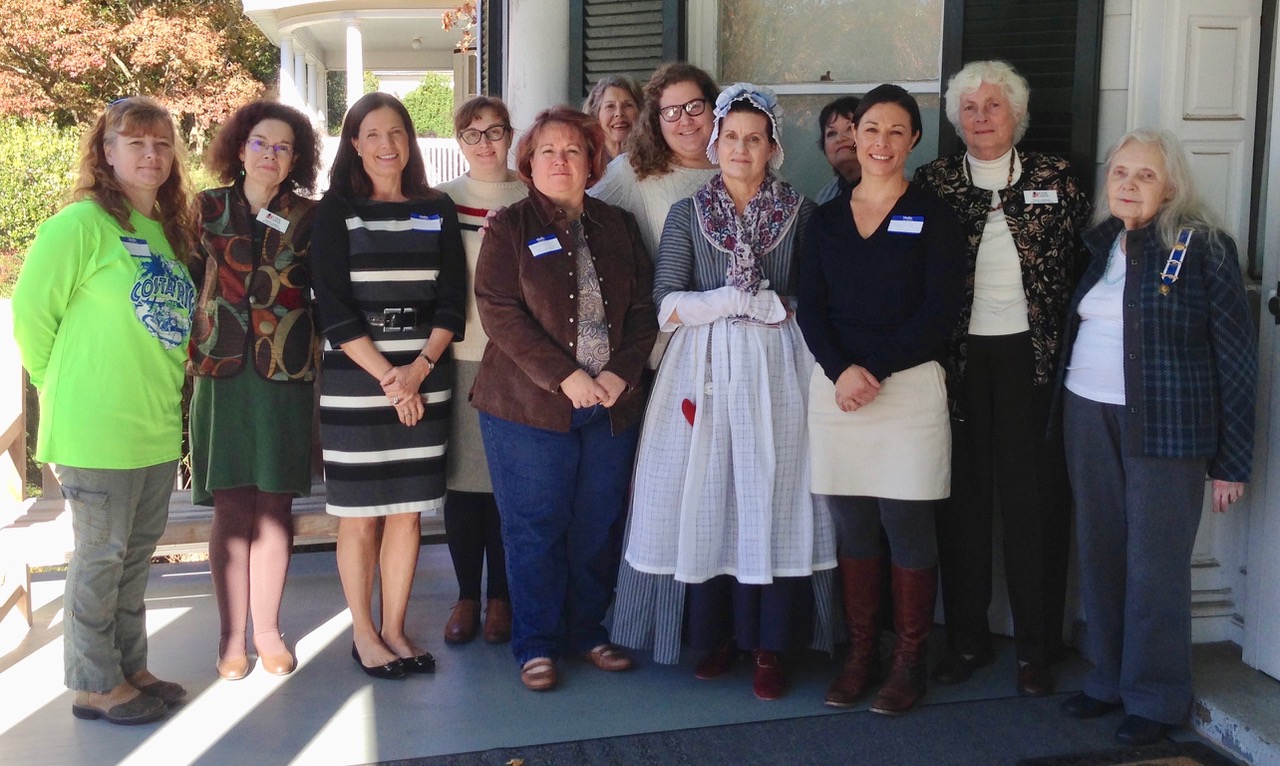
To a sewist, there is nothing more wonderful than a well-drafted well-fitting pattern.  I found this in the Larkin & Smith English gown pattern.  I made some slight adjustments to the paper pattern and I was able to achieve a perfect fit.  This gown is a stomacher front English gown with an en forreau back--representative of the early - mid 1770's.  I'm wearing this gown in the photo below which was taken after a presentation about clothing during the last quarter of the 18th century given to the General Smallwood chapter of NSDAR.  


I was so enamored with the fit of this pattern and the construction methods used that I decided to make my next center front closing gown using this same pattern.  The construction methods are period correct and the method of pleating the en forreau back is fool proof.  This conversion method will work with any stomacher gown pattern.

First I studied the differences between the two styles.  The most obvious difference is that a center front close gown doesn't have a stomacher.  It also doesn't have robings.   So it appears that the main task will be to extend the front bodice to the center front plus a turn under allowance and the add a shoulder strap made from the fashion fabric.  I settled on worsted wool for my fabric.

The first step requires a little bit of draping.  Using Swedish tracing paper (sort of like a cloth) I first traced the front bodice piece and just extended the tracing paper an un determined amount to have some paper to work with when drawing the new lines. The piece on the left is the front bodice piece. The parallel lines are the edge and seam allowance on the original pattern piece edge.  The pieces on the right are the original bodice front and lining.


Here is where a dress form comes in handy.  Mine was being used so I hung my gown and pinned the stomacher in the way I would normally wear it.  Then I pinned the new pattern piece to my gown at the side back seam, the parallel lines were pinned to the edge of the front piece and I pinned it at the center front of the stomacher.  This did involve pinning the robing out of the way.  I marked the center front and drew a line at the top of the stomacher so I'd have a rough idea as to where the neckline was.


I also made sure to mark the center front.

I redrew the neckline and bottom lines neatly and extended the front 3 inches past the center front line.  The neckline looked a little high to me and I pinned the piece on myself in my stays and determined it was.  I did end up lowering it about an inch.


I cut out the pattern piece and set about making a bodice muslin using the new pattern piece, the back lining piece and the shoulder strap. I tucked the seam allowance in along the neckline to check the depth. The front edges were folded in to achieve the correct fit. and  pinned that hem in place before taking the muslin off.


The new bodice front was cut from the fashion fabric and the lining.  I left the original pattern marks for the pocket slit and I made sure to mark where the skirt ended on the old stomacher gown to make sure it lined up the same way.

Basically I constructed this gown exactly the same as the pattern indicated for the stomacher gown. Here it is getting the skirt pleated to the bodice.


Once the skirt was sewn to the bodice, the lining shoulder strap was sewn on, the sleeve was attached and the back facing was stitched on as per pattern instructions.

Here is where things were a little different.  At this point the robings would be sewn on.  Instead, I cut shoulder straps from my fashion fabric, turned in the seam allowance on all sides and stitched them over the strap linings, encasing the sleeve seam.

Here is my first fitting.  This is where I checked how much to turn in the front on each bodice piece. Each piece required a one inch turn in.


Here is the dress as first worn over a bound wool flannel petticoat with tambour embroidered accessories:


I'm really tickled with this gown.  The fit is perfect and it's extremely comfortable.  It may be my new favorite.  I found this project to be a great learning experience and a nice intro to some basic draping. If you have this pattern, give it a try!


Monday, January 2, 2017

JP Ryan Jacket--#4--using 18th century construction methods.


I love the JP Ryan 18th century jacket pattern.  The first time I made it, I followed the directions for construction, though I eliminated the stomacher and made it center close.  The pattern directions have you construct the outer jacket then construct the lining and bag the lining turning it right side out when done  Quick and easy, but not without problems.  Now obviously I was aware that this was not historically accurate due to the fact that it used a machine.

The second version, I made by hand--whip stitching the seams of the outer fabric together then the lining and whip stitching the lining into the outer fabric.  I liked that better but I knew that while hand sewn, it didn't use historically accurate hand sewing techniques,

The third version, I used pretty much the same construction techniques as the 2nd one,

I decided to do it differently for this current version.  There had been a lengthy discussion on one of the 18th century sewing groups on Facebook about a particular stitch that seamed the lining together, the outer fabric together and attached the lining t the same time.  This stitch has been found in extant gowns which do not have en forreau backs.  This stitch apparently has no name.  The Margaret Hunter Shop at Colonial Williamsburg posted a short video on how to do this stitch.    The best explanation for it can be found at Abby Cox's blog.  Abby was an apprentice in the Margaret Hunter Shop.  You can find that post here where she refers to it as a weird running whip stitch.

I also found a stitch that looks to be the same in The Workman's Guide to Tailoring Stitches and Techniques.  They refer to this stitch as a seam made with a prickstitch.  There are a couple of variations.  Someone told me that this was incorrect but the instructions for completing the stitch are the same as Abby's.

Likewise, this stitch appears again in The Workwoman's Guide by A Lady, 1838 reprint.  It appears in the instructions for constructing stays.  The instructions say to turn under the edges of the outer fabric and the lining, place the outer fabric pieces wrong sides together with their matching lining piece.  Place the pieces to be seamed right sides together.  "Take up with your needle, three of the thicknesses, leaving the fourth unsewed.  The next stitch, take again three folds, leaving the other outside one unsewed:  continue alternately taking up one outside and omitting the other, letting the stitches lie close together: when completed, open the seam, and flatten it with the finger and thumb."

So here is what this looks like in practice.  First prepare your pieces.  turn under the edges of both lining and outer fabric.  I chose to baste the lining to the outer fabric.  The darker brown is the wool fashion fabric and the lighter brown is the linen lining.


Pin your pieces to be seamed together.  You will have four layers.  You will be stitching from right to left.  Put your needle straight though the farthest three layers--omitting the lining that is closest to you.

The next stitch is from the other side.  Same thing.  Push your needle through the farthest three layers, omitting the layer on the outer edge where the needle enters.  Stitches should be close together and very close to the edge.

I turned in the neck edge at the seams and stitched the seams to about 2 inches from the hem.  I whipped the lower two inches together so I'd be able to turn in the bottom hem allowance on both the lining and fashion fabric.  This photo was taken before it was pressed.  I was amazed at how flat it was!

I put the body aside to construct the sleeves.  I used the instructions from the Larkin and Smith gown pattern.  Placing the lining and fashion fabric wrong sides together,  pin over the out fabric seam allowance which has been turned under.  Using a spaced back stitch and working from the outside of the sleeve, stitch through all three layers.  When you get about 2 inches from the bottom of the sleeve do not stitch through the lining layer.

This is what it looks like pinned together on the outside.

Turnunder the loose seam allowance in the lining and whip stitch it to the lining.


Now for the shoulder seams.  I treated the back fashion fabric and lining shoulder pieces as one.  I turned under the front shoulder seam allowance, lapped it over the fashion fabric and lining of the back shoulder and stitched through all three layers with a spaced back stitch (same construction as the sleeve seam) leaving the lining free for about an inch at the neck edge.  Then the front shoulder lining piece was lapped over this and whip stitched.

Then the sleeves were stitched in and the neck, bottom and sleeve hems were finished.  I whip stitched the hems.  Further research in the tailoring book revealed a prick stitch hem for lined garments that looks like a running stitch on the outside edge.  I'm wondering if that would be more accurate.  I'll have to research that more, I made the stomacher without boning.  I just interfaced it with linen buckram.  I decided not to put eyelets in this jacket as I hope to make a crewelwork stomacher to wear with it so I just pinned it together.  I wore it over a tan wool petticoat bound with brown wool tape.  This was worn to Mt. Vernon on a very cold night!


Sunday, January 1, 2017

We interrupt our sewing to bring you . . .Sweet Potato Chips!

Being the mother of a Blue Front Amazon parrot who is 30 years old can be quite an awesome responsibility.  Most people don't have pets with lifespans that equal or exceed their own.  As such, I'm always looking for nutritious snacks that Gloria will enjoy.  Since parrots in captivity often need additional vitamin A, sweet potatoes are a frequent choice.  Gloria is also fond of crunchy things so sweet potato chips seemed like a logical choice.  Commercial ones don't fit the bill as parrots should not have most oils or salt so it makes sense to make them myself.  I was amazed at how easy it is!

You will need:
sweet potatoes
coconut oil
seasoning

I like to use garnet sweet potatoes that are fairly straight.  Peel the sweet potato and cut the ends off. I like to slice the sweet potato perpendicular which makes smaller chips.  They do shrink too.  If you are making them for humans, you may wish to slice them diagonally to have larger chips.

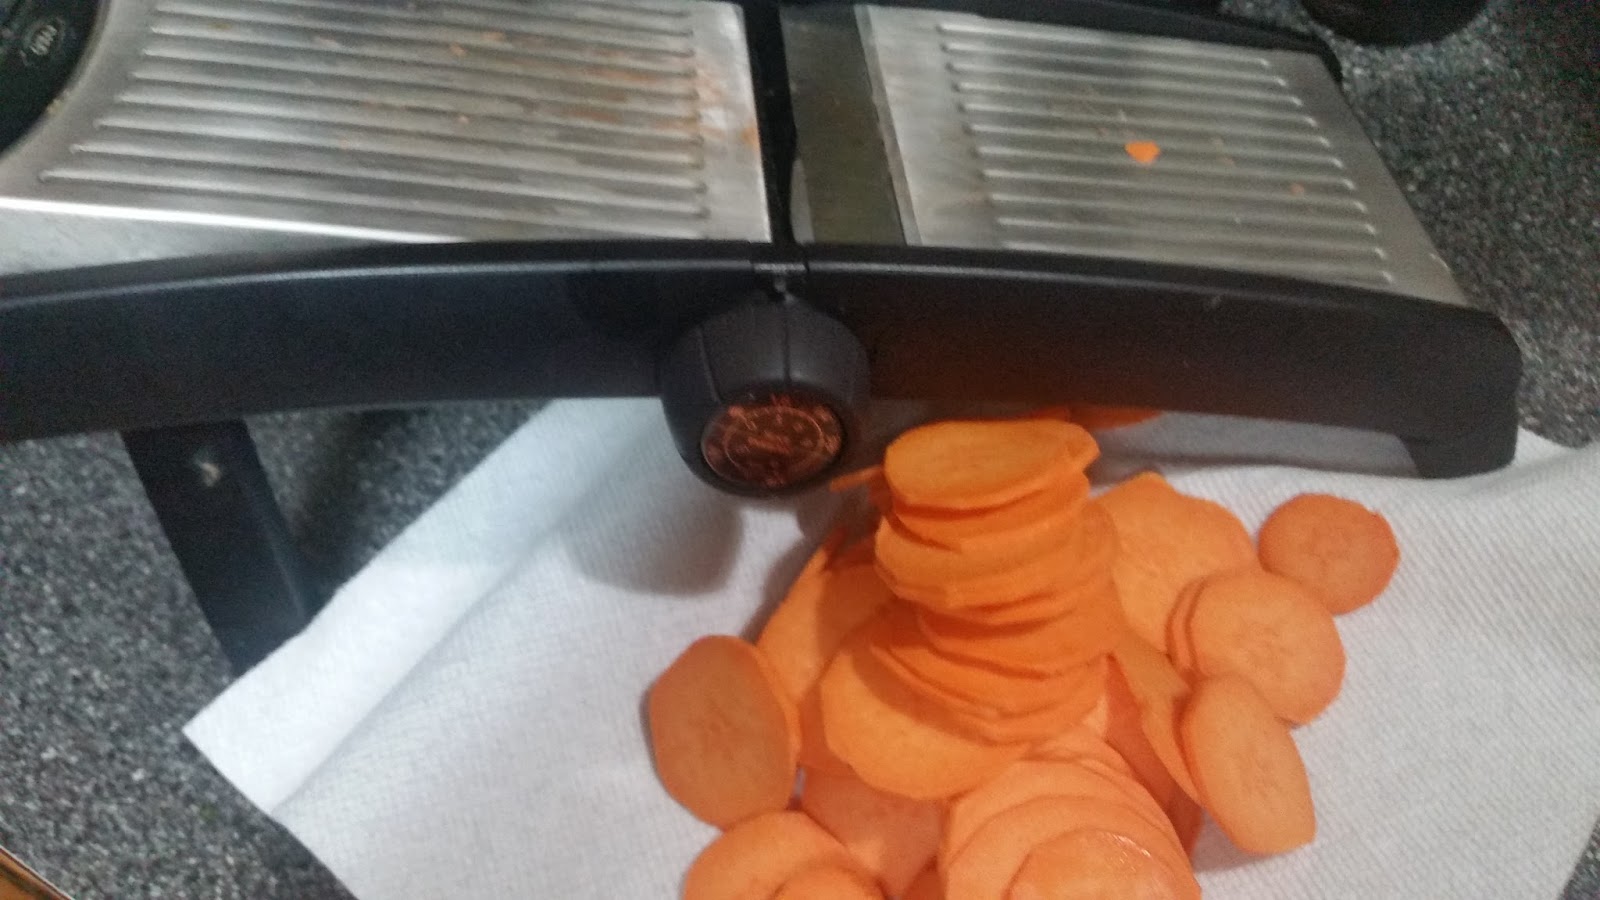
Thinly slice the potato using your method of choice.  I like using a mandoline as it allows me more control--though my Cuisinart would certainly do the job.  I set my mandoline for 1/8 inch slices.


Melt a small amount of coconut oil in the microwave.  I used about a teaspoon.  I could probably use less.  Another option, if you really want to avoid oil, is to skip this step and lightly spray the chips with a coconut oil spray.  Add the sweet potatoes, oil and any seasonings to a plastic bag and shake so all the slices are covered.  Parrots love hot peppers so I use crushed red pepper on our chips.


Lay the chips out in a single layer on baking sheets and sprinkle with additional seasoning if desired.


Bake for 40 minutes in a 200 degree oven.  After 40 minutes, turn the chips over and return to the oven for another 40 minutes.  


Watch the chips.  They will curl a bit as they shrink.  You may need to bake them longer or they may be done a little early.  They need to be hard.  Mine were clearly not done after the second 40 minutes. Bake until they are leathery, then take them out.   They will get hard and crisp if they are done.  If they aren't crisp, put them back in the oven for 10 minute increments.  I ended up baking these an additional 30 minutes. You can probably reduce the baking time by increasing the temperature.


I think I find these to be as tasty as Gloria does because every time I give her one, I eat two!