Showing posts with label Gown. Show all posts

Wednesday, December 31, 2025

Red Worsted 1770s English gown

 My last project of the year!  I've been wanting a red worsted gown so imagine my delight when Fabric Mart finally had some red worsted on sale for $14 a yard!  The fabric was actually a tricotine which is a double twill with a smooth, plain wrong side.  I didn't care for the right side so the wrong side is what shows!

I decided to use some printed linen I had in my stash for the lining.  I have about 9 yards of this and figured I could save my white linen to line summer weight linens or silk.


There's nothing particularly special about this gown.  It's a very plain early to mid 70s gown made exactly the same way as my blue gown that I made for Battle Road.  I wanted to wear this one to Washington's Crossing but didn't get the petticoat done in time.  I guess that will be my first project for 2026!  I wore it with my gold colored silk matelasse petticoat and a lot of layers!


I'm happy with this gown.   I nice plain gown can be dressed up or down!   On to next year!


Sunday, December 1, 2024

Another Stop on LaFayette's Triumphant Tour - 1824 silk daygown

It seems that I've really gotten into the 1820s so why not do a couple of silk gowns for the cooler months? I need a nice day gown to wear to a tea in December.  I had found a silk day gown on an auction site that really appealed to me.  It has the same lines and sleeves as the cotton gown I made in September.   Let's look at the details:

Dated to the mid 1820s.  The lines are fairly straightforward on this frock.


The fullness of the skirt is concentrated in the back of the gown which is typical for this period.

The back skirt fullness really shows from the side.  This view also allows us to see the size of the top shoulder point on the trim.

The neckline is piped.  The straight edges of the trim are also piped.

There are no apparent back closures which means it either had ties that are missing or was pinned.


Close up of trim.  The trim appears to be bound and trimmed with some sort of twisted cord which is probably couched.

It appeared that the trim on this gown would be the most challenging feature.   I decided to make the bodice up with no piping in the seams.  I did choose to add it to the neckline.  I didn't have enough of the checked silk I was using but I had several yards of coordinating blue silk that I had bought for a bonnet that went well with this.  I made the bodice and a plain long sleeve that I had drafted for my my summer gown.  

The next task was to draft the trim.  I measured the bodice from front waist to back waist over the shoulder to determine the length of the trim, also marking the top of the shoulder.  I started to draw the trim but wasn't happy with the proportions so I ended up using the photo immediately above.  I traced the trim onto plain paper then put it in photoshop.  I resized the image to the measurement of the actual size.


I printed the pattern out actual size (it was tiled), cut it on the fold out of pattern tracing cloth then pinned it on my bodice.


I like the proportions of this trim.  I cut out one piece and tried to bind it but was unhappy with the results.  It was just way too fiddly with all of those points.  I decided to cut it double, stitch the pointed edge right sides together and turn it.  It still needed some sort of cording but I just couldn't find anything that came close to that of the original.  Raiding my silk floss stash, I found the perfect color!  Next, I decided to look at a variety of knotted embroidery stitches and play around with that.  I ended up really liking the Portughese knotted stem stitch and found that 4 strands of the Soie d'Alger floss was perfect for that. 

One skein of floss wasn't enough for me to finish both shoulder trims but I went ahead and piped the straight edges and stitched them to the gown since it would be a few days before I could get more floss. 

Next up--the waist band.  I determined the width I wanted, cut a crosswise strip of the fabric and piped it then added it to the bodice.

One thing I hadn't banked on was the fact that silk garments often end up smaller.  I'm guessing that it just has less give.  This happened to me here.  I made the gown to be buttoned in the back like the 2 previous 1820s frocks I had done.  The bodice met at the top but gapped at the waist so I adjusted the back turn in to add more width.  Had I realized this earlier I would've let out the side seam since I always use a 1 inch side seam for fitting.  At this point I realized that I would need to use ties to close the gown so I found a decent blue procion dye in my stash to dye some white 1/4 inch tape.  This way I wouldn't have to worry about tucking the ties into the back.

I'll trim the ties to make them smaller but I think this will work out.


The skirt was made up using French seams and stitched to the bodice.   I ended up having to trim off a good amount for the hem.  Here's the final fitting worn over my corded petticoat and stays.


Here is the finished gown:


I'm quite happy with the way this gown turned out.  It ended up taking way longer than I expected as I spent so much time on the shoulder trim.  I'm glad I took the time to do it the right way though.  

Sunday, October 13, 2024

Welcome LaFayette, the Nation's Guest. My Journey to 1824

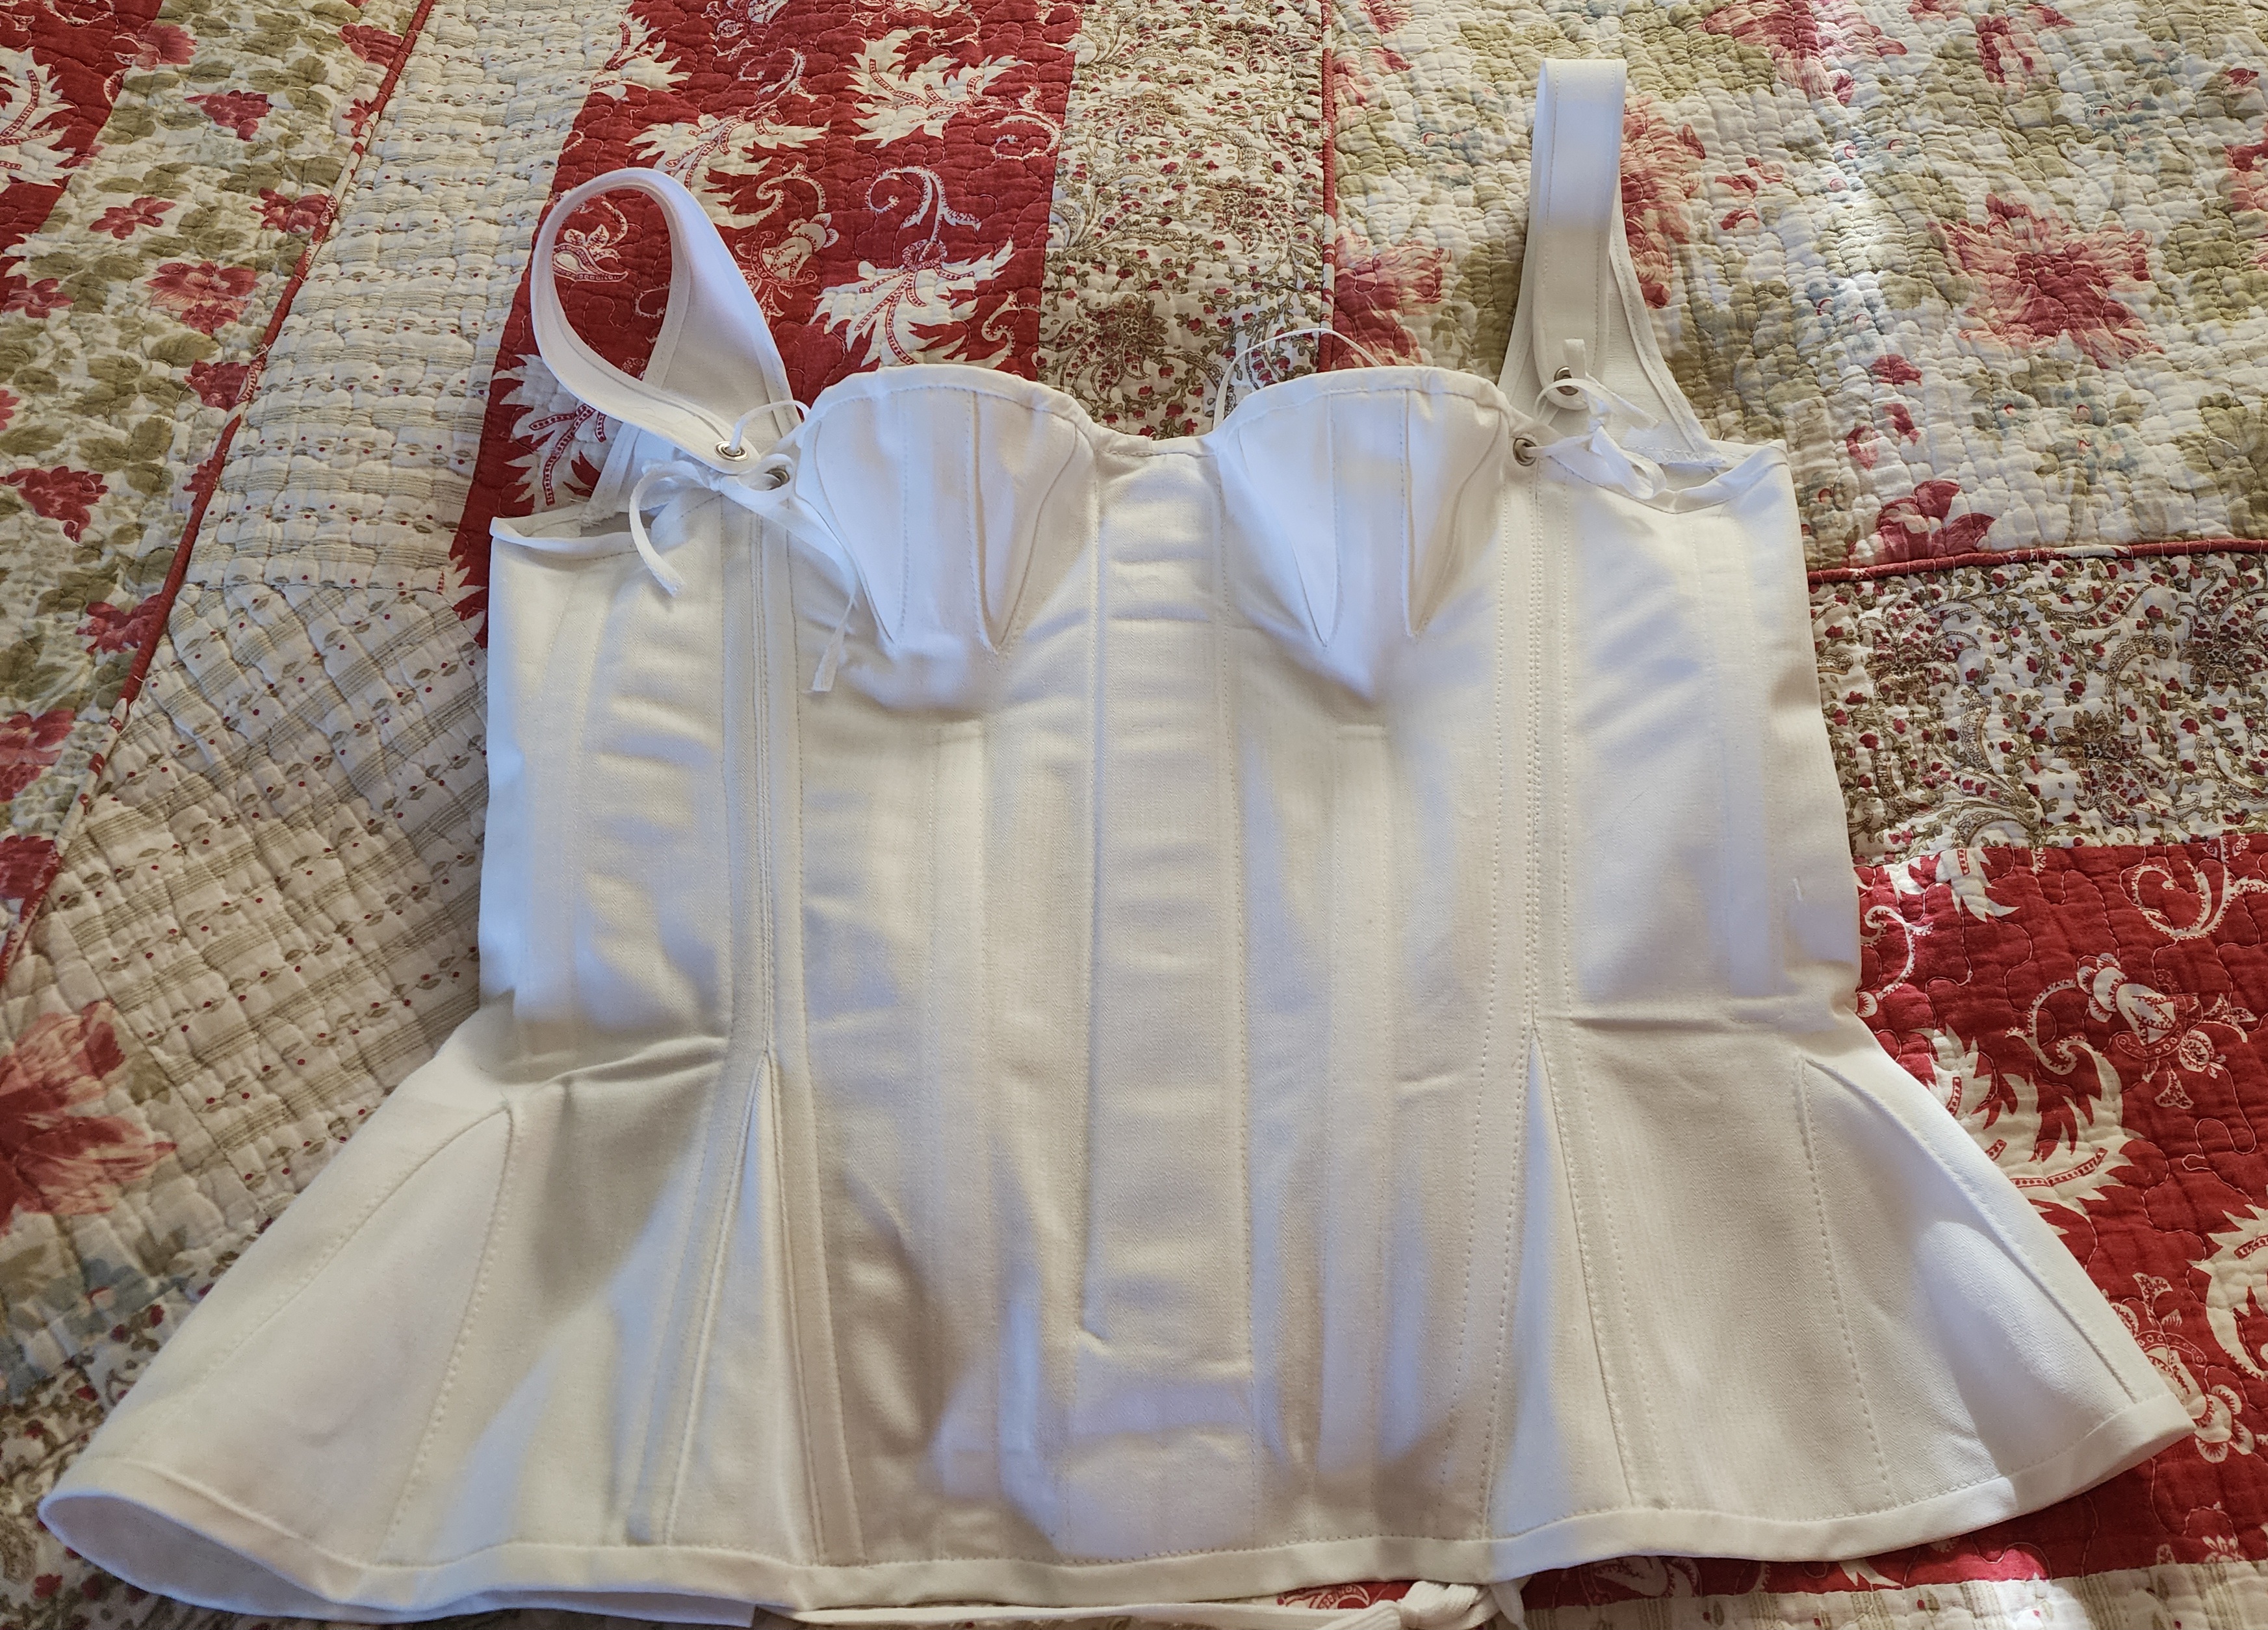
The Bicentennial of LaFayette's Triumphant Tour of 1824-25 is well underway.  In order to prepare for the first festivities in Baltimore, I needed to make a day gown, an evening gown and the appropriate accessories.  Before I could even start all that, I really needed to make the long Regency stays that I'd been planning for several years.  The thing that was holding me up was trying to figure out a way I could dress myself as back lacing stays are problematic.  I decided to go with fan lacing and it was life changing!  I performed the pattern adjustments on the Red Threaded Regency stays patten and found they fit well.

Doing the fan lacing myself was made so much easier with the help of this video that explained the entire process.


The next fitting issue involved the busk which wouldn't sit flat against my chest.  Further research found that the busks were curved to go over the belly then curved slightly the other way to sit against the chest.  I soaked my busk for 24 hours then gently curved it to the contours of my body and it made a huge difference!  Now it sits flat on my chest and doesn't compress my stomach.  These stays are super comfortable!

I started on my accessories first since I was still working out my gown details.  I used this 1820s cap from

the Monmouth Historical Society as my inspiration.  


Using this diagram, I drafted a pattern to fit my head.  I had to enlarge this one quite a bit.


Materials for the cap:  Swiss organdy and Swiss embroidered trim for the ruffles.


I didn't have enough of the trim to add the ruffle at the crown but I'm still happy with how this turned out.


Next up:  Corded petticoat.  I had to make this at the last minute.  I bought 90 inch wide bleached muslin and cut one piece the desired length of the petticoat plus 5 inches.  I trimmed the width to 80 inches the folded the bottom up 1/2 inch then 4 inches and pinned that hem in place.


I used this 3/16 inch upholstery cord and stitched 2 rows in at the bottom crease using a zipper foot.  It was like stitching piping.  I pulled enough out at the seam allowance so as not to catch the cord when sewing the seam.  Then I stitched the large hem allowance flat.  I stitched a back seam leaving about 5 inches open at the top and made a waist band.


Because 1820s gowns tend to be somewhat flat in front, I decided to pleat the petticoat to the waistband concentrating most of them in the back then I ran wide cotton tape through the waistband to form a tie.


Here are the finished underpinnings.  I did end up adding a third row of cord later.


My bonnet is the Sophia Bonnet from Timely Tresses.  I purchased the buckram form and covered it myself.


It took me awhile to figure out how to trim it but I settled on white roses and a back bow.  I ended up not adding ties.

I used this gown as my inspiration  I love the shape of the gown and the sleeves.  It's such a simple design.  I planned to trim my skirt differently.


I ended up using the bodice to the Laughing Moon #138 pattern after not having luck with a different one.  I like this pattern as it has 3 neckline variations.  I drafted the sleeve to match that of my inspiration gown and used the skirt from the new Fig Leaf pattern since I had already cut those pieces out.


This is the Indienne cotton I decided on.   I found petite maching blue cotton sateen piping at Farmhouse Fabrics.

Used a horizontal stripe of the print as the gown hem trim.  The trim was piped along both edges.


Piping was also added to the neckline, sleeve seam and the back seams.


The sleeve cuff trim matched the hem with the addition of a 1 inch wide ruffle.


Here's the finished outfit


My accessories for the day.


Here is the whole outfit!


I needed an evening gown 2 days later and had only a couple of days to make it due to some unexpected circumstances.  Here are some inspiration gowns.


I had this white cotton in my stash


I made the bodice the same as the other gown with a short puff sleeve.  I did add piping to the sleeve band.


I wanted some type of sheer trim but had very little time.  I used silk chiffon cut in long 8 inch wide strips and draped them to the lower skirt piece which was then attached to the top piece with piping.  I added some drapes to the sleeves then did a pleated piece of the chiffon across the bust before sewing the sleeves on.   I didn't get any progress photos of this.  The long leather gloves and Lafayette reticule were worn with this gown.


Here is the completed outfit.


With my husband and friends

I was quite happy with all of these projects.  I found that I like the 1820s better than earlier regency except for the fact that the gowns all close in the back which prohibits me from dressing myself. Oh well!  It's always something!  I hope to make a couple more 1820s gowns for December events.

Vive LaFayette!