The second piece of my Edwardian underpinnings! Typically I would start with the chemise but I did the corset first which you can see in the last post. I went with the Wearing History 1917 Combination Underwear and Chemise pattern. I really like Wearing History patterns. They are actual antique/vintage patterns that have been graded to include a full range of sizes. The original pattern markings, seam allowances etc are still used--basically the pattern is as the original but with all of the sizes. The instructions have also been annotated. You will see the notes added to the original instructions. I find the old patterns to be really sensible in that they include different seam allowances for different seams. The seams that are most likely to be used for fine tuning fit (side seams, shoulder seams) are typically 3/4 inch whereas other seams are 3/8 inch. After looking at the different views of the chemise, I thought I would do the first one with lace beading trim on the neck but with no crotch piece. I decided on white Swiss batiste and French Valenciennes lace beading and a small edging. Fine lightweight cotton sewing thread like Madiera cotton was used for heirloom stitching.
The garment is basically shaped like a typical tank top only ver loose. The back has a center back seam with an inverted pleat.

I used tiny French seams on my back and side seams. The center of the back pleat was actually placed on the fabric fold. I finished the top of the pleat on the inside so as not to have raw edges.

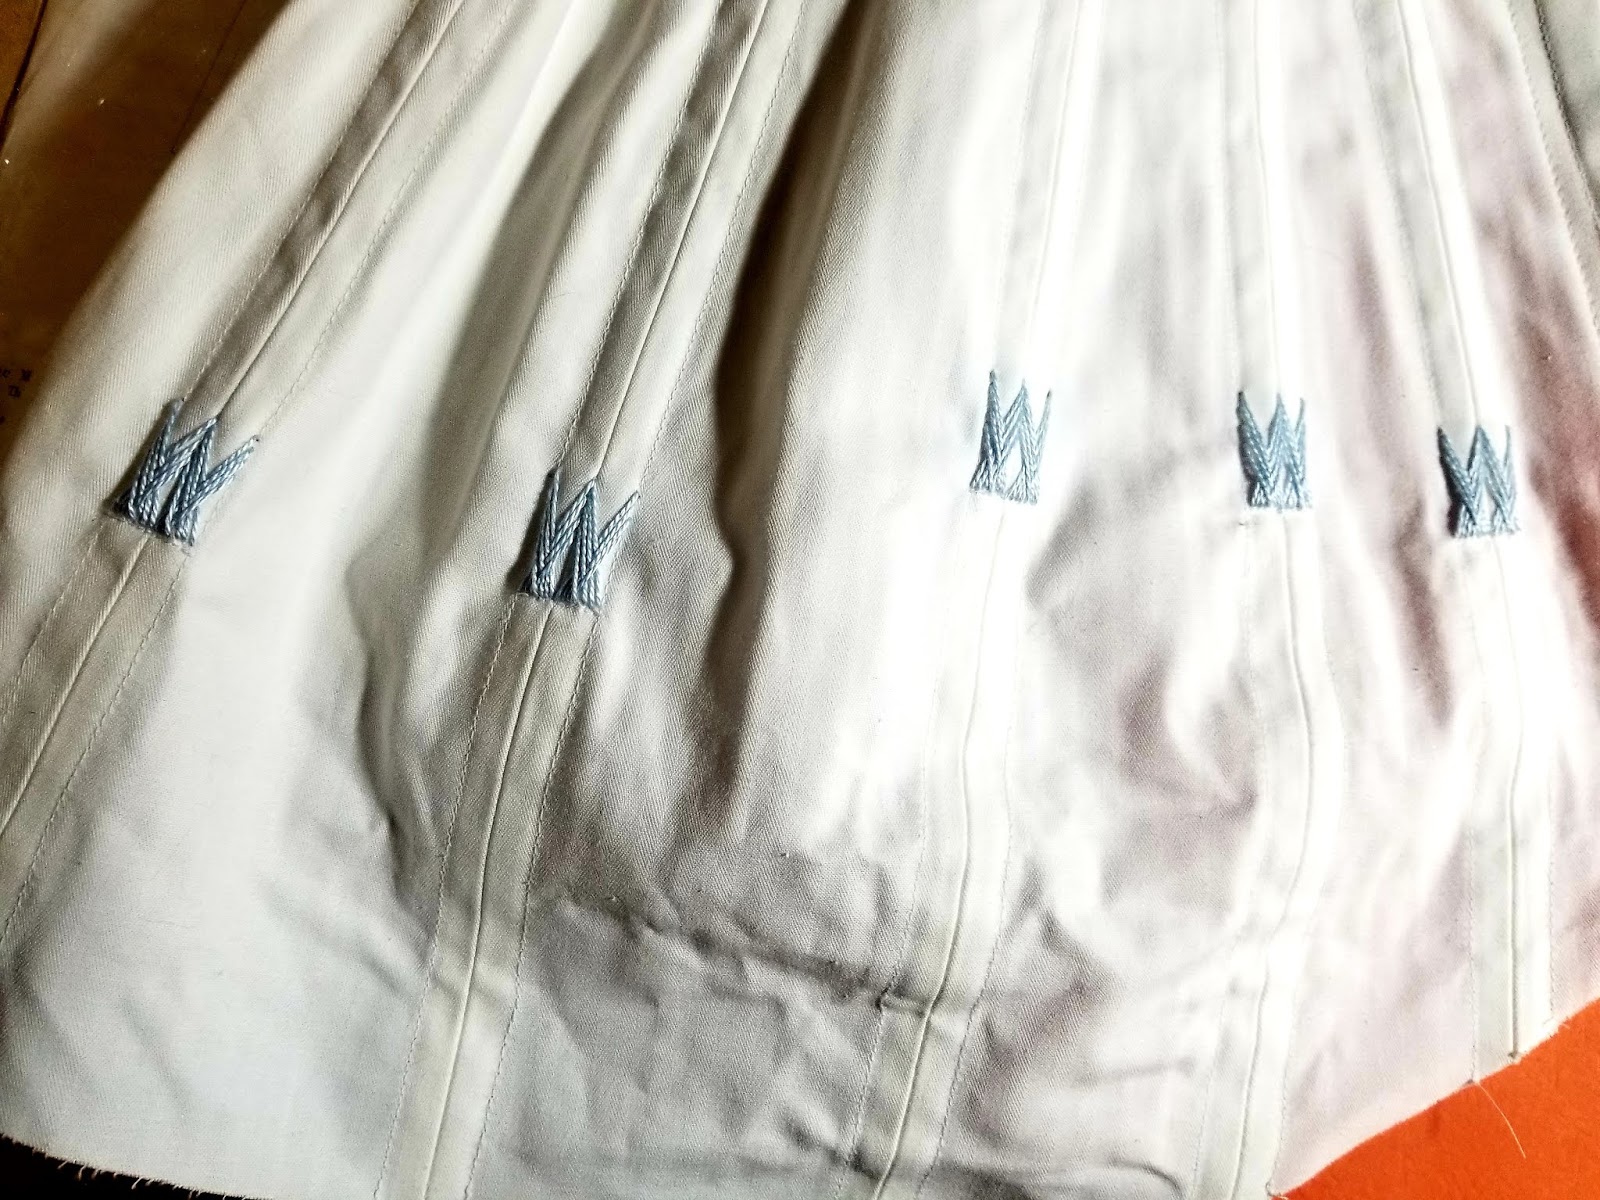
Once the side, back and shoulder seams were stitched, it was time to finish the neckline, armholes, and hem. I wanted to use heirloom sewing techniques. Most machines with a decent stitch selection have stitches suitable for making machine hemstitches. The trick to getting a good hemstitch is to use a stitch that goes in and out of the same holes a number of times, leaving a hole in the fabric. I decided on pin stitch which could be represented by stitch #15 or #120. Stitch #15 is really more like a blanket stitch. Stitch #120 stitches over each line several times. A lot of the stitches below are suitable for heirloom sewing applications.

Another necessity is a wing needle. The wide flat needle makes a larger hole in the fabric.

You can see the samples below. The one on the left is stitch 15 which smaller holes. The one on the right is stitch 120. I found that my machine skipped a bit when doing this.


I experimented with putting tissue paper under the fabric and that helped. Then I found a product online --carried by Amazon--that is made specifically for this problem. It's called Stitch & Ditch Heirloom. It looks like a roll of adding machine tape but it's more of a tissue paper thickness and it comes in different widths. I just lay the roll in front of the machine and let it unroll as I stitched. It was much more manageable than cutting strips of tissue.

The first task was to stitch the beading on. The beading was placed face down on the right side of the fabric, offset by a little under 1/8 of an inch. Using an open toed embroidery foot, I set the machine for a somewhat narrow zig zag in which the left swing of the needle went through a hole in the lace and the right swing of the needle swung over the edge. By holding the fabric edge up with my finger, the zig zag stitches cause it to roll like a tiny roll hem. You basically end up with a roll whipped seam!

Here is the wrong side when the lace is opened out.

Here is the right side.

Next comes the pin stitching. I used Stitch #120 and sewed next to the lace with the right swing of the needle hitting the lace.

Next I added the lace edging to the beading. To do this, but the edge of the beading and the edge of the edging together and stitch with a small zigzag.

The white stitches disappear into the lace.

I stitched the lace edging to the armhole edge using the same technique but I opted for stitch 15 for the hemstitching on this edge as I thought the smaller holes looked better with the more delicate lace.


The hem was finished in the same manner.

Ribbon was threaded through the beading and tied in front. Here's the back neckline:

Back of the chemise:

Front neckline:

Chemise full length:

This was an easy little project and I enjoyed doing the small amount of heirloom stitching--something that I hadn't done in many years. If you are interested in learning how to do heirloom sewing by machine, I highly recommend this book which has everything you could possibly want to know on the subject and more!