I love the JP Ryan 18th century jacket pattern. The first time I made it, I followed the directions for construction, though I eliminated the stomacher and made it center close. The pattern directions have you construct the outer jacket then construct the lining and bag the lining turning it right side out when done Quick and easy, but not without problems. Now obviously I was aware that this was not historically accurate due to the fact that it used a machine.
The second version, I made by hand--whip stitching the seams of the outer fabric together then the lining and whip stitching the lining into the outer fabric. I liked that better but I knew that while hand sewn, it didn't use historically accurate hand sewing techniques,
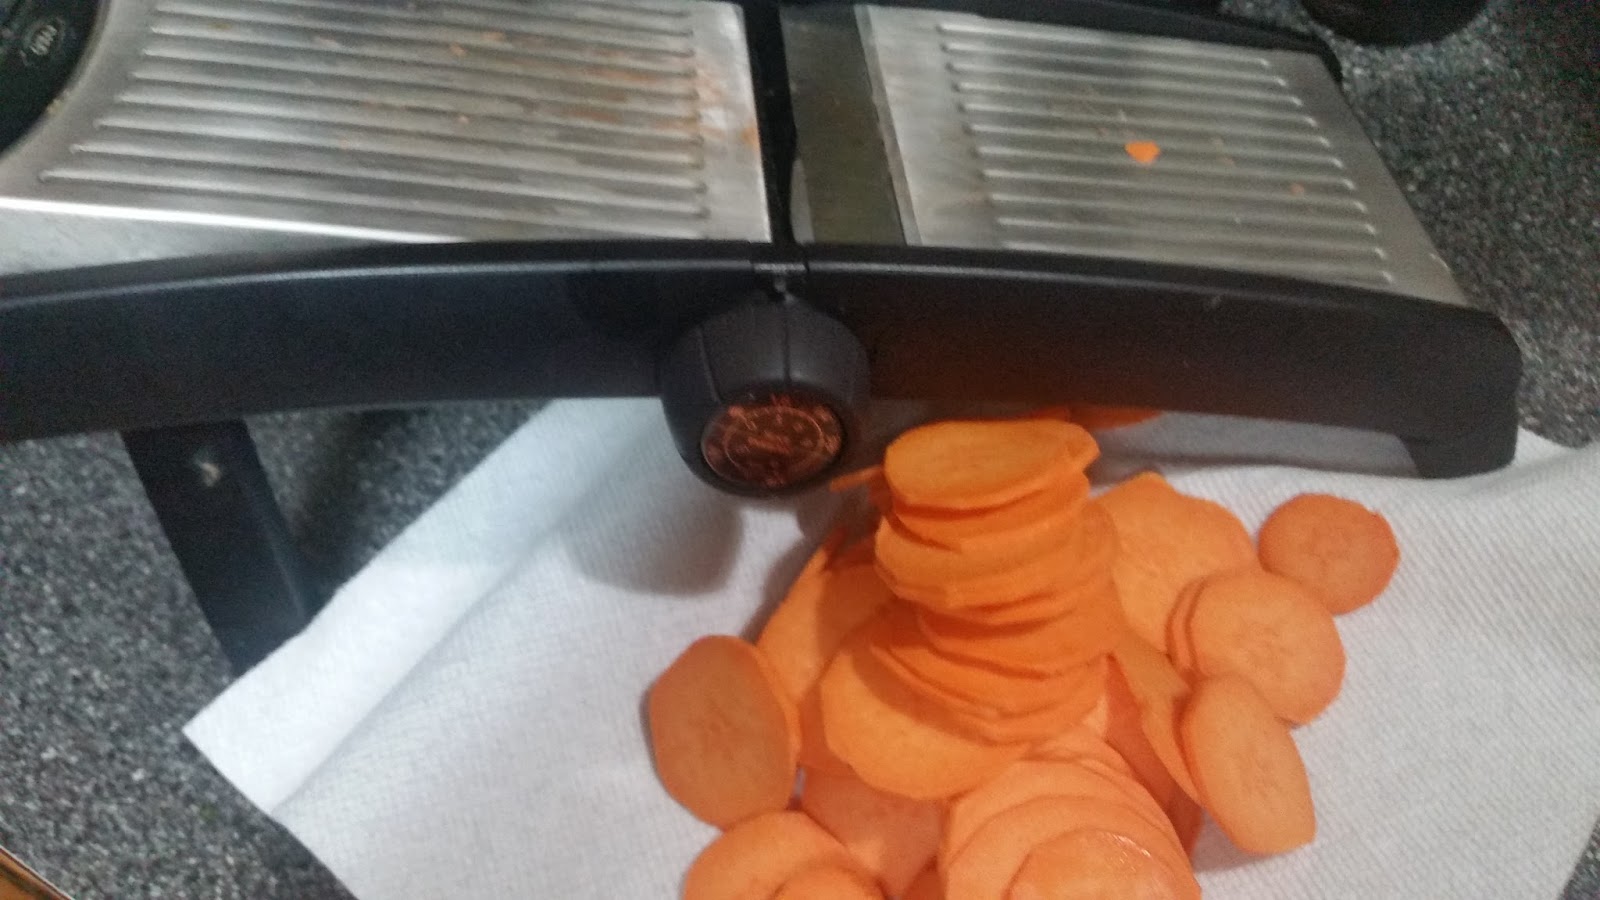
The third version, I used pretty much the same construction techniques as the 2nd one,
I decided to do it differently for this current version. There had been a lengthy discussion on one of the 18th century sewing groups on Facebook about a particular stitch that seamed the lining together, the outer fabric together and attached the lining t the same time. This stitch has been found in extant gowns which do not have en forreau backs. This stitch apparently has no name. The Margaret Hunter Shop at Colonial Williamsburg posted a short video on how to do this stitch. The best explanation for it can be found at Abby Cox's blog. Abby was an apprentice in the Margaret Hunter Shop. You can find that post here where she refers to it as a weird running whip stitch.
I also found a stitch that looks to be the same in The Workman's Guide to Tailoring Stitches and Techniques. They refer to this stitch as a seam made with a prickstitch. There are a couple of variations. Someone told me that this was incorrect but the instructions for completing the stitch are the same as Abby's.
Likewise, this stitch appears again in The Workwoman's Guide by A Lady, 1838 reprint. It appears in the instructions for constructing stays. The instructions say to turn under the edges of the outer fabric and the lining, place the outer fabric pieces wrong sides together with their matching lining piece. Place the pieces to be seamed right sides together. "Take up with your needle, three of the thicknesses, leaving the fourth unsewed. The next stitch, take again three folds, leaving the other outside one unsewed: continue alternately taking up one outside and omitting the other, letting the stitches lie close together: when completed, open the seam, and flatten it with the finger and thumb."
So here is what this looks like in practice. First prepare your pieces. turn under the edges of both lining and outer fabric. I chose to baste the lining to the outer fabric. The darker brown is the wool fashion fabric and the lighter brown is the linen lining.


Pin your pieces to be seamed together. You will have four layers. You will be stitching from right to left. Put your needle straight though the farthest three layers--omitting the lining that is closest to you.

The next stitch is from the other side. Same thing. Push your needle through the farthest three layers, omitting the layer on the outer edge where the needle enters. Stitches should be close together and very close to the edge.

I turned in the neck edge at the seams and stitched the seams to about 2 inches from the hem. I whipped the lower two inches together so I'd be able to turn in the bottom hem allowance on both the lining and fashion fabric. This photo was taken before it was pressed. I was amazed at how flat it was!

I put the body aside to construct the sleeves. I used the instructions from the Larkin and Smith gown pattern. Placing the lining and fashion fabric wrong sides together, pin over the out fabric seam allowance which has been turned under. Using a spaced back stitch and working from the outside of the sleeve, stitch through all three layers. When you get about 2 inches from the bottom of the sleeve do not stitch through the lining layer.

This is what it looks like pinned together on the outside.

Turnunder the loose seam allowance in the lining and whip stitch it to the lining.


Now for the shoulder seams. I treated the back fashion fabric and lining shoulder pieces as one. I turned under the front shoulder seam allowance, lapped it over the fashion fabric and lining of the back shoulder and stitched through all three layers with a spaced back stitch (same construction as the sleeve seam) leaving the lining free for about an inch at the neck edge. Then the front shoulder lining piece was lapped over this and whip stitched.

Then the sleeves were stitched in and the neck, bottom and sleeve hems were finished. I whip stitched the hems. Further research in the tailoring book revealed a prick stitch hem for lined garments that looks like a running stitch on the outside edge. I'm wondering if that would be more accurate. I'll have to research that more, I made the stomacher without boning. I just interfaced it with linen buckram. I decided not to put eyelets in this jacket as I hope to make a crewelwork stomacher to wear with it so I just pinned it together. I wore it over a tan wool petticoat bound with brown wool tape. This was worn to Mt. Vernon on a very cold night!