Monday, December 31, 2018

Mid 1770s Gentry Day Gown, part 1

I love it when you can make an entire outfit out of stash.  I had an event where I was asked to portray a spinster in a wealthy land owning Eastern Shore Maryland family.  Fortunately, I had everything I needed:  4 yards of copper changeable silk taffeta I had bought from a Golden Scissors clearance sale, a gold silk quilted petticoat kit also from Golden Scissors, silk gauze/organza for accessories and an embroidered silk organza curtain for an apron.  I decided to make a center front closing gown with simple trim inspired by this one in the Colonial Williamsburg Collection:


 The silk is made of maroon warp threads and gold weft threads so it goes well with the gold quilted silk and maroon ribbon which I also had.  The first challenge, however, was to find matching thread.  I had 2 spools of a coppery pink silk thread (left) from the 1980's and a gold silk (right).  After stitching a sample and holding it in different types of light, I decided that the pinky thread was really the closes match. 

I cut out my favorite pattern using the variation I had written about in this post and the I got to work constructing the gown.

I set up as a mantua maker at Historic London Town for the Smithosonian museums weekend and used the opportunity to work on the gown.

Once the basic gown was completed, I needed to figure out how to do the trim.  My pinking punch just doesn't cut silk so I had to go to plan B.  I had purchased several pairs of pinking and scalloping shears on Ebay.  You can find cheap ones from China for about $11 and they come in 3mm. 5mm, and 7mm points or scallops.  My thinking was that if they got dull, I'd just throw them away.  I decided on scallops rather than points because I thought they'd be less likely to ravel and I experimented cutting with the 5mm and 7 mm scalloping shears.  I also experimented with different types of fray blocking solutions.  I decided on the 5mm scalloping shears and June Tailor brand Fray Block which dries almost clear and with no stiffness.  

The next challenge was to figure out a method for cutting uniform scallops.  I cut out my sleeve ruffles, cutting the edge to be scalloped 1/2 inch beyond the paper pattern edge.  I then used a fabric marker to mark dots 1 inch apart.  The dots will be the dip between the scallops.  I figured that the dots and the paper pattern would serve as controls to cutting uniform scallops.

Then I just cut the scallops using the dots as a guide and stopping at the paper.  I was pleased with how they turned out.

I applied Fray Block to the very edges using a tiny paintbrush about the size of an eyeliner brush.  I found in my testing that it is important to follow the instructions on the product which tell you to put the bottle in hot water for 3 minutes and to shake for 30 seconds.  Don't skip that part.  It makes a difference.  You can also get this product in a tube which is larger.  It's the same product and a better buy--especially if you don't use the brush in the lid.

I was pleased with how even the scallops turned out.  They weren't perfect but they were close enough.

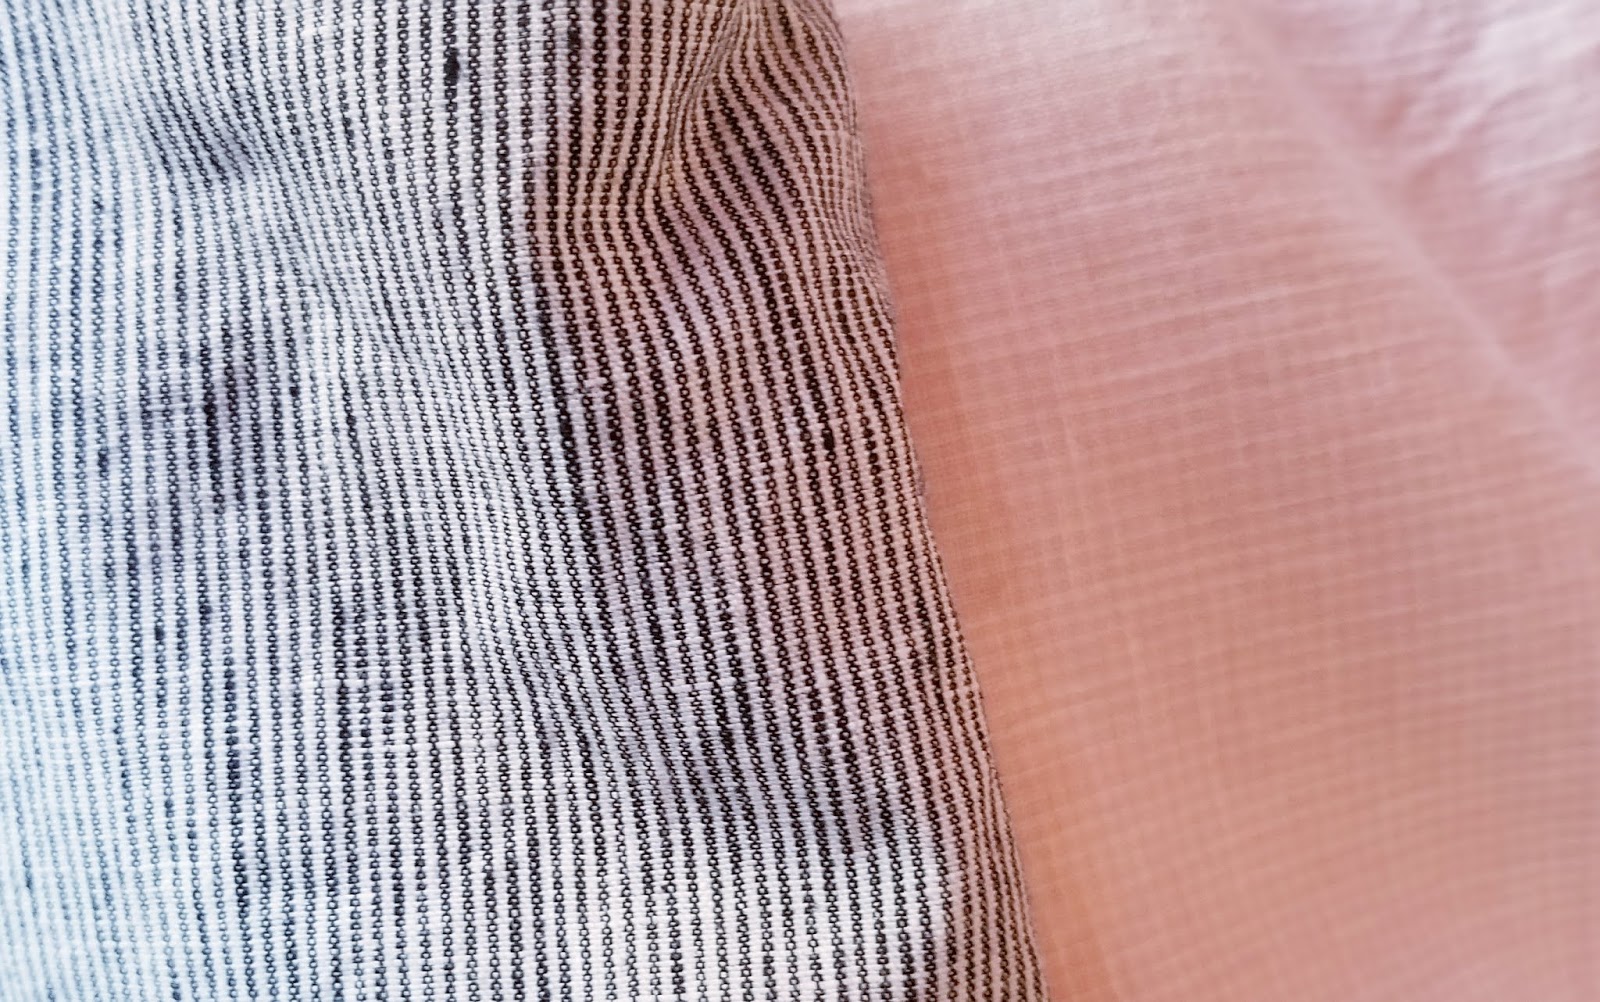
You can really see how quickly it dries.  It's almost clear on the left but wet on the right.  It was dry within minutes.

The next challenge was to do the trim strips.  I wanted both edges of each strip to be the same.  First I cut 3 inch wide strips for a finished width of 2.5 inches.  I placed some tiger tape 1/2 inch from one edge of the strip and marked the dots 1 inch apart as I had done with the sleeves.  You can see this in the middle of the pic below.  Then I folded the strip in half lengthwise and pinned the layers together.

I cut the scallops as I had done with the sleeve ruffles, then removed the pins and tape and unfolded the strip.

The edges were painted with Fray Block as done with the sleeve flounces.  The strips for the sleeve trim are 2.25 times the diameter of the sleeve.  I also measured the neck edge and have 2 strips that are seamed together in the center back forming a long strip a little over 2 times the neck measurement.

I stitched the sleeve flounces on following the pattern instructions then I seamed the short ends of the trim strip together and stitched running stitches about 1/4 inch away from the scallop dips.  I always mark my trim pieces and gown section (sleeves in this case) in quarters by placing a straight pins at those points.  I drew up the gathering threads, matching the pins in each piece then used a prick stitch or spaced back stitch to attach the trim. 

For the neck trim, I seemed the two strips together for the center back seam and folded the ends under 1/2 inch.  I divided each half of the strip in half and marked it with a pin (marking the full strip in quarters with the seam).  I also measured the entire neckline, marking the center back and the quarter points with a pin.  I stitched two rows of running stitches to gather as I had done with the sleeve trim and drew up the gathers to fit, allowing the scalloped edge to extend about 1/4 inch past the neckline edge and pinned the trim in place.  It was stitched using a prick stitch like the sleeve trim.


I was pleased with how this gown turned out and I hope to do a proper photo shoot once I get the petticoat and accessories completed.  I'm glad to have figured out a reasonable method for obtaining decent looking pinked scallops since the punches seem to be difficult to get to work properly.


Sunday, December 30, 2018

Quickie Post--1770s Silk Gauze Dormeuse Cap

This is just a quick post about how I adapted a regular round eared cap pattern to make a dormeuse style cap.  Here are some period images for inspiration:


If you notice--rather than a band that goes across the front of the cap, these caps have 2 half moon "ears" with ruffles sewn to the caul.  I have a particular round eared cap pattern that I particularly like as the band fits just right and it has 2 sizes of cauls--both of which accommodate all my hair.  To change to a dormeuse style of cap, I measured the full length of the band, took one half of that measurement to figure out the length of each "ear" with the ruffle sewn on.  This took a little experimenting.  I decided on a 2 inch wide ruffle so the length of my finished half moon would have to be 1/2 the band length minus 4 inches.   I added hem allowances of 1/4 inch to all edges and finished all edges with tiny hems.  The length of the ruffles were twice the length of the curved edge of the cap ears.  The ruffles were pleated to the curved edge of the ears with the short edge of each ruffle extending the flat edge of each ear.  I used some leftover silk organza (like 18th century silk gauze) from Dharma Trading Company.


I tacked the point of each ruffle together in the center front then roll whip gathered the caul to the ears.  The caul had been made according to my normal method with an eyelet and draw string in the back.   I had cut some extra strips of the silk so I narrowly hemmed them using one to make a row of puffing along the seam line between the ears and the caul and two others to do a serpentine trim on the seam line between the ruffle and the ears.

 Here is the center front so you can see how the ruffles meet.

Here is the finished cap.  It still needs a big loopy bow in the front.  

I was pleased with the way this cap turned out and glad I cut patterns for the new pieces!

2018 in review--Costuming

Time to take stock of what I accomplished (or did not accomplish) of my costuming goals for 2018.  LOL
When I look at my post about 2018 costuming goals, I see that I literally didn't accomplish one thing on that list yet I was fairly productive.  Sometimes life throws you curve balls that take you in a different direction.  I took a swerve into World War One and fell down a rabbit hole, choosing a somewhat obscure impression.  Research into that particular impression took quite a bit of time.  I don't regret it one bit.  Since I was already in the year 1918, I figured I'd also visit the late Edwardian era.  Whenever you take on a new era, the underpinnings require quite a bit of time.  I'm a firm believer in wearing the proper undergarments for the year that I'm dressed in.  Thus my completed tasks, while a good number, simply aren't the ones I thought they'd be.  Each project is linked to the blog post with details if there is one.  The last two projects haven't had the blog post completed and the links will be updated when the posts are completed with photo shoots.

Grand total:  3 - 18th century gowns,  3 petticoats, 2 aprons, 3 caps, 1 - market wallet, 1 Regency gown, 1 Regency bonnet, 1 - Edwardian corset, 1 - Edwardian chemise, 1 - Late Edwardian brassiere, 1 - 1 Edwardian suit, 1 - Edwardian shirtwaist, 1 - WWI uniform and hat

1770 Middlin' Gown of Irish Stuff ( including gown, worsted petticoat, fine linen round eared cap)

Edwardian underpinnings:
TVE1913 Corset

Wearing History Chemise

Ageless Patterns 1918 Brassiere

1918 Hello Girls Uniform (skirt, jacket, garrison hat)

Late 1770's working class linen gown, linen dimity petticoat, linen apron and market wallet

1780's Beribboned Silk Gauze Cap from the American Duchess book


1810's Seagrass Poke Bonnet 


Mid 1770's Silk Gauze Dormeuse Cap


1799-1800 Muslin Gown--hope to make several overgowns later.


Mid 1770's Silk Day gown (still in progress: machine quilted silk petticoat, sprigged silk gauze apron, silk gauze neck handkerchief and sleeve ruffles)


So while not as productive as last year, I did get a fair amount done--considering that I began a new costuming era.  Here's to a productive 2019!

Sunday, December 23, 2018

2019 Costuming Goals. Let the fun begin.

Once again, I will attempt to identify my costuming goals for 2019.  Unlike last year's list,  I will actually accomplish at least some of these though I can't be responsible for unexpected events requiring me to make other choices.  LOL.  Some of these are already planned for specific events which helps. Deadlines can be good things.  I'm really hoping this will be the year of the sacque.  It's long overdue.   The best thing about this list is that I have all of the supplies for everything on it with the exception of the velvet Spencer and the Titanic era outfit.

This list does not include any modern sewing projects, household or gift sewing.  Strictly costuming stuff.  Nor does it include anything like samples to be prepared for workshops.

Here it is--because we all need goals. Right? I wonder how many I can do.


(1) 1770 Wool Sateen Mourning gown, matching petticoat, small hip pads and two caps--lappet for daywear and wired wing cap for dressier occasions.  This is needed for the third week in January.

The gown and lappet cap will be based on this image:

With the finer neck handkerchief and cap based on this one:

Worsted sateen complete with requisite cat hair


(2) 1780's Spotted worsted long sleeved Italian gown and pink worsted petticoat.  This is needed for the last week in February.


(3) 1760's Silk damask gown with shot silk petticoat (and possibly a royal blue one to switch out).  Hope to have enough fabric fore a matching stomacher.  Gown based on this example in the Met.  Would like to have this finished for the last week in February.


(4) 1818 Velvet Spencer from DAR's An Agreeable Tyrant Exhibit.  This may become a long term project as I don't expect to wear it until next winter.


(5)Titanic Era outfit--to be chosen from these 2 patterns.  Needed in April.


(6)Cotton chintz sacque based on this extant.  I'd like to complete this to wear to His Exellency's estate on Independence Day.  This was on this past year's list of goals so it's a priority to get this one done.


(7) Lady Hodge's gown as shown in her family portrait with the neck handkerchief, cap and sleeve flounces.  I have gold silk in an exact match!  This was also on the past year's list.  The monthly challenge in the Historical Sew Fortnightly for August is to copy a picture so I would like to attempt to complete this project for that challenge.

(8) World War 2 era Red Cross Military Service uniform like the one my mother wore.  Need this for Veterans Day.


If time permits, A regency gown copied from this illustration in Costume in Detail out of the spotted muslin and an unlined bedgown out of one of the linens.  I hope to also begin planning a riding habit to begin early 2020.  These are not high on the list and may move to next year's list.


Gown fabric--cotton voile with woven diamond spots:

Bedgown linens:

I do also have 2 long term projects in mind--basically these are projects that I will work on at events over an extended period of time. One of these will be worked on simultaneously with the projects above.  Listed in order of completion.

(1)  Silk quilted petticoat in French blue taffeta--to be started in January.


(2) One set of stays--either the Larkin & Smith 1770's stays in blue worsted or a set of 1780's half boned stays in pink worsted--as yet to be determined which.  Hope to start them toward the end of the year.

Let the challenge begin!