Monday, April 17, 2017

18th Century Pleated Silk Hat--A Tutorial

I've been wanting to make a confection of a hat for some time now.  Having recently returned from Colonial Williamsburg where the milliners there made a lovely, white pleated silk hat with blue ribbon trim, I decided that I needed to make one sooner rather than later.  My inspiration comes from the hat I saw at CW plus the one in the painting below.  I've always loved this hat.  


Here you can see a close up.  I'm not sure how the ribbon trim on the brim is ruched but the silk seems to be simply gathered in cartridge like pleats,  and the blue ribbon that trims the crown is simply ruched with a bow of some sort.

Here's another hat with blue ribbon trim but this one looks like it may be on straw.

I love the wide ribbon ruching on this one.

Here's another with wide ribbon or perhaps silk taffeta for the ruched trim on the crown with lace on the brim.

Then there's this lovely example which looks like it has pleated silk trim and wide ruched ribbon at the crown.

I decided to make my hat similar to the one in the top painting with blue trim on the brim which is what the one in CW had.

I began with a typical flat hat--15 inch diameter.  I measured the width of the brim and the diameter of the brim.  Likewise, I measured the diameter of the crown.  I cut a  strip of silk--one width of fabric (43") by 5 inches wide.

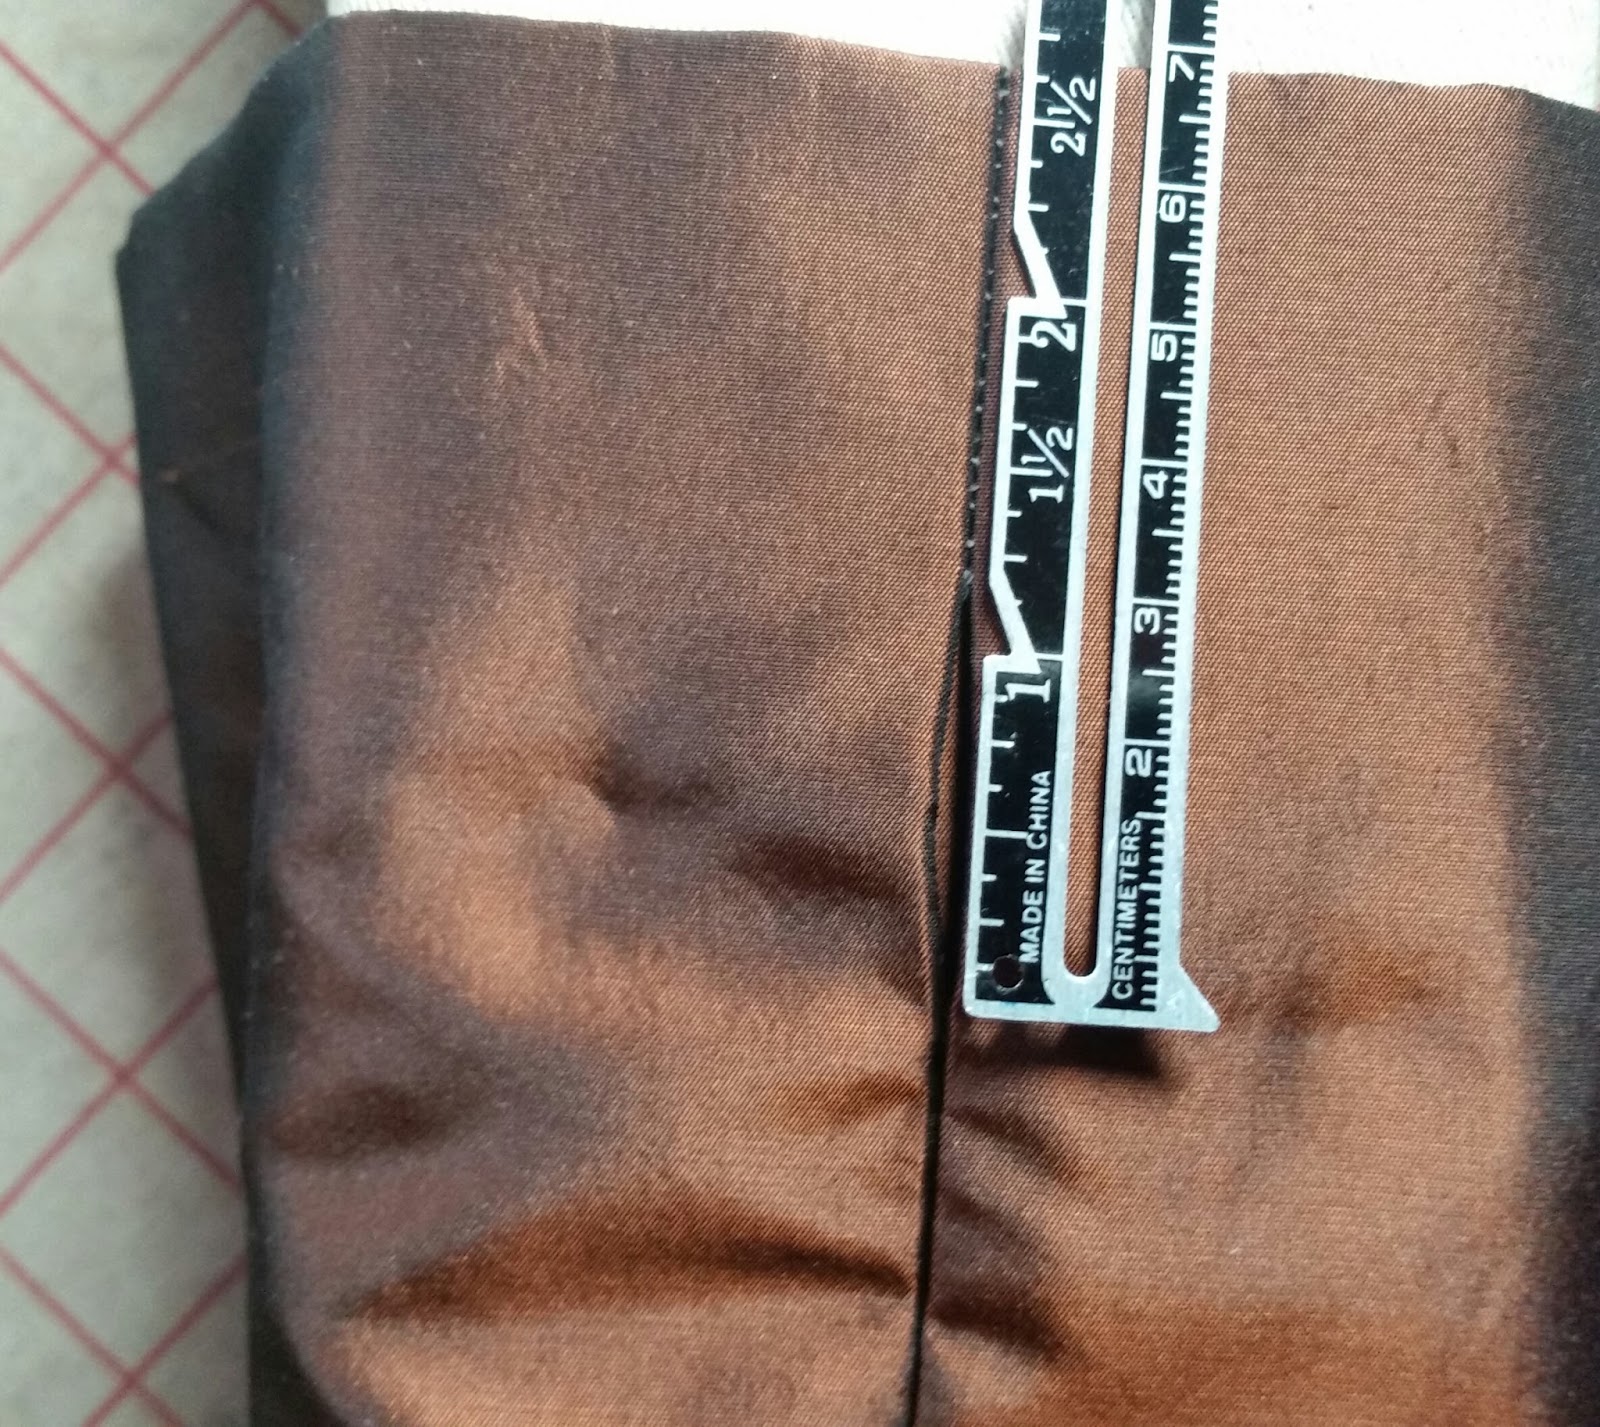
I felt it would be easier to pleat the crown and the brim separately.  I began in the middle of the strip because there was a crease there that I needed to hide.  I made my first pleat--about 3/8 inches wide at the base and secured it with a pink, also using one pin at the center of the crown to anchor the pleats there.

Pleats were not measured--just done by sight.  I ran out of fabric and cut another strip.

I just began the new strip by folding it under and treating it like a regular pleat.

When I got back to the beginning, I cut the fabric and tucked it under the first pleat.

Crown pleating completed.

Here is where you can choose to secure the pleats by hand or you can use a machine.  Since all machine stitching will be hidden, I chose to do it with my machine, using a zipper foot.  I used a size 14 needle.  Sew slowly when using machine so as to minimize broken needles  If sewing by hand, use straw needles and a backstitch.  So as close to the base of the crown as you can, pulling out the pins as you come to them,

Trim the fabric at the base of the crown to about one half inch.  Pin each pleat at the center of the crown, pulling them snug.  By hand, stitch a back stitch in a small circle securing the pleats.  Stitch the pleats twice,

Cut off the extra fabric at the center of the crown.  Cut it as close as you can.

Now the brim needs to be covered.  I cut two widths of fabric by 5.5 inches wide.  The first pleat was started simply by folding the edge under about a half inch.  This pleat was lined up with one of the crown pleats.  I continued pleating the brim, making the pleats about 3/4 inch deep where they meet the crown and about 1/4 inch deep at the edge of the brim.  Each pleat was lined up with one on the crown and perpendicular to the brim edge.


When the fabric ran out, I trimmed the edge to the same angle as the pleats, folded under the edge of the next strip of fabric and laid it on top as if it was a new pleat.

I used the machine to stitch the pleats to the brim about 1/4 of an inch from the edge of the brim and again about 1/4 inch from the base of the crown.  The excess fabric was cut from the edge.

Completed pleats.

For the underside of the hat, I cut a flat piece of fabric bigger than the hat and pinned it to the brim in 4 or 5 places.  From the top side, I stitched again 1/4 inch from the edge of the brim and at the base of the crown.  I then, trimmed the excess fabric from the edge of the hat and from the center.

Binding the brim is next.  This technique can be used to also bind a plain straw hat.  First determine the width of the finished binding then multiply by 6.  Add 1/4 inch to allow for the thickness of the brim.  My finished binding is 1/2 inch wide so 6 X 1/2 = 3 inches.  With the 1/4 inch added, I needed a bias strip 3 1/4 inches wide by 46 inches long.  I ended up cutting two shorter lengths and had to piece them.  When piecing bias, cut the end at a 45 degree angle, match the seams, forming a right angle, and stitch.  Press the seam open.

The entire strip was folded lengthwise, one end was trimmed at an angle and turned under 1/4 inch.

Starting with the folded end (wrong side of fold facing up). I matched the raw edges of the bias strip with the edge of the hat and stitched using a 1/2 inch seam.

When I got to the end, I just overlapped the strip over the folded edge.

Flip the hat over and pull the binding to the underside.  I had to pull the binding tightly, making sure that it covered al of the machine stitching.

The top side of the binding is finished already.

Whip stitch the underside of the binding in place.

Now is the time to add trimming.  I had 5 yards of 2 inch wide blue double face silk satin ribbon and I used all of it.  I made simple ruched trim at the crown and I added a loopy bow then I made shell trim for the brim.  The crown trim was stitched through the straw to secure it.  The brim trimming was only stitched through the silk.

 I wanted to finish the crown edge of the underside.  Normally, I would stitch a circle of silk to cover it but I decided to keep it open in case I needed to restitch the trim.  I used some 5/8 inch wide padusoy ribbon and whip stitched it over the machine stitching to finish it.

The last detail is a fabric covered button at the center crown to cover the center stitches.   I used a 1 1/4 inch form, covered it with silk and stitched it through the silk only--pulling the stitches tight so the silk was flush with the button.   The ties are 1 1/2 inch silk ribbon.  I stitched them to the silk, taking a few stitches through the straw to really secure them--hiding those stitches under the pleats on the top so they can't be seen.

Here is the finished hat!  I'm very pleased with it and I have several outfits that this will go nicely with!  

It seems fitting to make a confection of a hat on Easter weekend!


Monday, March 20, 2017

When the weather gets cold . . .

After 2 weeks of spring weather, I found myself faced with a major snow storm and extremely cold weather.  So as any seamstress would do, I started thinking about winter garments again.  Fortunately a recent trip to the thrift store had yielded great results in finding some nice matelassé bedspreads.

This first picture is of one of a pair of twin size bedspreads which were marked $9.95 each but ended up being discounted 30% that particular day.
This second picture is of a king size bedspread which is thinner than the ones above.  This one was $20.

The twin spreads are the perfect size for petticoats--measuring a little over 60 inches wide and at least 80 inches long.

First I studied some extant pictures of quilted petticoats.  Most appear to be made from silk with some linen and wool examples.


I also found two examples that were listed as being silk matelassé.


For those who would like a quilted petticoat but simply don't have the time or inclination to make one, matelassé is a nice alternative.  The Dreamstress has an excellent post on the history of matelassé if you wish to explore further.  

I had made a plain matelassé petticoat from some simple diamond patterned matelassé fabric.  I use this as an under petticoat in cold weather.  It's heavy and these patterned bedspreads are also quite heavy.  This is something you will want to consider when making one.  You could certainly take some of the fullness out but I like them full.  The fullness also alleviates the need for any skirt supports.

I decided to make a petticoat from one of the twin bedspreads and save the king for a quilted waistcoat and possibly a dyed petticoat.

First, I had to cut the scalloped edge off of all sides of the bedspread.

Then I analyzed the design.  This bedspread had a one way floral design with an obvious repeat.  I measured the length to see if I could line up the design at the side seams which was possible as my finished petticoat length is only 35 - 36 inches.

Next, I sewed the side seams using a backstitch, leaving 9 inches open at the top for pocket slits.  The fabric is heavy sew I whip stitched the seam allowances flat inside and I whip stitched the seam allowance at the pocket openings.

I also went ahead and pressed up the hem about 5/8 of an inch and stitched some 1/2 inch cotton tape to the edge using running stitch.  I then whip stitched the hem in place.

Because the fabric is so thick and densely woven, I decided to use fewer pleats.  I made a 5 inch box pleat in the front and a 5 inch inverted box pleat in the back then made a few 1 - 1 1/2 inch pleats on each side of the box pleats to achieve the appropriate measurement.  I whip stitched the edge to hold the pleats in place and stitched a row of basting about 2 inches from the top.

I typically use 3/4 inch linen tape to bind my petticoats and for the ties but due to the density of this fabric, I decided to go with some 1 inch cotton tape I had in my stash.  I followed my usual method of whip stitching the tape to the outside of the petticoat, folding it over and whip stitching it on the inside.  Both the front and back ties wrap around my waist twice.

I'm happy with the result of this quick project.  You can see it here on my dress form which, unfortunately, isn't shaped quite right.


Thursday, March 9, 2017

Large Reticule or Work bag--tutorial and pattern

I love the little reticules that are so typical of Federal era fashion.  Sadly they are highly impractical and don't allow me to carry what I need.  A few months ago, I decided I needed a bigger one when going on an all day outing dressed in period attire.  I had to carry a wallet, car keys, tissues, etc. etc. and a regular reticule just wasn't going to cut it.  I decided to design something based on a shape that was popular for smaller bags.  I also discovered that ladies sometimes carried work bags which were similar to what I was looking for.


My bag is similar to the shape of that in the top picture.  And I've found it to be so practical that I decided to make another.

Large Reticule/Work Bag Tutorial

Materials:

  • 1/2 yard each fashion fabric, lining, interlining (interlining can be linen, cotton flannel or some other fabric which gives the bag body.  It shouldn't be stiff. )
  • 2 pairs of 4 inch tassels 
  • 2 chair ties (chair ties are long cords with a tassel on each end)
  • matching thread
  • Pattern--downloadable below
The red bag in the above photo is made from silk dupioni with a cotton flannel underlining and it is lined with red silk persian.  It was sewn entirely by machine.

The bag in the tutorial is made from silk taffeta with cotton flannel underlining and it is lined with black linen.  It was sewn entirely by hand.

I found my tassels and chair ties at Hobby Lobby but any store that carries home decorating supplies should carry them.   DO NOT REMOVE THE PLASTIC PROTECTIVE TUBES FROM THE TASSELS/ CHAIR TIES.

Download the pattern you would like to use.  You can download either the scale pattern and enlarge it yourself or you can download page 1 and page 2 of the full size pattern on standard printing patper and tape them together.  The full size pattern takes 11 X 17 sheet of paper when enlarged. 


Page 1 full size

Page 2 full size

1/2 inch scale pattern

Seam allowances are 3/8 inch.

Cut the full size pattern out of your fashion fabric and underlining and cut out the lining, noting the cutting line for the lining on the pattern.  Place the underlining pieces on the wrong side of the fashion fabric the place the right sides of the fashion fabric together creating 4 layers and pin together.  Make two marks on each side 4 3/4 and 5 3/4 inches down from the top.  This is the part of the seam that will be left open for your ties.   Pin the lining pieces right sides together.

Stitch the lining pieces together using a spaced back stitch and a 3/8 inch seam, leaving the top edge open.  Begin stitching the bag pieces together leaving an opening between the two marks you made.  Your opening must be at least an inch.  

When you get to the first corner, take one one of your tassels and insert it inside the bag, pulling the loop out at the corner.  Hold that loop in place with the tassel pulled firmly against the seam on the inside.  Take several stitches anchoring the loop in the seam and give it a little tug to make sure it's securely stitched in place.  Continue in this manner, stitching all 4 tassels in place, one at each corner.

Press the seams of the bag open and tack the seam allowances to the underlining where the opening for the ties is. This will make it easier to thread your ties through the casing.

Press the seam allowances of the lining open and turn under 1/4 inch on the top edge, pressing it in place.

Either whip stitch the top edges of the bag or do a running stitch 1/8 - 1/4 inch from the edge to secure the layers together.  Fold the top in on the fold line which is 3 inches from the edge and pin in place.


Turn the bag right side out and measure from the top edge of the bag to the top of the tie opening and again from the top edge of the bag to the bottom of the tie opening.  It should be close to 1 1/2 and 2 1/2 inches.


You will need to mark a line around the bag at those measurements using chalk or other removable marking method--for me those lines were 1 1/2 inches and 2 5/8 inches from the top.  

Stitch around the bag on each line using a spaced back stitch, taking a couple of extra stitches over the seams. Then remove the marks.


Turn the bag inside out and the lining right side out.  Insert the bag into the lining, aligning the top of the lining with the bottom row of casing backstitching. Pin the lining then whip stitch it in place.


Turn the bag right side out and insert one of the chair tie tassels (still in the plast tube) into the casing, threading the tie through the casing all the way around.  The tassel must come out of the same side it went in.


Thread the other chair tie starting on the other side of the bag. Tie the tassel ends together on each side using a square knot.

Pull the plastic tube off of your tassels and enjoy your new bag!


*Options*
If you like the bag in the top picture without a ruffle above the casing, alter the instructions as follows:  Cut the fashion fabric and underlining off on the first fold line, making it three inches shorter.  Sew side seams beginning and ending 1 1/2 inches below the top edge.  Stitch the layers at the top edge together and fold the top in 1 1/2 inch.  Sew your casing 1 inch below the folded edge using spaced back stitch.  Attach the lining the same as above.

You may wish to add embroidery or ribbon treatment to your bag before sewing the seams.

You may with to eliminate the tassels altogether or add beaded loops.  The sky is the limit when it comes to decorating your bag.

You may also choose to stitch a pocket on the lining before stitching the seams.