There's just something about the transition from structured Georgian gowns of the 1770's to the free flowing Regency styles of 1790 - 1820 as illustrated in these portraits that I simply love. This gown is called the Chemise a la Reine--so named because it was a queen who first wore it and turned it into a fashion trend. The top portrait of Marie Antoinette was done in 1783. One can find other portraits of society maidens wearing similar dresses and hats throughout the 1780's.
The Chemise a la Reine is typically made of lightweight, almost sheer cotton muslin with a lot of gathers and no boning. It is worn over several white petticoats as was the custom in the 18th century as it was also typically open in the front. The gathers were controlled by a large colored sash tied in a large bow in the back. These gowns could have straight or puffy sleeves. Puffy sleeves were new on the fashion scene at the time.
All of the portraits I've found of ladies in their chemises, also highlight the newest hairstyle of the time: the Hedgehog! Unlike the highly structured big hair with pinned rolls and such, the hedgehog was just a headful of crazy curls, often kinky with some long sausage curls hanging down the back. No need for pomatum to hold one's hair in place with this style. It would have been curled using rags which would result in very tight, almost frizzy curls.
The hats were larger too. The Georgian hats tended to be of the Bergere style with a fairly flat crown and some simple ruched ribbon trim--though feathers were often added. The hats worn in the portraits above had large crowns, big ribbon trim and large plumes.
One can see how this whole look-- hair, hat, gown-- transitioned into the Regency styles represented in the Jane Austin era.
I decided it was time to reproduce this look.
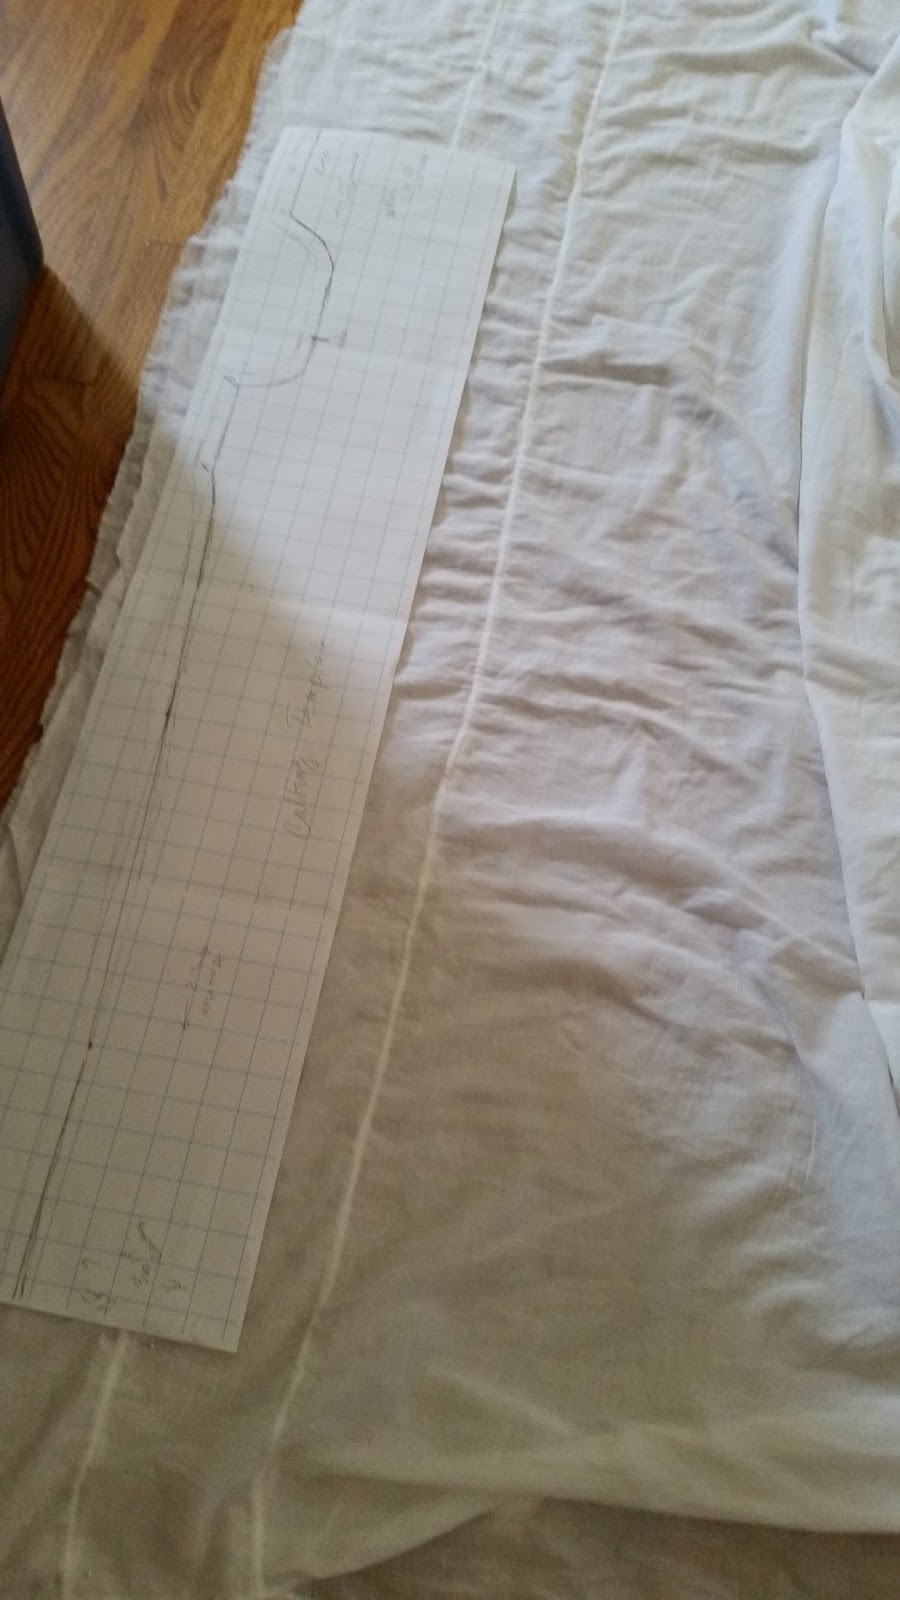
I settled on the chemise diagram from the Norah Waugh Cut of Women's Clothes book. It was a one page diagram on 1/8 inch grid graph paper. The basic shape of the gown is simply a large rectangle of fabric with some shaping at the top, a shaped shoulder strap and a sleeve. I copied the top part of the gown onto 1 inch gridded paper as well as the sleeve and shoulder piece which I lengthened from the original 7 inches to 10 inches.
This was what I had to work with. Because it has a lot of drawstrings, fitting wouldn't be much of a problem. I decided that this would be entirely hand sewn. I used 56 inch wide cotton voile cut about 64 inches long--2 lengths plus a 30 inch wide piece which was in the center back. These pieces were stitched together in tiny French seams. The front edges were hemmed with a hand rolled hem. I used silk thread for all stitching.
Then I added the waist and bust casing--using 1/4 inch silk ribbon, hand stitched in place.
This was probably the most time consuming part of making this dress. Once this part was done, I folded the piece in half, laid it out and cut the contour of the top and the hem.
After inserting the 1/8 inch cotton twill tape drawstrings, I pinned the gown on my dress form.
I used medium weight white linen for the lining of the shoulder straps. The straps in the diagram were only about 7 inches long and I knew that would be way too small so I made them 10 inches long for fitting purposes. I sewed the lining on first then tried the dress on to see how it fit.
As I suspected, the straps were too long. I made a shoulder seam in them, taking them up 1 1/2 inches. I then cut the outer strap out of voile to the corrected length. I then stitched a French seam in the sleeves, hemmed the sleeves then made two eyelets at the cuff and casing line in the center. I did this so that the ribbon bows would show. I stitched the silk ribbon in as a casing and I used the same 1/4 inch silk ribbon as drawstrings. I stitched the sleeve in with seam inside the bottom and on the outside of the sleeve lining. Then the outer shoulder piece was added and whip stitched to the lining, encasing the sleeve seam.
I decided that I wanted a neck ruffle so I measured each section of the neckline: front, shoulder strap back. I doubled each measurement and added them together to make a ruffle with 2 : 1 fullness. The short ends and one long end were stitched with a tiny 1/16 inch rolled hem.
After the hemming, I made whipped gathers and fit the ruffle to the neckline, whip stitching it in place. I was quite pleased with the final result.
The final thing to do was to do a hand rolled hem and make another white linen petticoat.
The sash was about 12 feet long and all edges were finished with hand rolled hems. It was made from silk dupioni.
Step One completed!
I fashioned a hat out of straw millinery blank. I stitched teal silk bias around the edge of the brim. I then cut a circle of the same silk and layered sheer white silk chiffon over it, gathered the edges and covered the crown with it. A wide bias strip was cut with pinking shears and I fashioned it into a loopy bow, stitching the loops in place. Two ostrich plumes and a couple of peacock spikes were added and stitched in place.
Step Two completed!
Now the hair! I had bought a tacky Lioness wig from Whilshire wigs in a color that matched my own hair.
It definitely had that 80's biker chic thing going on! Fortunately I had the tool of the trade!
I sectioned off the bottom, curled it around a 1 inch dowel and sprayed the curls. The rest of the wig got teased--a lot! It took over an hour to do all the teasing. I had to trim some of the longer teased pieces.
I ended up with one big hedgehog wig of win! Love it! The hat was the perfect proportion for the big hair!
The gown was worn over a Regency shift, fully boned strapless 18th century stays, a small bum roll and 2 white linen petticoats.
I made this ensemble to wear to an 18th century wedding at an 18th century country church--no electricity! It was a gorgeous day. Here's the final ensemble: