Showing posts with label ball gown. Show all posts

Sunday, December 15, 2024

"A night of splendor and elegance. . ." Annapolis grand ball for General LaFayette 1824

 We decided to go to the ball in October which meant I needed a ball gown more appropriate for winter.  The one I made for early fall was thin cotton and I wanted silk.  When I first started researching mid 1820s garments, I really fell in love with this gown in the Metropolitan Museum and I thought I might reproduce it. I went as far as resizing the embroidery pattern and getting wool floss.  I got so busy that I knew I couldn't get the embroidery done so I changed plans.  Plus I had already made a white cotton ball gown.  


Moving on, I found so many other gowns worthy of recognition.  The 1820s are all about the trim.  What kind of trim would be easiest and most efficient timewise to do?  I really fell in love with gowns that had leaves on them.  Here is a sampling:

American wedding gown

Detail from gown in the Met


Full length photo of gown in the Met

Met gown on a mannequin

And finally my favorite which is in the Philadelphia Museum of Art:

Note how the leaves/stems for that typical "V" shape on 1820s bodices.  This bodice inspired me.  I ended up making larger leaves thus needing fewer of them.

The skirt trim appears to have ruched bias cut fabric between the two large pieces of cording.  I was hoping to copy this trim.  As time went on, I started scaling back --first deciding to eliminate the bias cut backing then finally reducing my trim to one strip of cording with leaves on it.  


I used the Laughing Moon 138 pattern as a basis which is the same one I used for my previous three 1824 gowns.

I had 4 yards of this silk left over from the 18th century sack I made last year so I figured I'd use it.  I ordered swatches of some coordinating silks to use for the trim and found the perfect one.

The heavy cording I found at the fabric store was just too dense to use for bodice trim so I made silk turn cord with a wide seam allowance to give it just a bit of dimension.  After that was stitched on to the bodice and sleeves, I cut some paper leaves to determine the size I wanted.  The first ones I made out of silk--16 of them--ended up being a bit larger than I wanted so I put them aside for the skirt.  The leaves were made by stitching two layers of silk together, pinking the edges close to the seam and turning them.  I then took a little pleat in the bottom of each (they mirror image each other in pairs) and stitched those.  Here is the bodice and sleeves:

The sleeves were done first then they were inserted into the bodice.  The sleeve seam and neckline are piped. The sleeve piping is smaller than the neckline piping.


Finished bodice front

Bodice back without closure.  These gowns were typically pinned or had ties.  You do find some with buttons.

I had some leftover cording from my corded petticoat which worked well for the skirt.  I had made the skirt then split it where I wanted to add the large piping.  Then the larger leaves were stitched on.


All the leaves were stitched on the ends.  I didn't want to stitch them flat as I wanted them to have some dimension.  I made a total of 72 leaves.  Had I kept them to the dimensions of the original gowns, I would've ended up having to make many more!

I decided to do ties for the back closure which meant raiding my fabric dye stash to make the 1/4 inch cotton tape coordinate with the gown.

Here is the finished gown:

Front

Back

1820s hair is always a challenge for me with my stick straight hair.  The following products work miracles for curls that will last for days:  

I set the front of my hair the night before using this curl cream on dry hair and 3/8 inch bendy rods.  I used 5 on each side and curled them toward my face.  I'm a back sleeper so this works well for me since it doesn't require curling the back.

Here is the finished result--dressed for my tea earlier in the day.  I used a long braid hairpiece and a bun hairpiece that I added over the small bun my hair made.  The side curls were positioned with hidden bobby pins.


Here are the accessories I wore for the ball:

The images on the reticule and the kid gloves were taken from extant 1824 souvenirs in the collection of LaFayette College.

Dressed for the ball:

The ball was "a night of splendor and elegance" as described the by Maryland Gazette in 1824.  It was held in the same venue as the 1824 event--McDowell Hall at St. John's College in Annapolis, Maryland.  Here are a few photos from the ball:


It was indeed a night of splendor and elegance.  Kudos to the Historic Annapolis team for a wonderful event.

I was sewing up to the last minute but was pleased with the outcome. I really like this gown and while the design ended up simpler than my original vision, I was happy with it.


Sunday, October 13, 2024

Welcome LaFayette, the Nation's Guest. My Journey to 1824

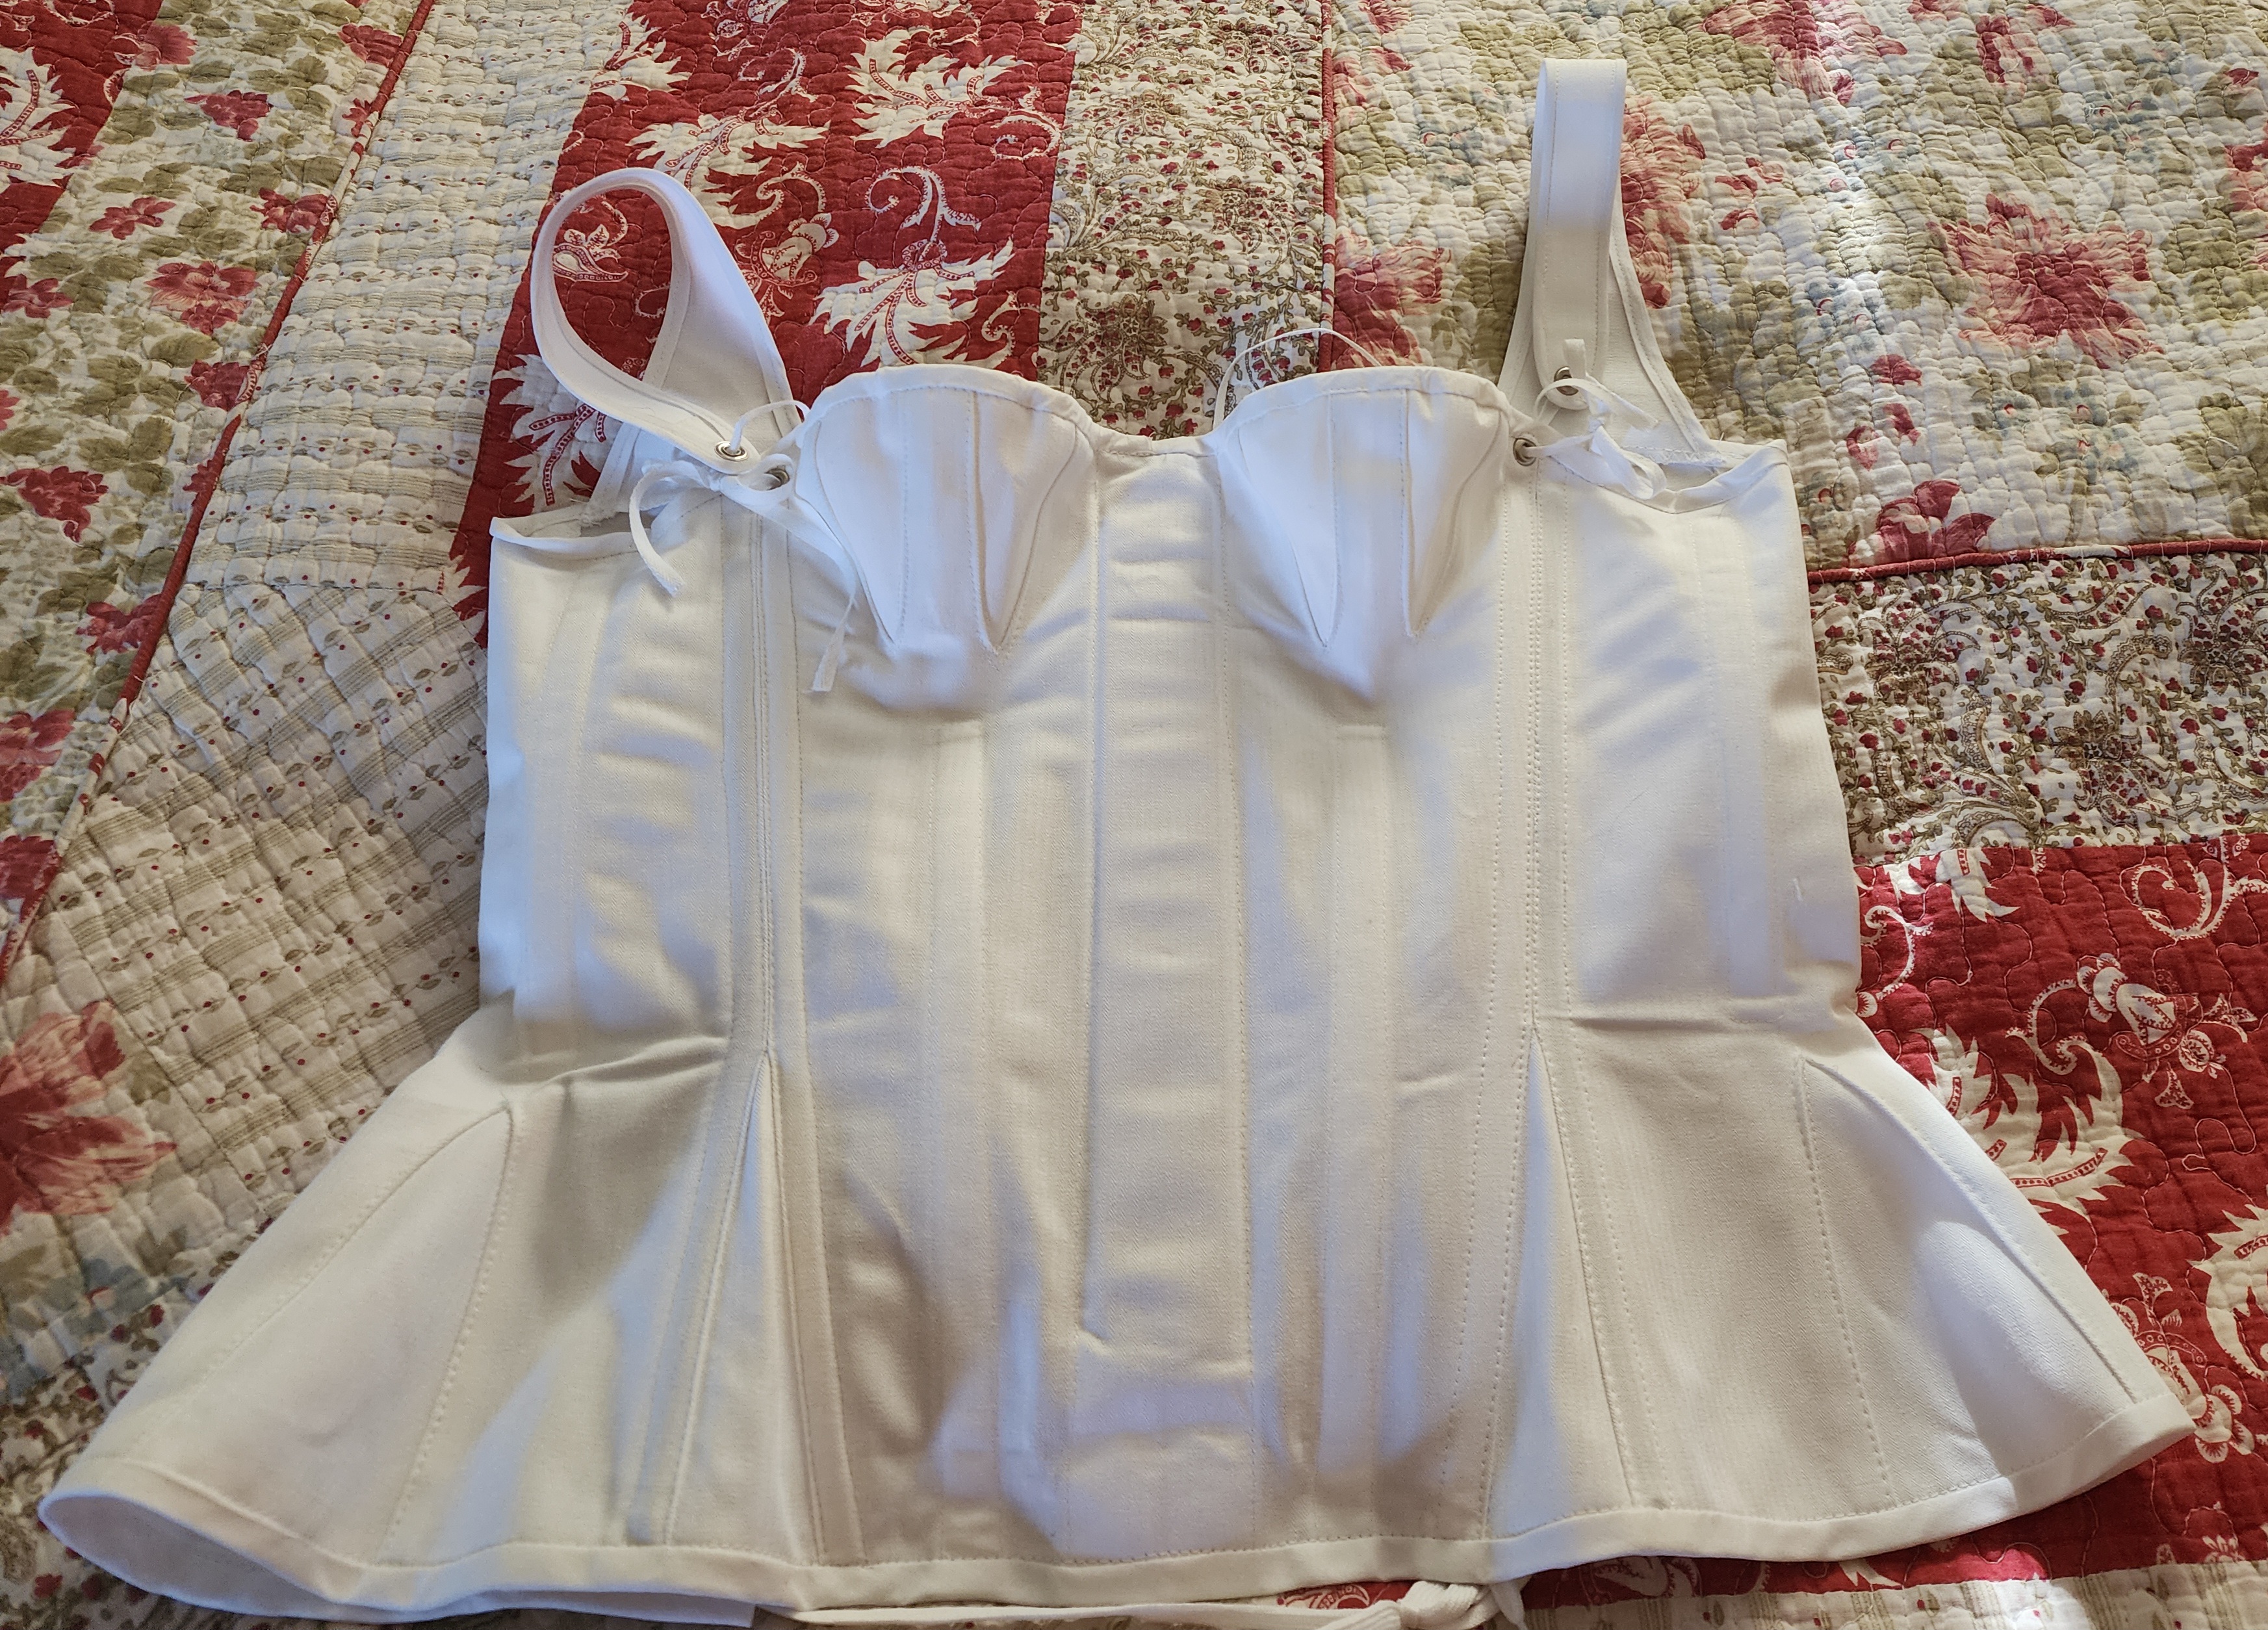
The Bicentennial of LaFayette's Triumphant Tour of 1824-25 is well underway.  In order to prepare for the first festivities in Baltimore, I needed to make a day gown, an evening gown and the appropriate accessories.  Before I could even start all that, I really needed to make the long Regency stays that I'd been planning for several years.  The thing that was holding me up was trying to figure out a way I could dress myself as back lacing stays are problematic.  I decided to go with fan lacing and it was life changing!  I performed the pattern adjustments on the Red Threaded Regency stays patten and found they fit well.

Doing the fan lacing myself was made so much easier with the help of this video that explained the entire process.


The next fitting issue involved the busk which wouldn't sit flat against my chest.  Further research found that the busks were curved to go over the belly then curved slightly the other way to sit against the chest.  I soaked my busk for 24 hours then gently curved it to the contours of my body and it made a huge difference!  Now it sits flat on my chest and doesn't compress my stomach.  These stays are super comfortable!

I started on my accessories first since I was still working out my gown details.  I used this 1820s cap from

the Monmouth Historical Society as my inspiration.  


Using this diagram, I drafted a pattern to fit my head.  I had to enlarge this one quite a bit.


Materials for the cap:  Swiss organdy and Swiss embroidered trim for the ruffles.


I didn't have enough of the trim to add the ruffle at the crown but I'm still happy with how this turned out.


Next up:  Corded petticoat.  I had to make this at the last minute.  I bought 90 inch wide bleached muslin and cut one piece the desired length of the petticoat plus 5 inches.  I trimmed the width to 80 inches the folded the bottom up 1/2 inch then 4 inches and pinned that hem in place.


I used this 3/16 inch upholstery cord and stitched 2 rows in at the bottom crease using a zipper foot.  It was like stitching piping.  I pulled enough out at the seam allowance so as not to catch the cord when sewing the seam.  Then I stitched the large hem allowance flat.  I stitched a back seam leaving about 5 inches open at the top and made a waist band.


Because 1820s gowns tend to be somewhat flat in front, I decided to pleat the petticoat to the waistband concentrating most of them in the back then I ran wide cotton tape through the waistband to form a tie.


Here are the finished underpinnings.  I did end up adding a third row of cord later.


My bonnet is the Sophia Bonnet from Timely Tresses.  I purchased the buckram form and covered it myself.


It took me awhile to figure out how to trim it but I settled on white roses and a back bow.  I ended up not adding ties.

I used this gown as my inspiration  I love the shape of the gown and the sleeves.  It's such a simple design.  I planned to trim my skirt differently.


I ended up using the bodice to the Laughing Moon #138 pattern after not having luck with a different one.  I like this pattern as it has 3 neckline variations.  I drafted the sleeve to match that of my inspiration gown and used the skirt from the new Fig Leaf pattern since I had already cut those pieces out.


This is the Indienne cotton I decided on.   I found petite maching blue cotton sateen piping at Farmhouse Fabrics.

Used a horizontal stripe of the print as the gown hem trim.  The trim was piped along both edges.


Piping was also added to the neckline, sleeve seam and the back seams.


The sleeve cuff trim matched the hem with the addition of a 1 inch wide ruffle.


Here's the finished outfit


My accessories for the day.


Here is the whole outfit!


I needed an evening gown 2 days later and had only a couple of days to make it due to some unexpected circumstances.  Here are some inspiration gowns.


I had this white cotton in my stash


I made the bodice the same as the other gown with a short puff sleeve.  I did add piping to the sleeve band.


I wanted some type of sheer trim but had very little time.  I used silk chiffon cut in long 8 inch wide strips and draped them to the lower skirt piece which was then attached to the top piece with piping.  I added some drapes to the sleeves then did a pleated piece of the chiffon across the bust before sewing the sleeves on.   I didn't get any progress photos of this.  The long leather gloves and Lafayette reticule were worn with this gown.


Here is the completed outfit.


With my husband and friends

I was quite happy with all of these projects.  I found that I like the 1820s better than earlier regency except for the fact that the gowns all close in the back which prohibits me from dressing myself. Oh well!  It's always something!  I hope to make a couple more 1820s gowns for December events.

Vive LaFayette!